Deleted Files
Deletion Recovery / Recycle Bin Recovery
Search the original folder, Desktop, or volume after deletion, Shift+Delete, or emptying the Recycle Bin.

Find lost documents, photos, videos, and archives after accidental deletion, formatting, or partition loss. Scan Windows drives, external disks, USB drives, and memory cards, then preview and recover the files you need.
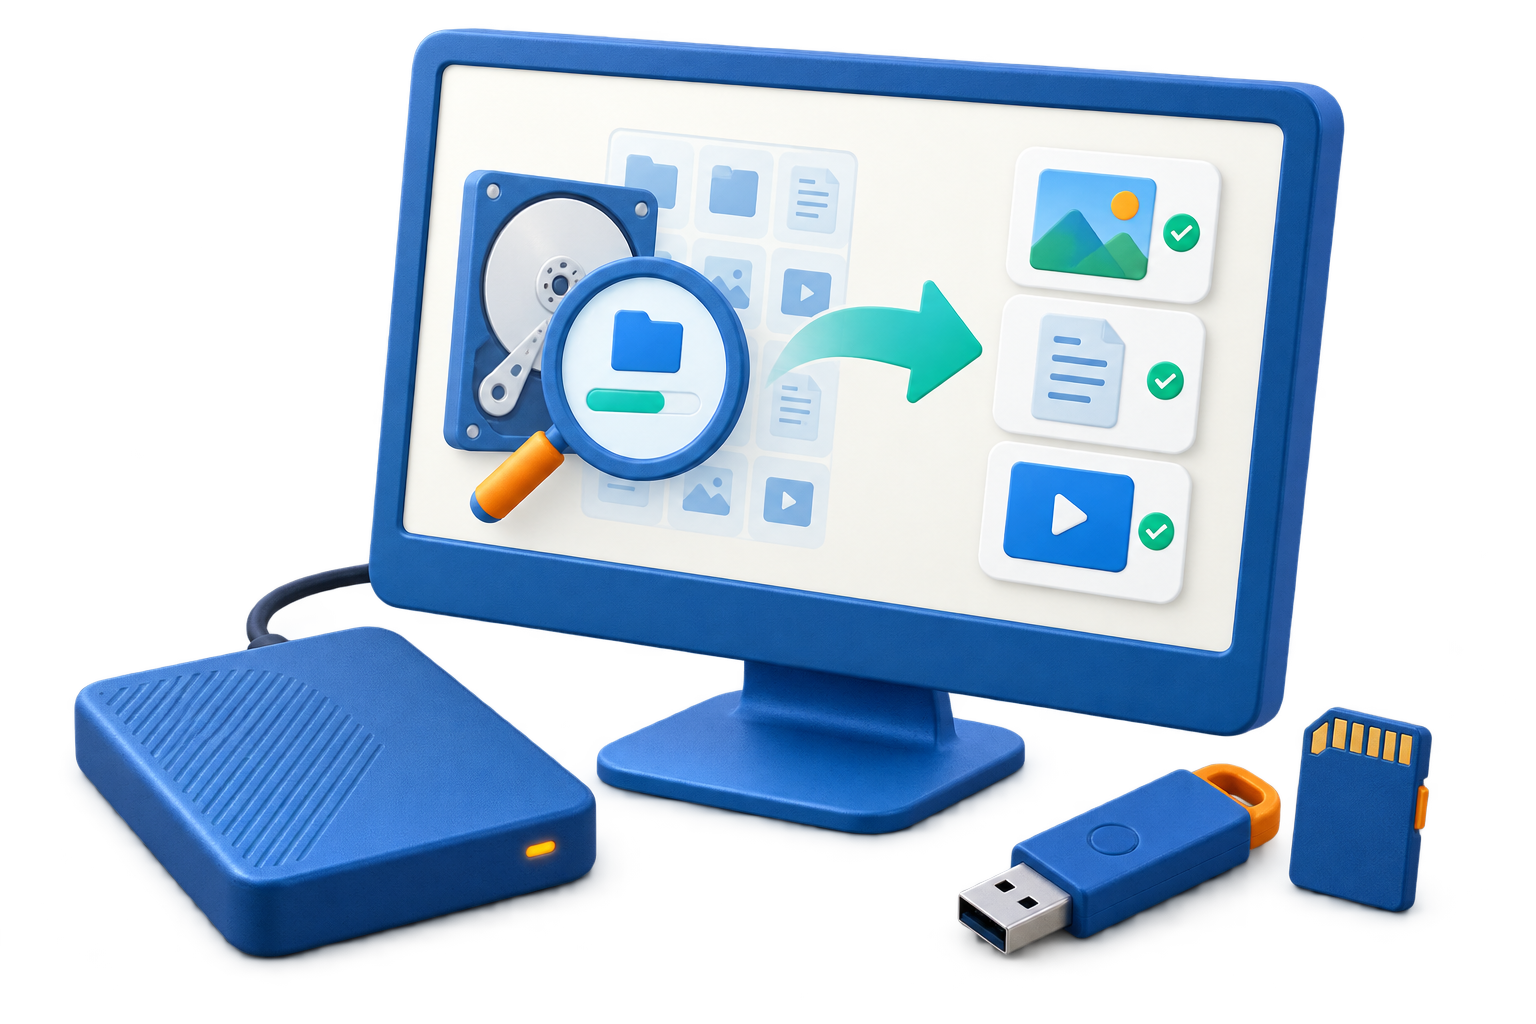

GiliSoft Data Recovery helps you find documents, photos, videos, archives, and Office files lost through accidental deletion, an emptied Recycle Bin, quick formatting, or a missing partition. Dedicated recovery modes organize the search around what happened to your files.
Select the original location or device, scan for lost data, and review the results. Use Deep Recovery when the initial search is incomplete, preview supported files, and restore selected items to another physical drive. Internal storage, external hard drives, USB flash drives, and memory cards are handled in one Windows application.
Keep the affected source unchanged while you recover. The result depends on the data still present and the device's condition; overwritten contents and physical hardware faults are not repaired by a file scan.

Search for files removed normally, with Shift+Delete, or after the Windows Recycle Bin was emptied.
Search a mistakenly formatted volume or logically inaccessible RAW storage that remains readable by the computer. Scan before reformatting or creating new files.
Select the physical disk that held a missing partition and search for its recoverable files. Save the data elsewhere before rebuilding the partition layout.
Scan Windows-recognized USB flash drives, external disks, SD cards, microSD cards, and CF cards.
Start with the category for deletion, formatting, or removable media. Choose Deep Recovery for a broader search when important files are still missing.
Filter and preview supported results before restoring selected files to another physical drive.

It found the project files we had deleted from an NTFS drive, and preview made it easier to select the right versions.
After an accidental quick format, we could scan the external drive and recover the client documents to another disk.
The USB and memory-card mode was understandable for staff who do not use recovery tools every day.
Lost partition scanning and preview helped us verify archived invoices before starting a large recovery job.
Deletion Recovery / Recycle Bin Recovery
Search the original folder, Desktop, or volume after deletion, Shift+Delete, or emptying the Recycle Bin.
Formatted Recovery
Scan the affected volume after accidental formatting, before copying new files or formatting it again.
Lost Disk/Partition Recovery
Search the physical disk that held the partition rather than creating a replacement partition in the same space.
USB/Memory Card Recovery
Connect the removable device and select the correct detected drive by its label and capacity.
Deep Recovery
Run a broader search on readable storage when an initial scan is incomplete or the file system is logically inaccessible.
Stop writing to the affected source. Install the software elsewhere and prepare a different physical drive for recovered files. Do not format or repair the source before recovering important data.
Select the category that matches deletion, formatting, a missing partition, or USB and memory-card file loss.
Choose the original location, partition, or physical disk by its label and capacity. Run Scan while keeping the device connected.
Look for the files you need and preview supported results. Use Deep Recovery if the initial search is incomplete.
Save selected files to a different physical drive, then open them in their normal applications to verify the contents.
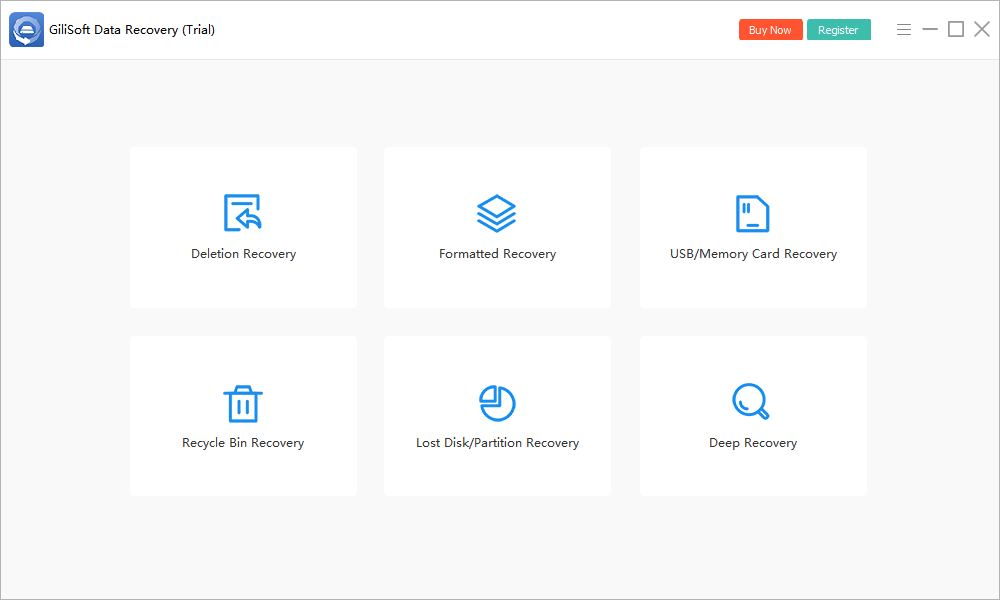
See the real recovery-mode and source-selection screens for deleted files, formatted storage, lost partitions, USB drives, and memory cards.
Choose Deletion Recovery, Formatted Recovery, USB/Memory Card Recovery, Recycle Bin Recovery, Lost Disk/Partition Recovery, or Deep Recovery.
Open the user guide for source selection, recovery modes, preview, and choosing a separate destination for restored files.
Look for deleted documents, spreadsheets, photos, and archives when ordinary folder or Recycle Bin restoration is no longer available.
Scan camera cards, removable storage, and external drives for missing photos and footage before capturing or copying new media onto them.
Locate lost client documents and working files across Windows drives, removable devices, and logically inaccessible volumes.
Identify the source disk, scan for remaining file data, and restore useful results before changing the storage layout.
It can scan the original storage for deleted file records after normal deletion, Shift+Delete, or emptying the Recycle Bin. Recovery depends on whether the file contents and useful records remain. Minimize use of the affected drive, and do not install the software or save recovered files onto that source.
GiliSoft Data Recovery provides Formatted Recovery for scanning a mistakenly formatted drive. Stop copying new files to the volume and scan it before formatting again. Recovery depends on the format operation and subsequent writes; overwritten contents cannot be restored by scanning. Save found files to another physical drive.
It can scan logically inaccessible storage that is detected and readable by the computer. Do not format a RAW volume just to make it open. If the device clicks, repeatedly disconnects, reports an incorrect capacity, or is not detected, stop repeated scans and seek a professional assessment rather than treating it as an ordinary file-system problem.
Use it for documents, photos, videos, archives, and other lost files on Windows-readable internal drives, external hard drives, USB flash drives, SD cards, microSD cards, and CF cards. The device must remain accessible for scanning. Preview availability and recovery results depend on the file type, remaining data, and storage condition.
Use a recovery mode that matches the loss first, then try Deep Recovery when important files are still missing. A deeper search can take longer and may find content without original names or folders. Scan duration varies with drive capacity, connection speed, and device condition; it is not a fixed number of minutes.
Yes. If SSD TRIM and the drive's cleanup process have already discarded deleted file contents, recovery software may no longer be able to retrieve them. Avoid further writes and evaluate the scan results, but do not assume that every deleted SSD file remains recoverable.
Saving recovered files back to the affected source can overwrite data that has not yet been recovered. Choose a different physical drive with enough free space. Open the restored files in their normal applications and verify important documents, photos, videos, and archives before changing or reformatting the source.
A free trial is available for evaluating the recovery workflow. Paid licenses are available for the full product. Use the installed trial to check scanning, supported previews, and activation requirements for your recovery task. A file listed in a scan is not a guarantee that all of its contents are intact or that the trial provides unlimited free recovery.
Download the Windows trial to scan the affected storage, review found files, and evaluate supported previews before choosing a license.


Enter your email address to get our latest newsletter
Data Recovery
Recover Deleted Files on Windows 11
Recover Files from Formatted Drive
Recover Files from RAW Drive
External Hard Drive Not Accessible on Windows
Lost Partition Recovery Software
Recover Files after Quick Format
Recover Files from Unreadable Drive
Recover Files from USB Drive
Recover Files from SD Card
Recover Photos from Memory Card
Recover Files after Emptying Recycle Bin
Recover Files after Shift Delete