
Can You Change the Voice in a Recorded Audio File?
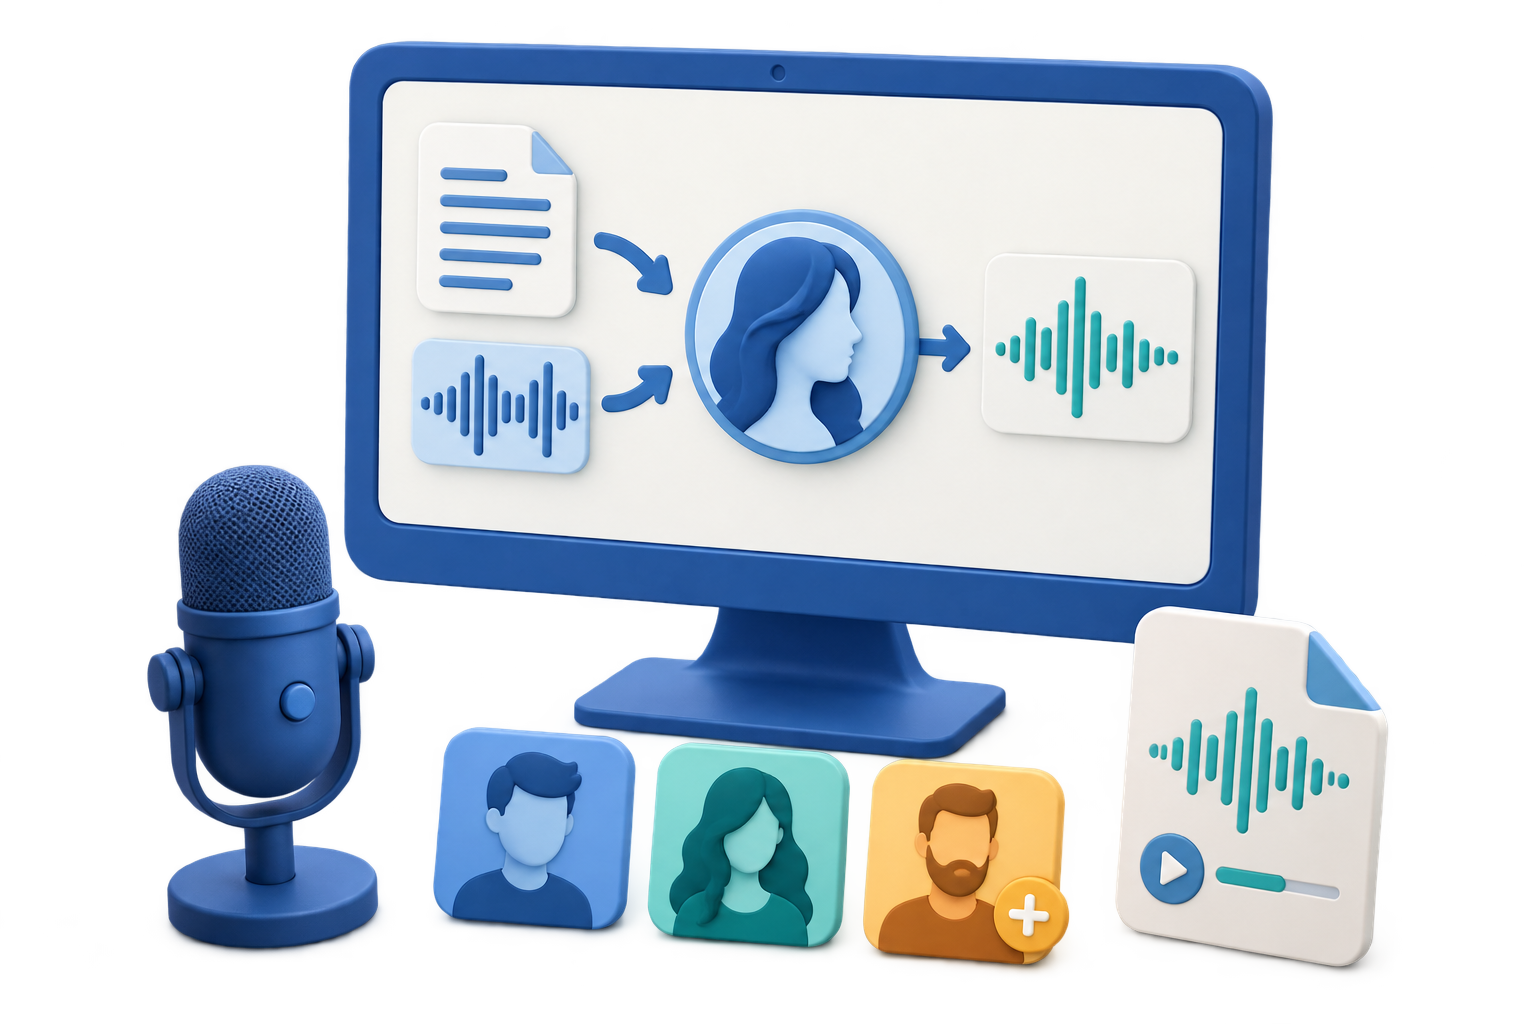
Quick answer: Yes. Open Voice Conversion in GiliSoft VoiceLab, upload an audio recording or record a new microphone clip, choose a target voice, set the output folder, and select Generate Audio. The result is generated audio, not a rewritten script.
Voice conversion starts with speech that has already been performed. If you only have written words, use Text to Speech instead. If you want to create a reusable voice from a reference sample, use Custom Voice.
Choose the Right VoiceLab Workspace
| What you have | Use | What you get |
|---|---|---|
| An existing spoken audio recording | Voice Conversion | Generated audio using a selected target voice |
| A video containing spoken audio | Voice Conversion accepts video as source | Generated audio; the page does not promise a newly dubbed video file |
| Only a written script | Text to Speech | Generated speech from text |
| A reference voice to reuse in future tasks | Custom Voice | A managed voice in My Voices for supported workflows |
Prepare a Source Clip That Is Easy to Convert
For a first test, use a short clip with one speaker and a few complete sentences. Listen to the original before upload. If words are hidden by music, another speaker, or heavy noise, the generated voice may be difficult to evaluate.
- Keep an untouched copy of the source recording.
- Choose a segment with steady volume and minimal background sound.
- Note the source language so you can select a suitable target voice.
- Use a short test before processing a long recording and spending more points.
Change the Voice in an Audio Recording with VoiceLab
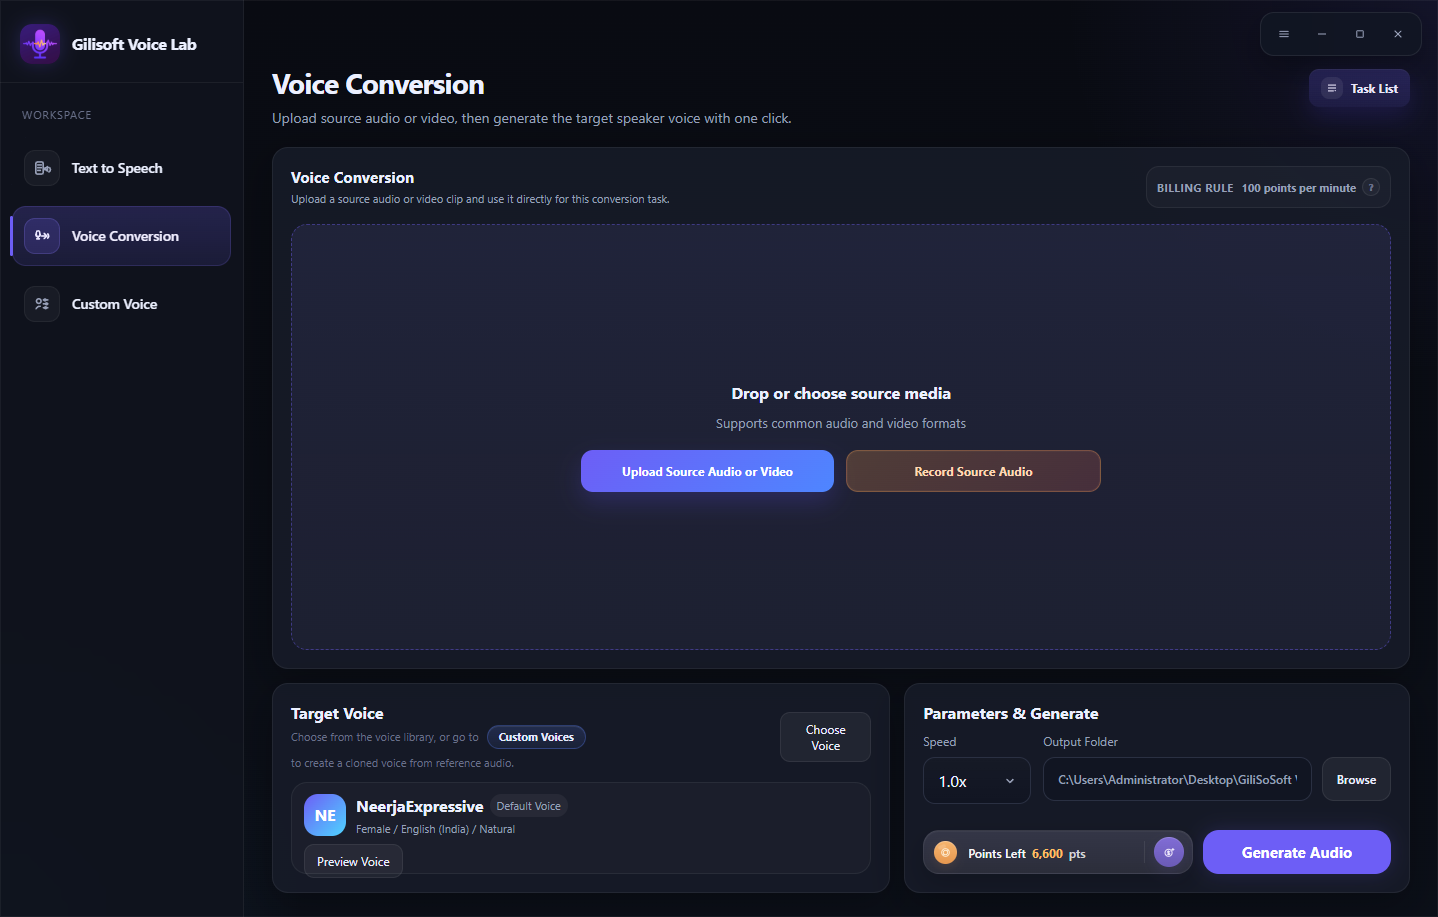
Open Voice Conversion
Launch GiliSoft VoiceLab on Windows and select Voice Conversion from the workspace menu.
Add the original speech
Use Upload Source Audio or Video for an existing file. For a new test, use Record Source Audio and speak a short sentence into your microphone.
Choose the target voice
In Target Voice, select a library voice or an available custom voice. Use its preview to check the language and tone before starting the job.
Set speed and output folder
Check Speed, select an Output Folder, and review the displayed point balance and billing rule. Point use depends on the task shown in the app.
Generate and find the result
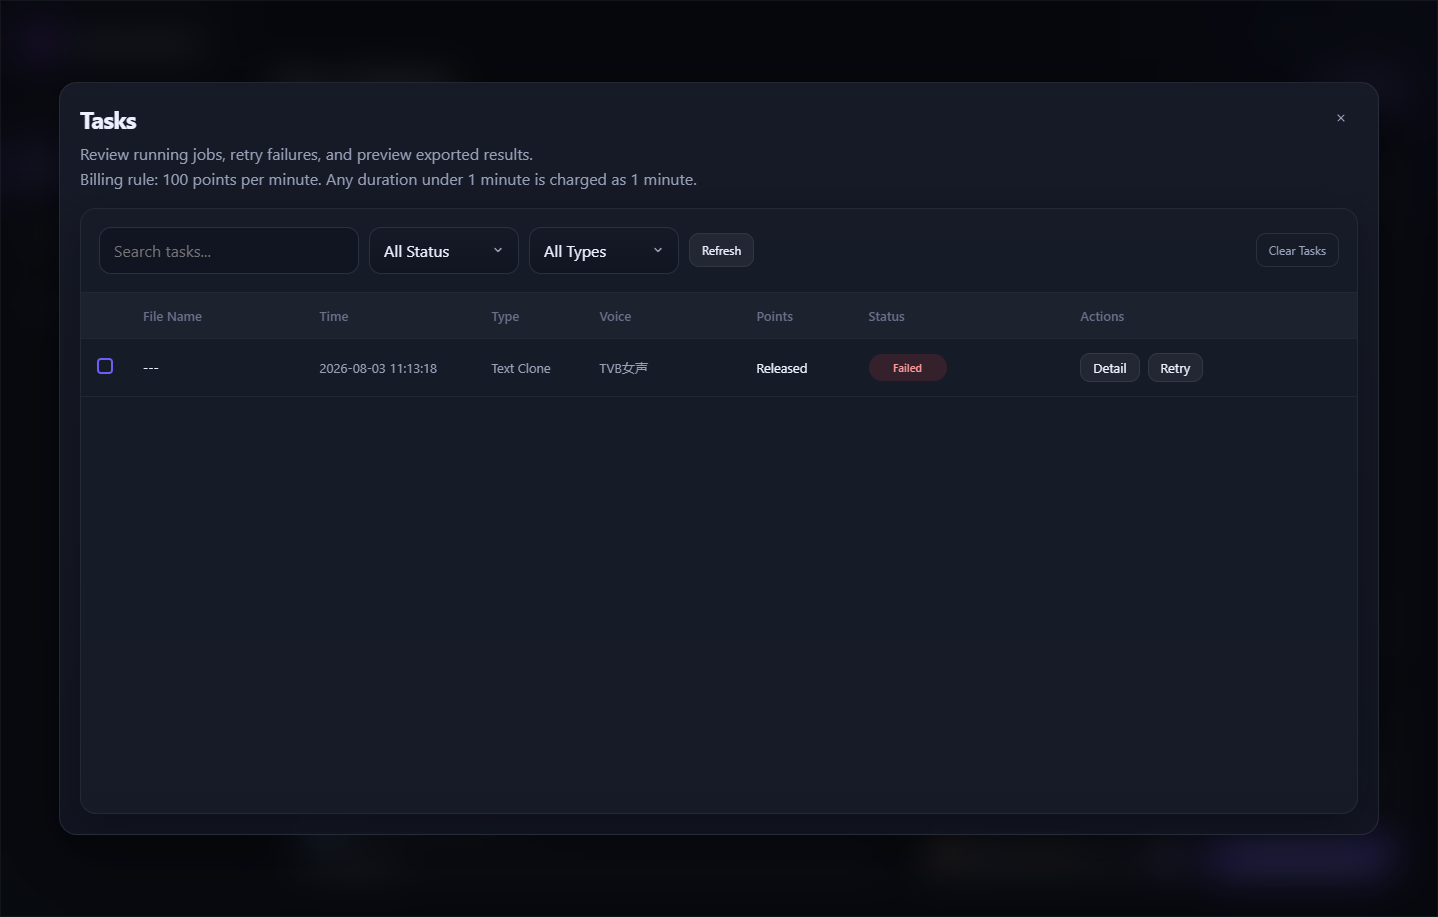
Select Generate Audio, then open Task List to check processing status and the completed result.
Listen before replacing the original
Play the generated file from beginning to end. Check intelligibility, timing, speaker consistency, and the first and last words; keep the original until the new audio is approved.
Check the Result Before You Use It
- Speech clarity: Listen for missing or distorted words, especially near the start and end.
- Voice consistency: Check longer phrases, pauses, and any rapid changes in volume.
- Timing: Compare the generated audio with the original if it must match an existing edit.
- File location: Confirm the saved result is in the output folder you selected.
Video source note: VoiceLab can accept video as source media, but its Voice Conversion screen says Generate Audio. If the final deliverable is a video with replaced sound, check the audio result first and use a video editor for the final soundtrack workflow.
When the New Voice Does Not Sound Right
The result is hard to understand
Try a shorter, cleaner single-speaker source. Background music and overlapping speech can make conversion harder to judge.
The voice sounds too fast or slow
Recheck the Speed setting and test a brief segment before processing the whole recording again.
The voice does not fit the language
Preview another target voice that matches the language and style of the source speech.
The result is not in the expected folder
Check the selected Output Folder and open Task List for the job status, details, or retry options.
Frequently Asked Questions
Can VoiceLab change the voice in an existing recording?
Yes. Voice Conversion accepts an uploaded recording or a new microphone clip, then generates audio with a selected target voice.
Can I import a video file?
Yes, the source upload accepts audio or video. The Voice Conversion output shown in the app is audio, so do not assume it will export a dubbed video.
Do I need to clone a voice first?
No. You can select an available target voice. Create a custom voice only when you need a reusable voice based on a reference sample.
Is VoiceLab completely free?
The app offers a trial download. AI generation uses points; check the displayed point rule and available balance in the app before processing.