

A protected file may refuse deletion because it is marked read-only, owned by another Windows account, stored on a write-protected USB device, encrypted with EFS, currently locked by software, or still open in another program. The correct fix depends on which protection is active.
Use the methods below only for files and storage devices you own or administer. Start with the least invasive check, keep a backup of important data, and confirm that the file is no longer needed before deleting it.
First, Identify Why the File Is Protected
Read the exact Windows message before changing settings. It usually points toward the protection source.
- “Access is denied”: check file ownership, account permissions, or protection software.
- “The disk is write-protected”: inspect the USB/SD lock switch and storage write-protection settings.
- “File is in use”: close the application, preview pane, sync client, or background process using it.
- Green file name or EFS details: decrypt the file with the Windows account and certificate that encrypted it.
- Protected through File Lock Pro: unlock or unprotect it inside File Lock Pro before deletion.
Method 1. Clear Read-Only and Check File Permissions
The read-only attribute does not always block deletion by itself, but clearing it is the simplest first check. If Windows still reports access denied, verify ownership and permissions.
- Right-click the file and choose Properties.
- On the General tab, clear Read-only when it is selected.
- Choose Apply, then try the deletion again.
- If access is still denied, open Security > Advanced and confirm that your administrator account owns the file and has Full control.
- Close any program that may still have the file open.
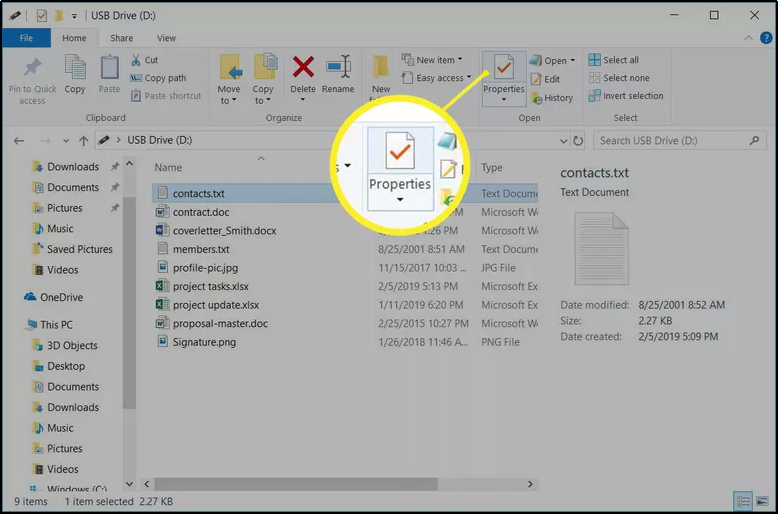 Open the file properties before changing attributes or permissions.
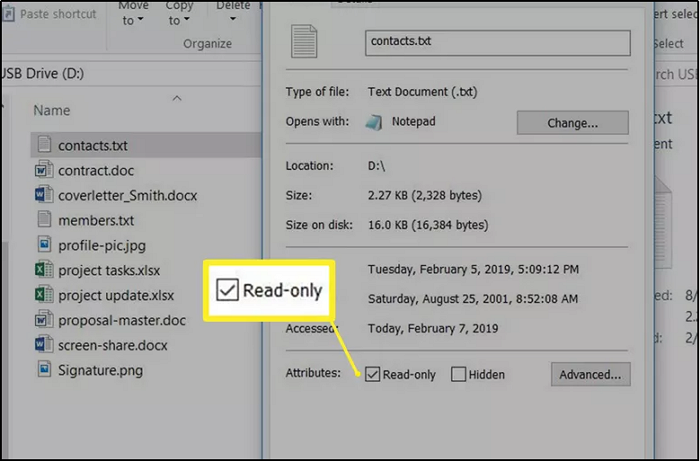 Clear the Read-only attribute, apply the change, and test deletion again.
Method 2. Remove USB Drive or SD Card Write Protection
When every file on a removable device refuses changes or deletion, the device itself may be write-protected.
- Check the physical lock switch on the SD card or USB adapter and move it to the unlocked position.
- Reconnect the device and test a nonessential file.
- If Windows still reports write protection, press Win + R, type regedit, and open Registry Editor as an administrator.
- Go to HKEY_LOCAL_MACHINE\SYSTEM\CurrentControlSet\Control\StorageDevicePolicies.
- If the WriteProtect value exists, back up the key and set its value data to 0, then restart Windows.
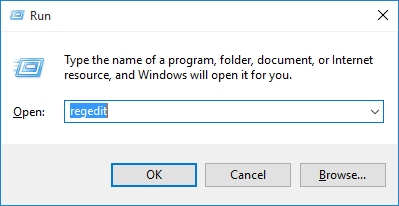 Open Registry Editor only after checking the physical device switch.
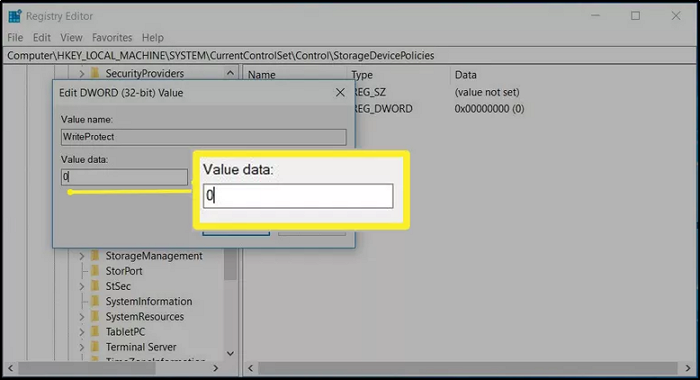 Set an existing WriteProtect policy value to 0 after backing up the key.
Method 3. Decrypt a File Protected with Windows EFS
EFS-encrypted files must be decrypted by an authorized Windows account with access to the original encryption certificate.
- Sign in with the Windows account that encrypted the file.
- Right-click the file or parent folder and choose Properties.
- Select Advanced on the General tab.
- Clear Encrypt contents to secure data.
- Apply the change, confirm the file opens normally, then delete it if appropriate.
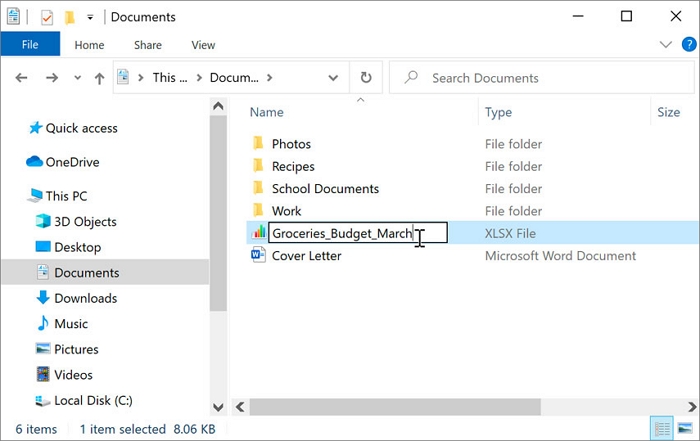 Use the authorized Windows account to open the file properties.
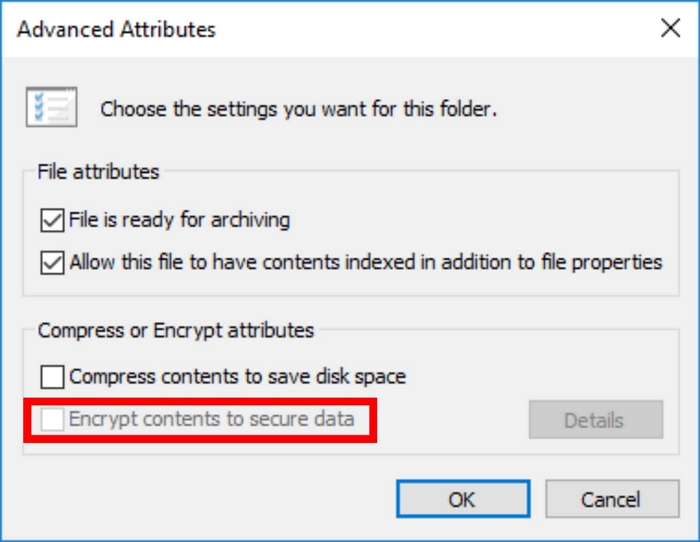 Clear the EFS encryption option and apply decryption before deletion.
Method 4. Remove GiliSoft File Lock Pro Protection
If you locked or protected the item with File Lock Pro, restore authorized access inside the same application before deleting it.
Unlock first, delete second
Use the master password to remove the lock or protection rule. After the file is accessible, delete it normally or use File Shredder when it contains sensitive information that should not remain recoverable.

- Open File Lock Pro and enter the master password.
- Choose Locking File if the item cannot be opened, or Protecting File if changes and deletion are blocked.
- Select the file, folder, or drive in the protection list.
- Choose Unlock or Unprotect, then remove the item from the list when appropriate.
- Verify the file is accessible in Windows Explorer before deleting or shredding it.
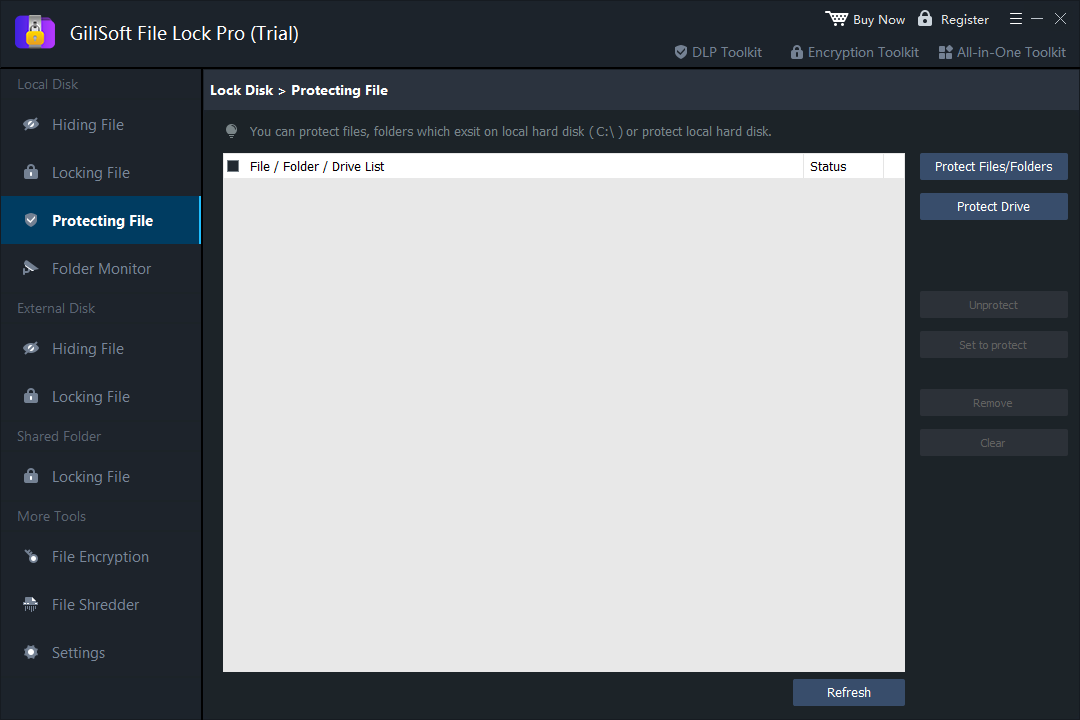 Remove the authorized protection rule before attempting deletion.
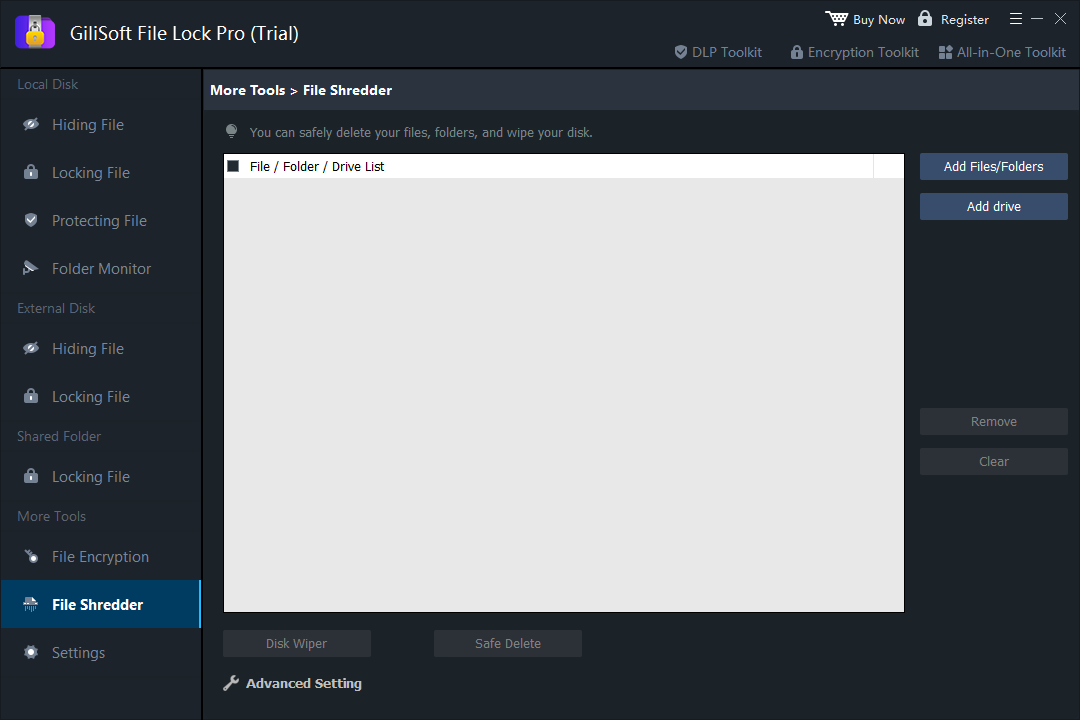 Use File Shredder only after confirming the selected data should be permanently removed.
Method 5. Clear Read-Only, System, and Hidden Attributes with Command Prompt
Command Prompt can clear file attributes when File Explorer cannot apply the change. It does not decrypt EFS data or bypass third-party protection.
- Search for Command Prompt and choose Run as administrator.
- Enter attrib -r -s -h "C:\path\file.ext", replacing the sample path with the actual file.
- Press Enter and check the file properties again.
- Close applications using the file, then retry deletion in File Explorer.
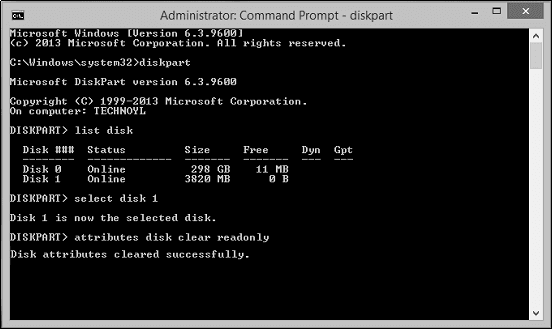 The attrib command clears read-only, system, and hidden attributes from a file you administer.
Part 2. Delete the File after Protection Is Removed
Once the file opens normally and Windows allows changes, choose the deletion method that matches the sensitivity of the data.
- Recycle Bin: best when you may need to restore the file.
- Shift + Delete: bypasses the Recycle Bin but does not guarantee secure erasure.
- File Lock Pro File Shredder: use for sensitive files that should be removed more securely.
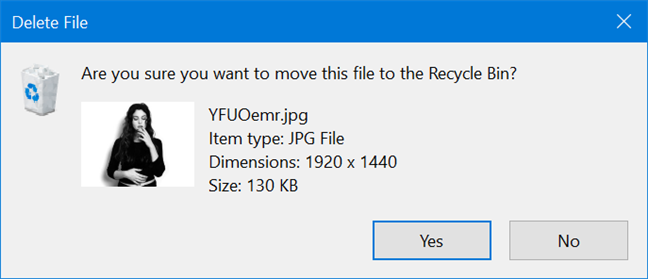 Use normal deletion when recovery may still be useful; choose secure shredding for confidential data.
Protected File Deletion Checklist
- Confirm you own or administer the file and storage device.
- Back up important data before changing permissions, encryption, or registry settings.
- Remove the correct protection source instead of trying several unrelated fixes at once.
- Open the file after protection is removed to verify data integrity.
- Choose normal deletion or secure shredding based on the sensitivity of the content.
Manage and Securely Remove Protected Files
Use GiliSoft File Lock Pro to lock, protect, unlock, monitor, encrypt, or securely shred selected files from one Windows application.
Download the Official Trial