
Resize Video on Windows
Use this workflow to change frame dimensions while protecting composition and readable text. The important decisions are made before export: protect the original, define the destination, inspect difficult boundaries, and review the rendered file.
Quick answer
Set the destination canvas first, then choose crop, fit with background, or a redesigned layout. Never stretch the picture to force a new ratio. Export a short test and inspect fine detail, captions, edges, and playback before processing the full video.
Choose the Right Editing Approach
| Approach | When it fits | What to verify |
|---|---|---|
| Crop to fill | Use when the key subject fits the new ratio | No important content is cut off |
| Fit with background | Use when the complete source frame must remain visible | Background treatment is intentional and text stays readable |
| Redesign the layout | Use for slides, demos, captions, or multiple visual elements | Composition looks native at the destination size |
How to Resize Video
- Preserve and inspect the source
Keep the original unchanged. Note its dimensions, aspect ratio, frame rate, orientation, captions, and important edge content.
- Confirm the destination
Prepare for a custom destination. Verify its current requirements and choose the destination aspect ratio only after the placement is known.
- Create the destination canvas
Set the project frame, then choose crop, fit with background, or a redesigned layout. Do not stretch the picture.
- Reframe every critical moment
Check faces, products, cursor actions, titles, captions, and calls to action throughout the clip, not only on the first frame.
- Export and test a short sample
Inspect sharpness, motion, text size, audio sync, safe areas, and actual playback before rendering the full deliverable.
Use the GiliSoft Video Editor Workspace
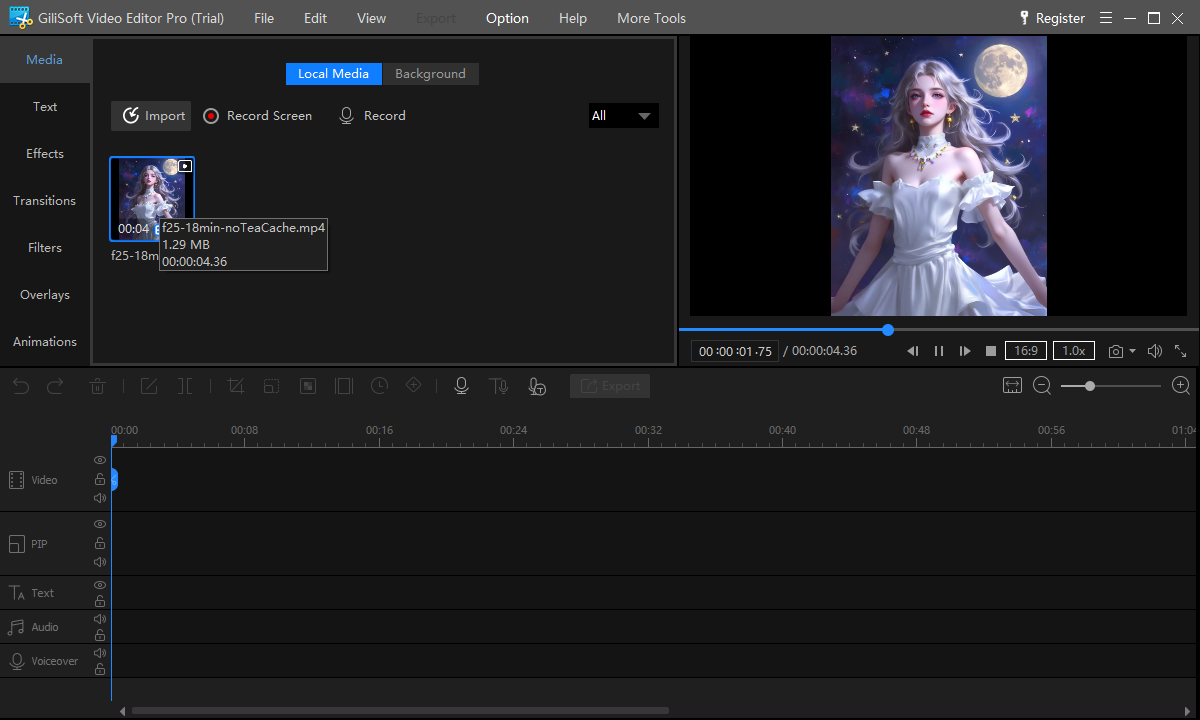
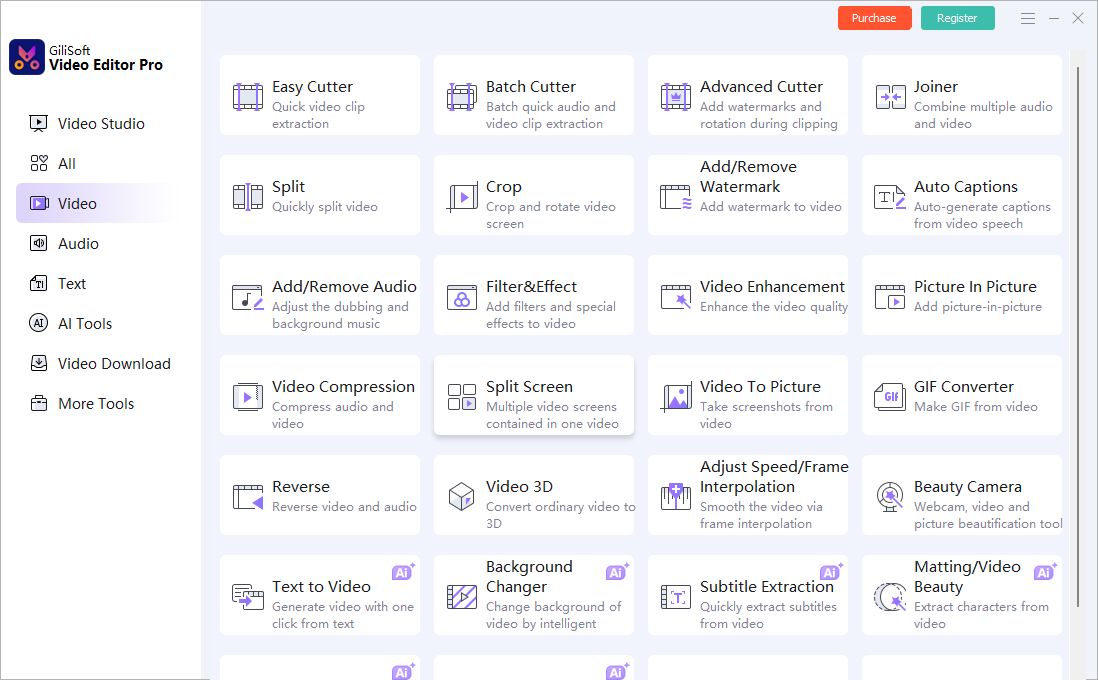
The screenshots below show the actual editing workspace and relevant tool area. Interface details can change by release, so follow the task flow rather than treating a screenshot as a substitute for previewing your own file.
Quality and Delivery Checks
| Resolution and composition | Inspect the entire affected section at normal speed and at the final viewing size. |
|---|---|
| Audio and captions | Check sync, complete sentences, channel balance, caption timing, and readable placement. |
| Exported file | Play the result outside the editor and test the actual destination before replacing or publishing anything. |
Frequently Asked Questions
Is resizing the same as cropping?
No. Resizing changes dimensions; cropping removes edge content; fitting can retain the complete frame by adding unused canvas or a designed background.
Can I change aspect ratio without losing content?
Yes by fitting the full frame or redesigning the layout, but filling a different ratio normally requires cropping some content.
Does upscaling improve video detail?
It creates more pixels but cannot restore detail that was not captured in the source.
Should I overwrite the original video?
No. Keep the source unchanged and export a new working or delivery copy.
Why should I test the exported file outside the editor?
The editor preview does not prove that the final codec, audio, captions, timing, and destination playback are correct.