
Rotate Video on Windows
Use this workflow to correct sideways or upside-down footage without stretching the frame. The important decisions are made before export: protect the original, define the destination, inspect difficult boundaries, and review the rendered file.
Quick answer
Rotate the visual layer by 90, 180, or 270 degrees, then choose whether to crop, fit, or redesign the canvas around the corrected orientation. Preview titles and overlays after rotation and export a new copy with the intended display dimensions.
Choose the Right Editing Approach
| Approach | When it fits | What to verify |
|---|---|---|
| Fast structural edit | Use for rough removal, ordering, or segmentation | Timing and playback remain correct |
| Frame-accurate timeline edit | Use when an exact visual or spoken boundary matters | First and last frames match the intention |
| Delivery export | Render settings for the actual player or platform | Picture, audio, captions, and duration pass review |
How to Rotate Video
- Preserve and inspect the source
Keep the original unchanged. Check duration, codecs, frame rate, orientation, audio, captions, and any variable-frame-rate behavior.
- Define the exact result
Decide where the rotate begins and ends, who will use the output, and which format, ratio, tracks, or captions must remain.
- Build the rotate edit
Rotate the visual layer, then correct its fit inside the destination canvas.
- Preview the difficult points
Watch before and after every edit with sound. Check motion, speech, subtitles, transitions, and audio sync.
- Export and verify a new file
Use destination-appropriate settings, then play the beginning, edit points, middle, and ending outside the editor.
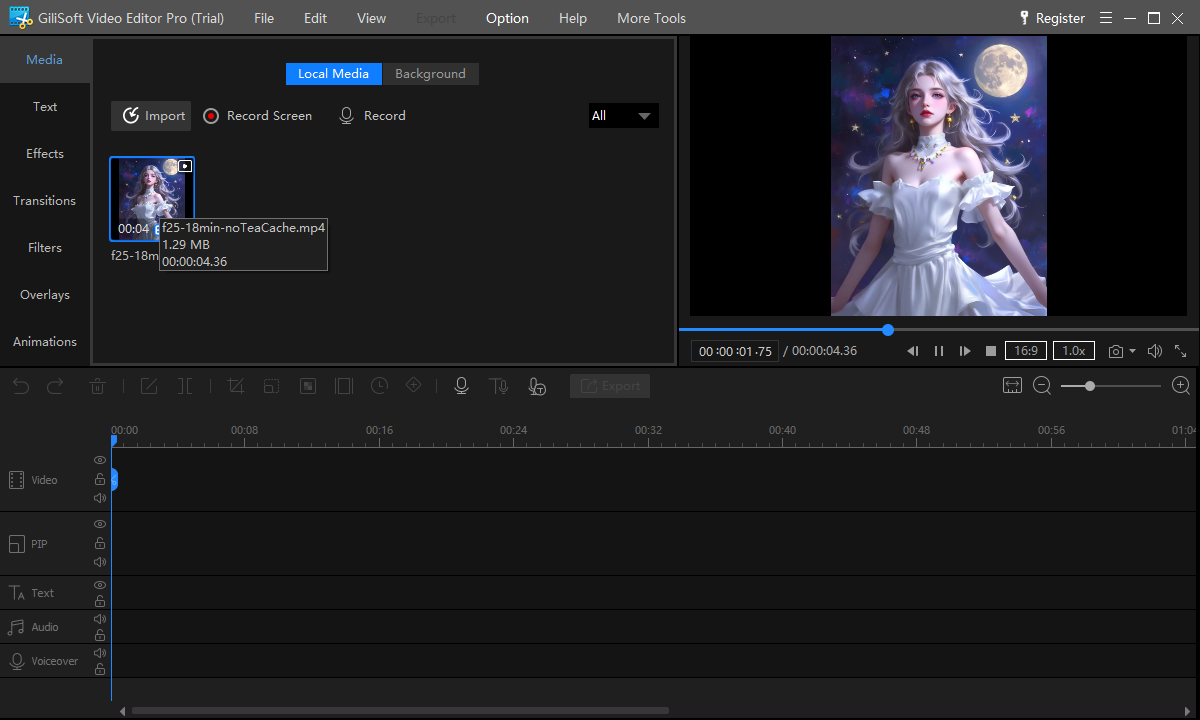
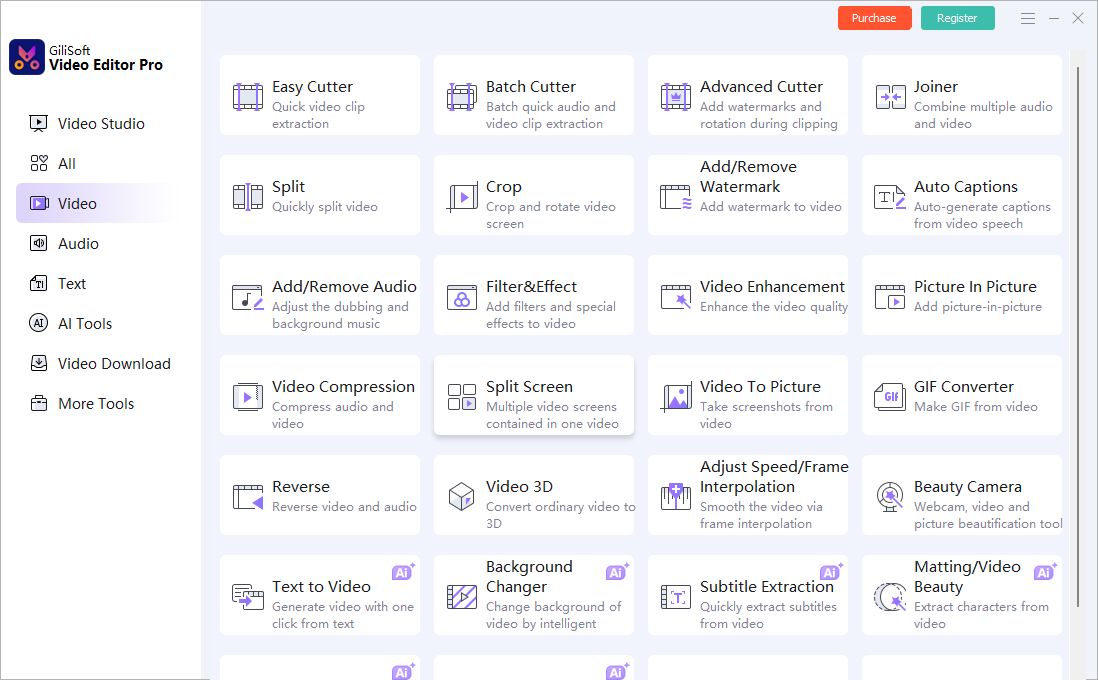
Use the GiliSoft Video Editor Workspace
The screenshots below show the actual editing workspace and relevant tool area. Interface details can change by release, so follow the task flow rather than treating a screenshot as a substitute for previewing your own file.
Quality and Delivery Checks
| Orientation and canvas | Inspect the entire affected section at normal speed and at the final viewing size. |
|---|---|
| Audio and captions | Check sync, complete sentences, channel balance, caption timing, and readable placement. |
| Exported file | Play the result outside the editor and test the actual destination before replacing or publishing anything. |
Frequently Asked Questions
Can I edit without quality loss?
Some stream-copy operations can avoid a full render when streams and boundaries permit it. Timeline edits, exact boundaries, transformations, and mixed sources commonly require a new encode.
Why is an edit point slightly early or late?
Compressed video is organized around keyframes. Use a frame-accurate timeline export when the precise boundary matters.
Can files with different properties be combined?
A timeline can normalize different sources into one output, but you should deliberately choose the project resolution, frame rate, audio layout, and export format.
Should I overwrite the original video?
No. Keep the source unchanged and export a new working or delivery copy.
Why should I test the exported file outside the editor?
The editor preview does not prove that the final codec, audio, captions, timing, and destination playback are correct.