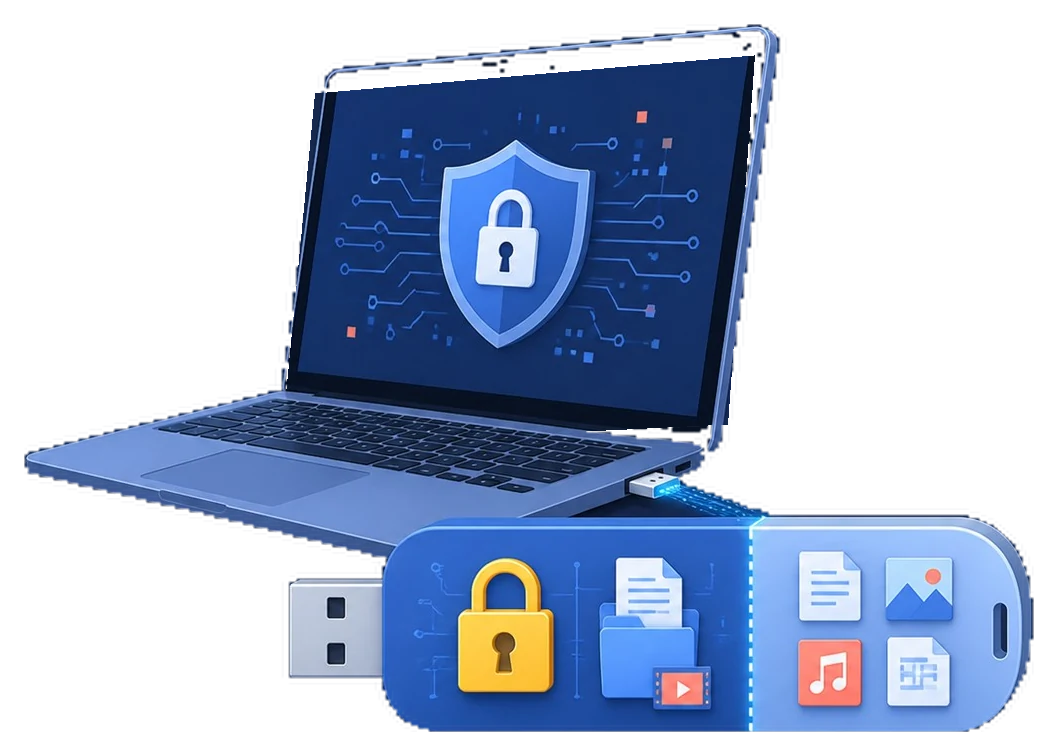
GiliSoft USB Encryption

GiliSoft USB Encryption creates a password-protected secure area for private files while keeping a public area available for ordinary USB storage.

  • Create public and password-protected areas on one USB drive
  • Open the secure area as a mounted virtual drive
  • Manage password, backup, recovery, and uninstall tools
Encrypt a USB drive with GiliSoft USB Encryption

How to Encrypt a USB Drive With or Without BitLocker on Windows 11/10

A USB drive is small, portable, and convenient for backing up or transferring files. Modern computers can usually read it without installing an additional driver, which is why flash drives are widely used for personal documents, business records, photos, videos, and project files.

Page ContentShould I encrypt my USB drive?Encrypt USB files without BitLockerEncrypt the whole USB drive with BitLockerEncrypt a USB drive on MacConcluding words

Should I Encrypt My USB Drive?

Encrypting a USB drive helps protect sensitive files when the device is lost, borrowed, or connected to a shared computer. This can include personal or business documents, identification records, account information, financial files, photos, passwords, and other data that should not be opened by an unauthorized person.

The best method depends on what you need to protect. GiliSoft USB Encryption creates a dedicated password-protected secure area while leaving the remaining USB capacity available for public files. GiliSoft File Lock Pro can instead encrypt selected files and folders into portable GFL or password-protected EXE packages. BitLocker To Go encrypts a removable drive as a volume on supported Windows editions, while Mac users can create encrypted external storage with Disk Utility.

How to Encrypt a USB Drive Without BitLocker

BitLocker Drive Encryption is available on Windows Pro, Enterprise, and Education editions, but not every Windows PC includes it. GiliSoft provides two practical approaches: USB Encryption creates a private secure area on the removable drive, while File Lock Pro encrypts only the selected files and folders.

Option 1: Create a secure area with GiliSoft USB Encryption

Use this option when one USB drive should contain both ordinary public files and a separate password-protected area. The secure area opens as a virtual drive after the correct password is entered.

GiliSoft USB Encryption

Choose the size of the private area, keep the remaining USB capacity public, and manage password, backup, recovery, and removal tasks from the USB toolbox.

Free DownloadBuy Now
GiliSoft USB Encryption

Step 1. Insert the USB drive, select it in USB Encrypt, and choose how much capacity should belong to the secure area.

Create a secure area with GiliSoft USB EncryptionCreate private and public storage areas on the same removable drive.

Step 2. Open the portable secure-area application, enter the password, and choose a virtual drive letter.

Open an encrypted USB secure area with a passwordMount the password-protected area as a virtual drive.

Step 3. Browse the mounted secure area, work with protected files, and close it when finished.

Browse and close the USB secure areaBrowse protected content only while the secure area is open.

Step 4. Use USB Toolbox when you need to change the password, back up or recover the secure area, or remove its installation.

USB Encryption password backup recovery and uninstall toolsMaintain the encrypted USB area from the built-in toolbox.

Option 2: Encrypt selected USB files with GiliSoft File Lock Pro

Use File Lock Pro when only particular documents, photos, videos, archives, or folders should become portable password-protected packages instead of creating a dedicated secure area.

GiliSoft File Lock Pro

Encrypt documents, photos, videos, archives, and complete folders into GFL or password-protected EXE packages. The encrypted output can then be stored on a USB drive and opened only with the correct password.

Free DownloadBuy Now
GiliSoft File Lock Pro

Follow these steps to encrypt selected USB files without BitLocker:

Step 1. Install and open GiliSoft File Lock Pro, then enter the master password.

Step 2. Choose File Encryption under More Tools, then click Add Files/Folders.

GiliSoft File Lock Pro File Encryption workspaceAdd the files or folders that should be encrypted before they are stored on the USB drive.

Step 3. Select the files or folders on the USB drive, or prepare the encrypted output on the PC before copying it to removable storage.

Step 4. Choose Encrypt to GFL for a GiliSoft encrypted package or Encrypt to EXE for a password-protected executable package.

Step 5. Choose the destination, save the encrypted package, and test it with the password before removing the unencrypted source from the USB drive.

Other File Lock Pro features:
  • Hide files and folders on local disks, USB flash drives, and external drives
  • Lock files, folders, and local drives with a password
  • Protect shared folders on a network
  • Monitor selected folders and export activity records
  • Use stealth mode, password recovery email, and exclusion settings

How to Encrypt a USB Drive Using BitLocker on Windows 11/10

BitLocker To Go is the removable-drive part of BitLocker Drive Encryption. It is designed for full-volume encryption and is available through Windows Pro, Enterprise, and Education editions. Use this method when the complete USB drive should require an unlock password.

Step 1. Connect the USB drive, open Manage BitLocker, locate the removable data drive, and choose Turn on BitLocker.

Turn on BitLocker for a USB driveSelect the correct removable drive before turning on BitLocker.

Step 2. Select Use a password to unlock the drive, enter the password twice, and continue.

Set a BitLocker password for a USB driveCreate the password used to unlock the encrypted removable drive.

Step 3. Back up the recovery key to a safe location that is separate from the encrypted USB drive.

Back up a BitLocker recovery keyKeep the recovery key available in case the normal unlock method fails.

Step 4. Choose whether to encrypt used space only or the entire drive. Encrypting the entire drive is more appropriate when the USB device has held files before.

Choose how much of the USB drive BitLocker should encryptSelect the encryption scope that matches the condition of the drive.

Step 5. Choose the compatible encryption mode for removable storage when Windows presents the mode selection.

Choose BitLocker encryption mode for removable storageCompatible mode is intended for drives that may be used on other Windows computers.

Step 6. Click Start encrypting, wait for the operation to finish, and test the USB drive after reconnecting it.

Start encrypting a USB drive with BitLockerDo not disconnect the USB drive while initial encryption is running.

How to Encrypt a USB Drive on Mac

macOS can protect external storage with an encrypted file system. Apple's current Disk Utility method requires erasing the storage device first, so copy every important file to another location before formatting it.

Compatibility note: an APFS-encrypted USB drive is intended mainly for Mac use. Confirm file-system compatibility before using the same encrypted drive between macOS and Windows.

Step 1. Connect the USB flash drive to the Mac and open Disk Utility.

Step 2. Choose View > Show All Devices, select the physical USB drive, and click Erase.

Encrypt an external USB drive on MacSelect an encrypted format and create a password for the external drive.

Step 3. Choose GUID Partition Map and an encrypted format such as APFS (Encrypted), then enter and verify the password.

Step 4. Complete the erase operation, reconnect the USB drive, and confirm that macOS asks for the password.

Concluding Words

This guide covers practical USB protection paths for different needs. Use GiliSoft USB Encryption when you want public storage and a password-protected secure area on the same drive. Use GiliSoft File Lock Pro when selected files or folders should become portable encrypted packages. Use BitLocker To Go for full-drive encryption on supported Windows editions, or Disk Utility for encrypted Mac-focused storage after backing up the drive.

Create a password-protected secure area on your USB drive

Keep ordinary files in the public area and private documents, photos, videos, and project folders inside the encrypted secure area.

View GiliSoft USB Encryption