
How to Crop a Video on Windows
Cropping removes pixels from the edges of every affected frame. The right crop depends on the destination aspect ratio and on where subjects, captions, logos, and camera movement appear throughout the clip, not just in the first frame.
Quick answer
Open GiliSoft Video Editor Pro, choose Crop from the Video tools page, import the source, and select the target frame or crop area. Scrub through the full clip to make sure moving subjects and text remain visible, then export a test file at an appropriate resolution.
Choose the Final Frame Before Cropping
| Editing need | Recommended approach | Check carefully |
|---|---|---|
| Remove unwanted edge content | Use a custom crop that excludes only the unwanted area | Check the full duration for moving subjects |
| Create a 16:9, 9:16, or square version | Set the delivery aspect ratio first | Reframe important content rather than stretching it |
| Remove letterboxing already inside the source | Crop only the encoded bars | Do not add new bars during export |
| Keep all source content visible | Use fit or background treatment instead of crop | Cropping is irreversible in the exported derivative |
Step-by-Step Workflow
- Keep the original and define the destination
Preserve the source file, then decide whether the output is widescreen, vertical, square, or a custom frame required by the publishing channel.
- Open Crop from the Video tools page
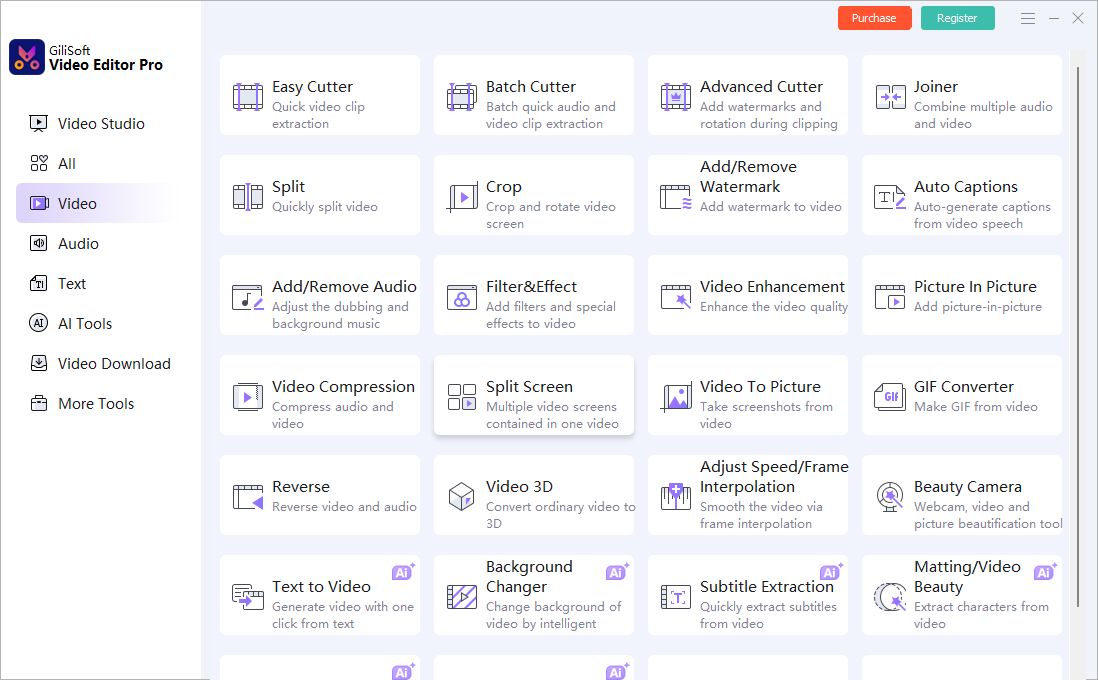
Launch GiliSoft Video Editor Pro, choose Video, select Crop, and import the clip you are authorized to edit.
- Set the crop area without stretching
Choose the intended aspect ratio or drag the crop frame around the important image area. Cropping should remove edges, not distort the subject.
- Scrub through motion and text
Check the beginning, middle, end, camera moves, captions, lower thirds, and any subject that enters near an edge. Adjust the crop if required.
- Export a proof and inspect it at full size
Render to a new file using suitable resolution and frame-rate settings. Check sharpness, framing, black bars, and text on the target screen before publishing.
For the complete editing workspace, export options, and other tools, see the Video Editor Pro user guide.
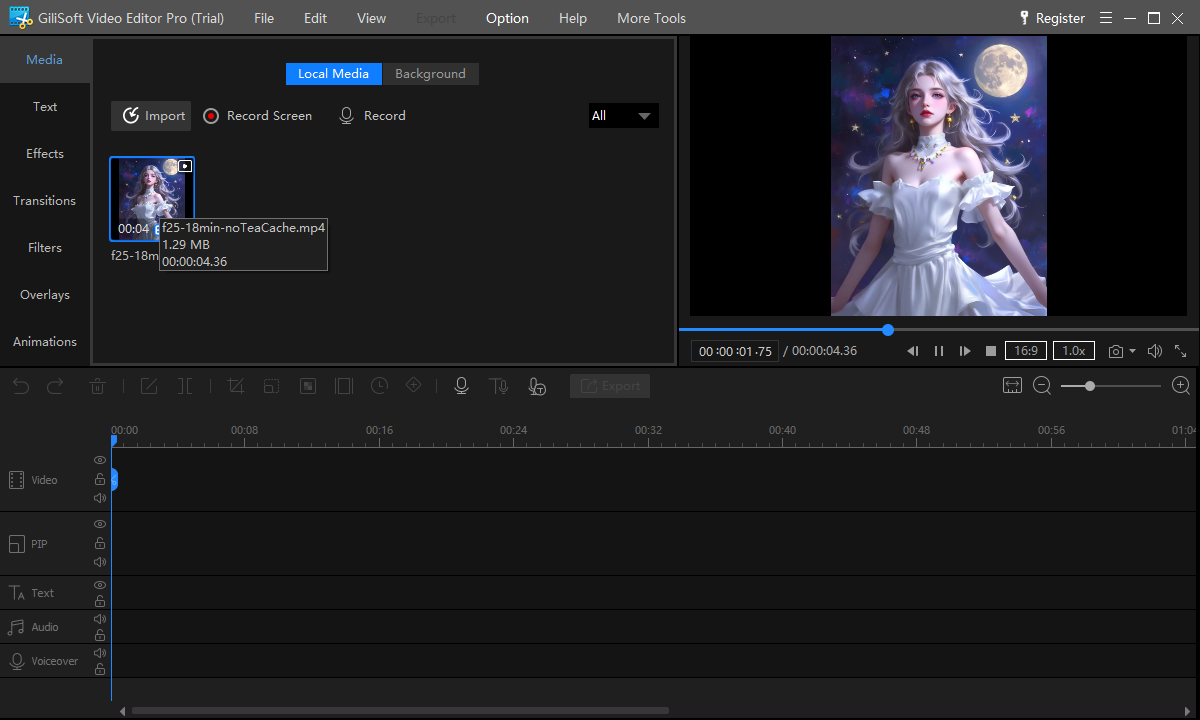
GiliSoft Video Editor Pro Interface
Use the dedicated Video tools for a focused task, or open Video Studio when the edit needs a timeline and additional controls.
Review Before You Export
- Keep the original source files and export the finished result to a separate path.
- Check the project aspect ratio, resolution, orientation, frame rate, and audio before rendering.
- Watch the beginning, every edit boundary, and the ending in the exported file.
- Use only media that you own or are authorized to edit and publish.
Frequently Asked Questions
Is cropping the same as resizing?
No. Cropping removes edge pixels; resizing changes the dimensions of the remaining frame. An export may do both.
Why does the cropped video look blurry?
A tight crop leaves fewer source pixels and may then be enlarged. Use the highest-quality source and avoid unnecessary enlargement.
Can I crop a landscape video into a vertical video?
Yes, but a fixed center crop may cut off moving subjects. Review the entire clip and create separate reframing decisions where needed.
Should I add black bars before uploading?
Usually not. Export the intended native aspect ratio so the destination player can frame it appropriately.