
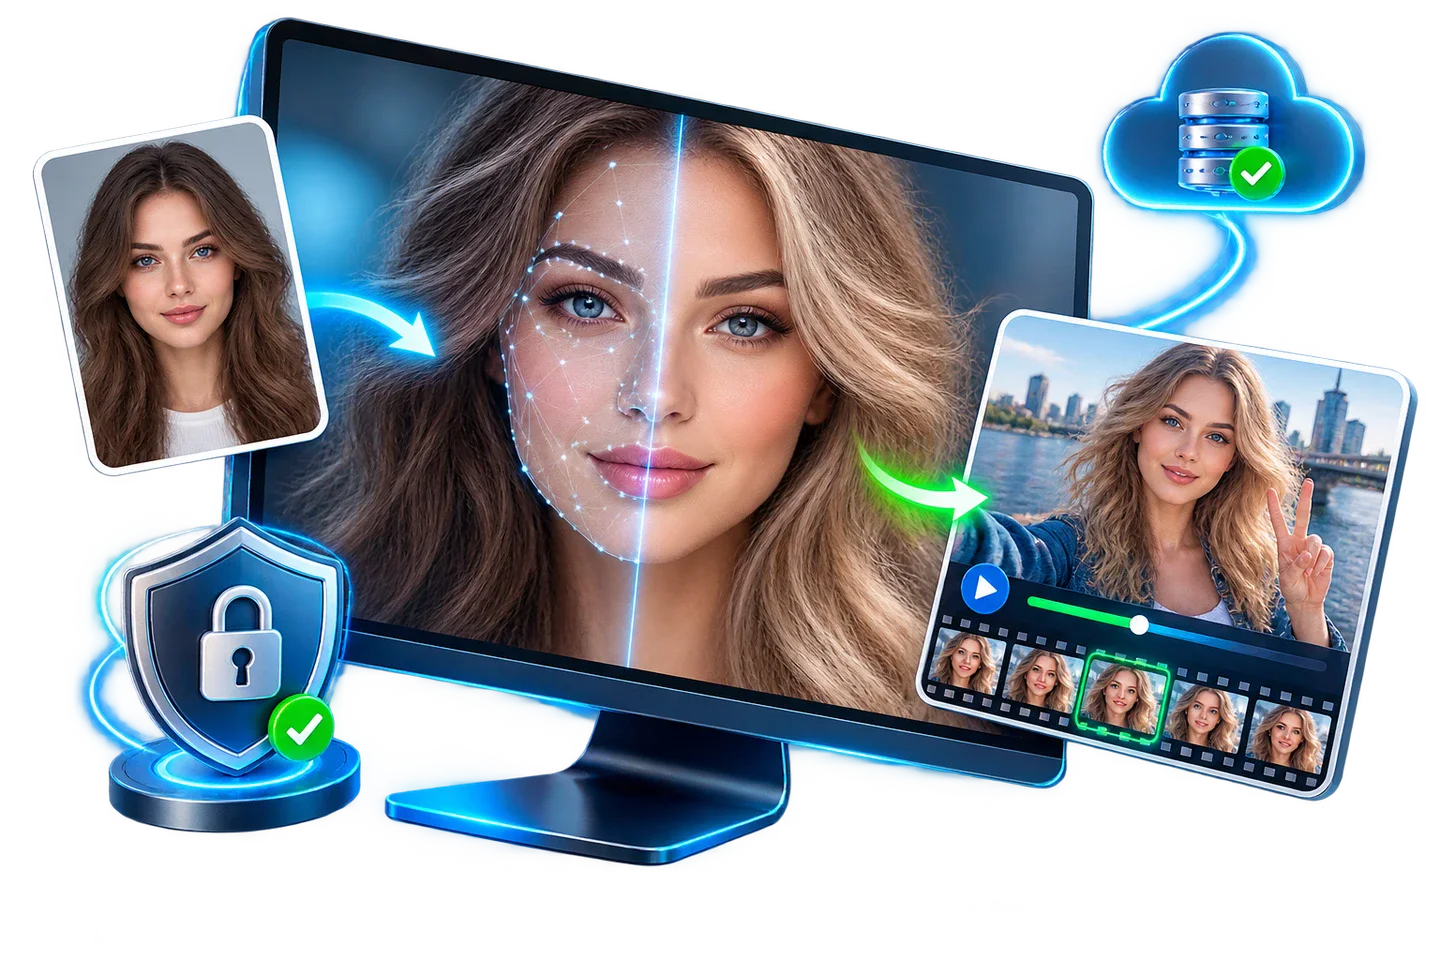
Offline Face Swap Software for Windows: Photos and Videos
Want to swap faces without sending your source media to a cloud processing service? GiliSoft Offline FaceSwap Master provides a local workflow for photos and videos. Here is how to prepare your PC, run a small test, and review the result before starting a larger project.
Quick answer
Use the offline edition of GiliSoft Face Swap, select the photo or video you want to change, add a clear source face, process the replacement, and save a separate output file. Complete setup first and test the full workflow without internet. Local processing does not automatically prevent other apps from syncing your files.
What Does Offline Face Swap Actually Mean?
An offline face swap runs the face-replacement task on your computer instead of uploading the media for processing on a remote server. The source face supplies the identity; the target photo or video supplies the scene you want to change.
GiliSoft offers cloud and offline options. Downloading a desktop installer alone does not establish which processing route you are using. Confirm that your selected edition and task use local processing.
| Consideration | Offline workflow | Cloud workflow |
|---|---|---|
| Where processing happens | On the local computer | On the service's remote systems |
| Working with private media | More direct control over local files and storage | Requires checking upload, retention, and deletion policies |
| Speed and resources | Depends on your PC and the size of the job | Depends on uploads, service resources, and queues |
| Connectivity | Verify setup and a disconnected test before relying on it | A connection is needed to submit and retrieve jobs |
| Best fit | Repeated local projects or media that should not be uploaded | Projects where online processing is acceptable |
Choose offline processing for control over where work happens, not as a promise of perfect output or faster rendering on every computer. See the GiliSoft Face Swap product page for the available editions.
Prepare Your PC and Source Media
- Confirm the offline edition. Check the installed application and license before using sensitive media. Verify any activation or setup requirements before disconnecting.
- Use files stored on the PC. Make sure a file is fully available locally, not just an online-only placeholder.
- Start small. Use a single-face photo or a short clip. Test the media formats you actually need rather than assuming every codec is supported.
- Keep originals untouched. Separate source portraits, target media, test renders, and approved output into clearly named folders.
- Allow working space. Leave room for output and temporary processing files. Check current system requirements and test on your intended PC.
- Use authorized faces and footage. Get permission from the people depicted and avoid deceptive impersonation or misleading claims of endorsement.
How to Swap Faces Offline on Windows
The workflow below applies to GiliSoft Offline FaceSwap Master. Control labels can differ between builds; use the photo or video task and offline processing option available in your installation.
- Open GiliSoft Face Swap and confirm local processing.
Use your offline edition. Resolve any setup or license prompts before loading private project files.
- Add the target photo or video.
This is the scene that will receive the replacement face. Start with a clear photo or a short video in which the person is easy to identify.
- Add a clear source portrait.
Use the face you want to place into the target. Choose a sharp image with visible eyes and mouth, minimal obstruction, and a pose reasonably close to the target.
- Check which face will change.
Confirm the intended person before processing, particularly if the target contains several people. Inspect any face selection offered by your installed version.
- Process a test and inspect the result.
Look at facial edges, skin tone, eyes, teeth, and hair boundaries. For video, check turns, expressions, cuts, and moments when hands cross the face.
- Save a separate output file.
Choose a local destination and keep the original. Open the exported photo or play the exported video in another application to verify the final file.
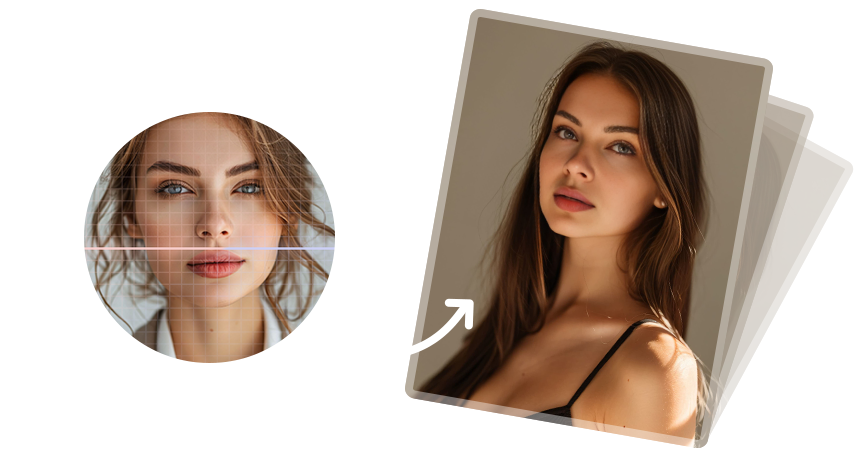
For a photo
Inspect the output at its actual pixel size and again at the size you plan to share. Pay particular attention to the jaw, ears, hairline, and any glasses. A small thumbnail can conceal obvious blending problems.
For a video
Review the entire short test before committing to a longer export. A convincing still frame does not establish consistency across motion. Check the final duration, picture, and audio, as well as the replacement face.
Get More Natural-Looking Face Swaps
| Source or scene | What to improve | What to inspect |
|---|---|---|
| Different head angles | Try a source portrait with a closer pose | Eyes, jaw shape, and side profile |
| Harsh or uneven lighting | Choose a source with more compatible illumination | Skin tone, shadows, and face-to-neck transition |
| Blurred or tiny faces | Use a sharper original with more facial detail | Eyes, teeth, and unnatural smoothness |
| Hair, hands, or glasses covering the face | Test the difficult moments before a full render | Edges where the foreground object crosses the face |
| Fast movement or scene changes | Evaluate a representative short clip | Flicker, identity changes, and missed frames |
Change one input at a time so you can judge what helped. Repeatedly exporting an already processed file is less useful than returning to the original and improving the source face. For more examples, read why a face swap can look fake.
Keep Your Face Swap Files Local
Offline rendering controls the processing location. File storage, account access, backups, and sharing need their own checks.
- Check the actual folder path. Desktop, Documents, and Pictures may be backed up by a sync service. Keep private project files in a location you have verified is not automatically uploaded.
- Do not rely on a temporary sync pause. Uploads can resume later. Review the folder's ongoing backup and sync settings.
- Limit access on shared PCs. Use an appropriate Windows account and protect sensitive storage. A local file is not automatically hidden from other users.
- Review project leftovers. Check saved source portraits, test renders, and temporary exports before handing over or retiring a PC. Delete only files you have confirmed are no longer needed.
- Share deliberately. Get approval for the final result and identify edited content when viewers could mistake it for an authentic image or recording.
See how to keep a face swap workflow local for a more focused file-handling checklist.
Fix Common Offline Face Swap Problems
The app asks for a connection
Check whether you selected cloud processing or whether setup or activation is incomplete. Record the exact message and confirm the requirement with GiliSoft Support. Do not upload private files just to bypass an unexplained prompt.
No face is detected, or the wrong person changes
Try a clearer, unobstructed source portrait and a single-person target first. Check the selected person in a multi-face scene. Very small faces, side profiles, and motion blur can make the task harder.
Processing is slow or stops
Test a shorter clip, check free disk space, and close other demanding applications. Compare with a simple photo task to separate a general setup issue from a particular video problem. Avoid changing several settings at once.
The exported file will not open
Confirm that processing finished and that the destination is writable. Test the file in another compatible viewer or player. Keep the original and record the input format, output settings, and error message if you need support.
Offline Face Swap FAQ
Can I swap faces without uploading my photos?
GiliSoft Offline FaceSwap Master is designed for local photo and video processing. Use the offline edition rather than cloud processing, and save your inputs and output outside folders that automatically sync to online storage.
Does offline face swap mean I never need an internet connection?
Local processing and initial setup are different. Confirm installation, activation, and any required resources before working without internet. Test a complete import-to-export job while disconnected; do not assume every mode in the installer works offline.
Can I use offline face swap for videos as well as photos?
Yes. GiliSoft Face Swap supports photos and videos. Start with a clear photo or a short video sample, then inspect the output before processing longer footage.
Is a dedicated GPU required?
Check the current requirements for your installed edition before buying hardware. Processing time depends on the computer, media resolution, clip length, and selected options. Test representative footage on the PC you intend to use.
Is the offline edition free?
A trial download is available, but Offline FaceSwap Master is a paid edition. Check the purchase page and the installed trial for current licensing and export restrictions before starting a project.
Why does a face swap look unnatural?
Mismatched angles, harsh lighting, blurred faces, occlusion, and rapid motion can reveal a replacement. Try a clearer source portrait with a closer pose and inspect the exported result, especially during movement.