
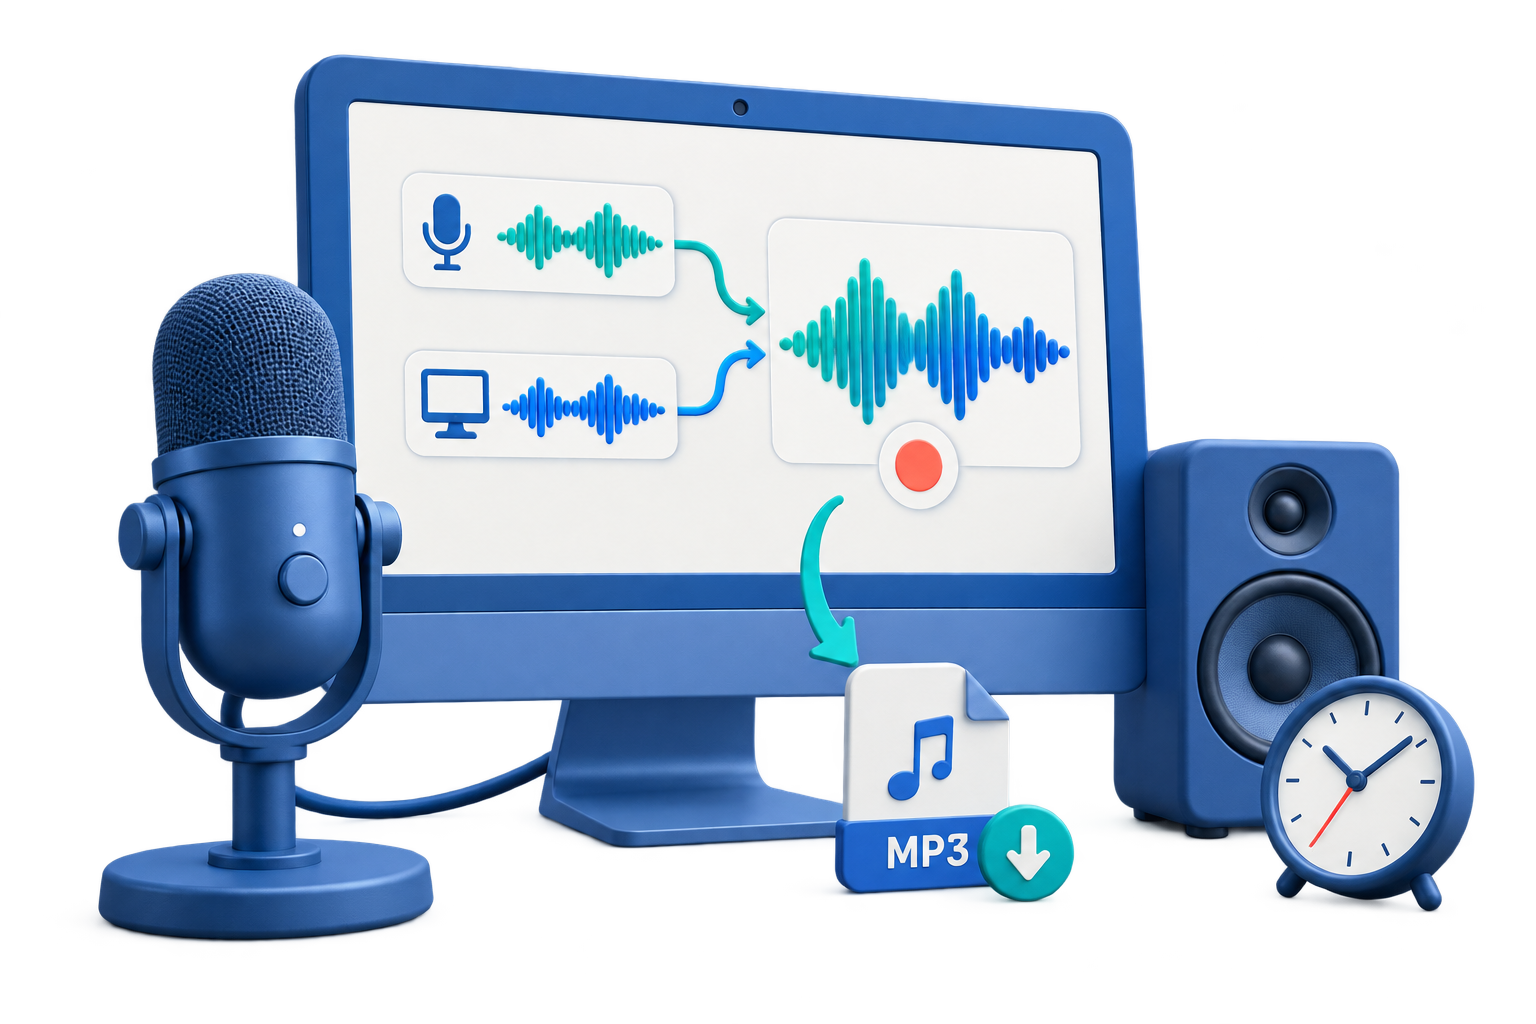
Set up the class recording
Lesson playback
Capture computer sound when the teacher and presentation audio are the priority.
Study notes
Add microphone input only when you need spoken notes or questions.
Long sessions
Use a predictable output folder and check available disk space first.
Step-by-step workflow
Use this sequence in GiliSoft Audio Recorder Pro and make a short test before the full recording or export.
Confirm permission and timing
Record only classes you are authorized to save. Open the lesson early enough to test playback and confirm its start time.
Select the class audio
Choose computer sound in GiliSoft Audio Recorder Pro. Enable the microphone only if spoken notes are part of the plan.
Reduce interruptions
Pause unrelated media and use Windows Focus or Do Not Disturb to reduce notification distractions during the lesson.
Make a short test
Capture a few seconds containing speech and presentation audio, then listen for volume, silence, or unexpected sounds.
Record and organize
Start the lesson capture, stop when the class ends, and rename the saved file with the course and date.
Improve the result before you finish
Make the source intentional
Choose only the input you need and keep unrelated applications quiet. Clear source routing is easier to fix before recording than after export.
Keep a review checkpoint
Listen to the beginning, a representative middle section, and the ending. Confirm that the file is saved before closing the source.
Common problems and practical fixes
- Silent file: verify the source, Windows output device, app volume, and microphone permission.
- Notification sounds: close unrelated apps and use Windows Focus or Do Not Disturb.
- Uneven voice: move the microphone consistently and test input level before the full take.
- Missing ending: leave a few seconds after the last word, then stop and verify the saved file.
Record and share responsibly
Capture audio only when you have permission and follow workplace, school, platform, privacy, and copyright requirements. These tools do not bypass protected playback or replace consent.
Frequently Asked Questions
What audio source should I select?
Choose the source that matches the task: computer sound for playback, microphone for speech, or both when narration and system audio must be captured together.
Why is the recording silent?
Check the selected source, Windows output device, application volume, and microphone permissions. Make a short test recording before capturing the complete session.
How can I avoid unwanted sounds?
Close unrelated media, use headphones when monitoring a microphone, and enable Windows Focus or Do Not Disturb to reduce notification distractions.
Which format is suitable for sharing?
MP3 is convenient for everyday sharing and storage. WAV is better when you want an uncompressed working file for later editing.
Related Windows audio guides
Continue with the workflow that matches the source or post-processing task.