Match the source to the job
Use Computer for playback from the PC, Microphone for voice input, or Include both for commentary alongside PC audio. After connecting a headset or changing speakers, confirm the selected audio devices again.

Capture PC playback, microphone speech, or both for lessons, webinars, interviews, and narration. Choose how the sources are combined and save recordings ready to replay, share, or edit.
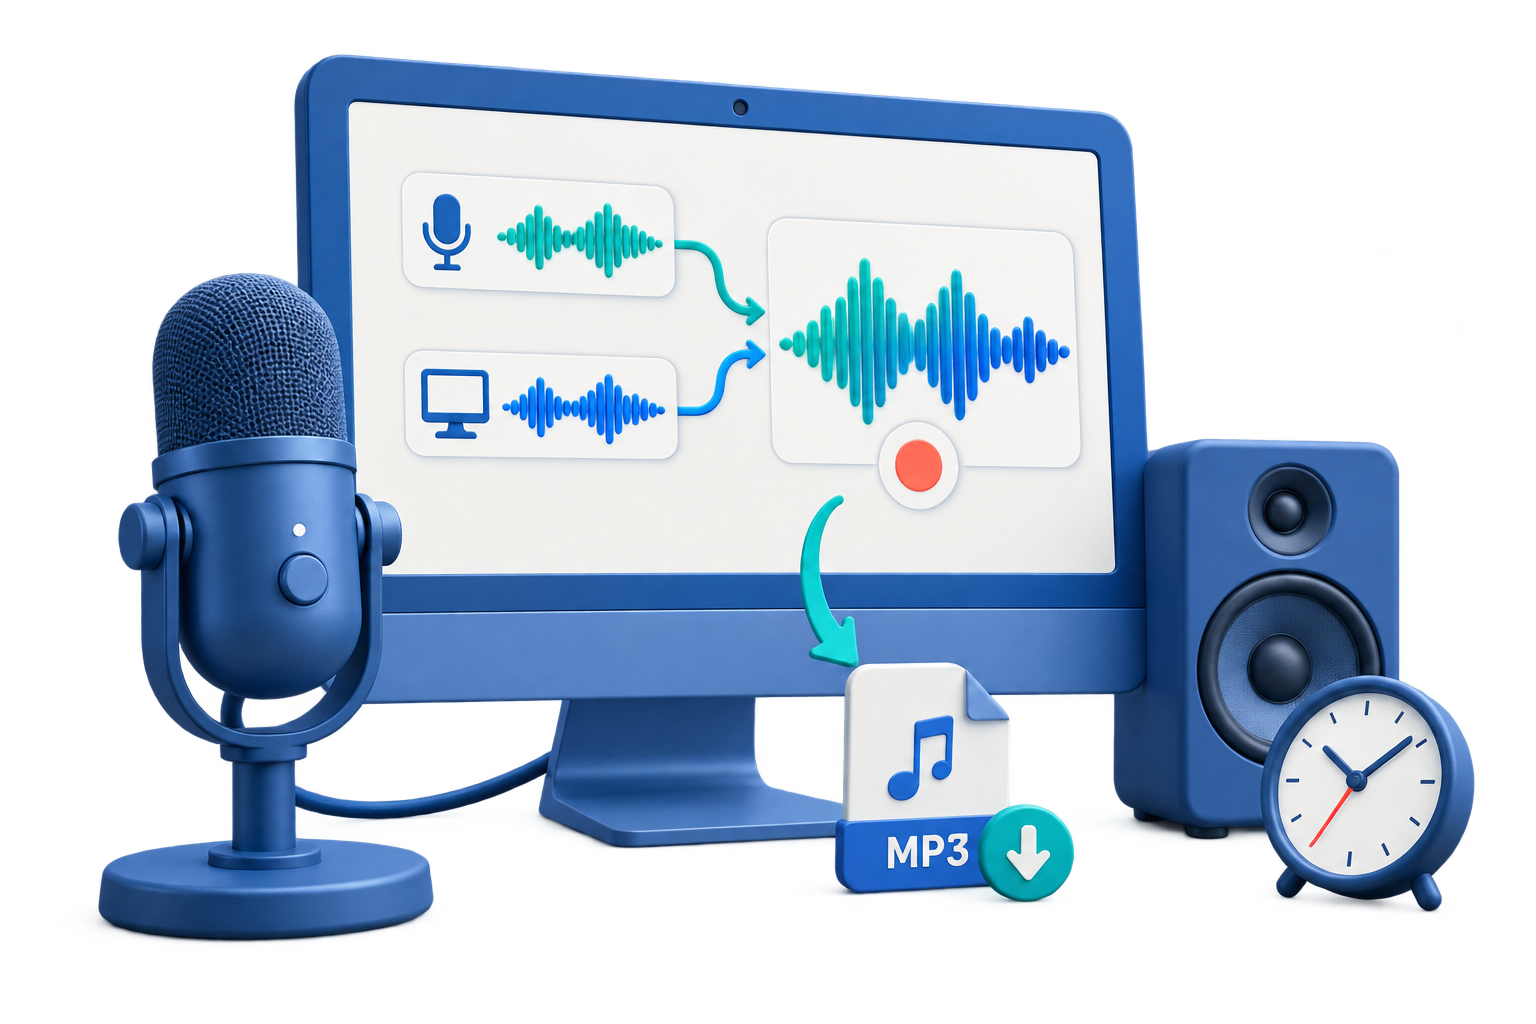
Follow the Windows recording workflow from choosing an audio source to checking the saved file. Use the optional schedule, silence, hotkey, and file-limit settings when the session calls for them.
Click Start Record, choose Computer, Microphone, or Include both, and set the format and destination. Capture a short sample with Record, replay it, then start the full session. With both sources, use Mixing to combine them, place them on separate channels, or save separate files.
Use Computer for playback from the PC, Microphone for voice input, or Include both for commentary alongside PC audio. After connecting a headset or changing speakers, confirm the selected audio devices again.
Choose a folder you can write to with enough free space. Play a sample or speak at the expected volume, then replay a short recording to check levels, speech clarity, and whether both sources are present.
For combined recording, use headphones to reduce speaker sound returning through the microphone. Keep a long recording simple until the basic capture works; add automation after the source and output checks.
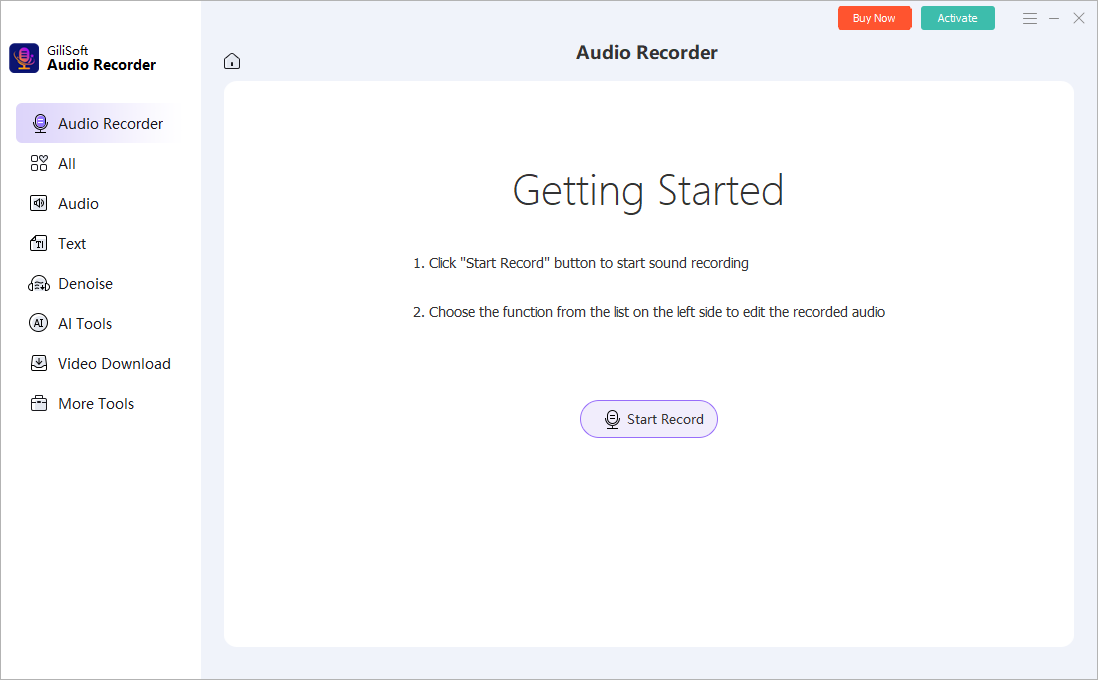
Open GiliSoft Audio Recorder Pro, click Start Record, and choose Computer, Microphone, or Include both. Select the audio devices used by the session; for both sources, choose a Mixing mode and balance their volumes.
Select Computer under Audio Source for browser playback, a media player, an online lesson, or other audio playing on the PC. Use Select audio source device to check the intended playback device. Start the sample recording, play the source audio, and listen to the saved result.
Select Microphone, choose the intended input device, and speak at the distance you will use during the session. Check the microphone's hardware mute and Windows input settings before raising the recording level.
Select Include both. Adjust Microphone volume and Computer volume independently so speech remains clear against the playback. Test with both sources sounding at the same time.
| Mixing choice | What you get |
|---|---|
| Automatic mixing | The microphone and PC playback combined for listening or sharing. |
| Separate left/right channels | One source on the left and the other on the right. Choose which source goes to each channel; this is channel separation, not two output files. |
| Files of microphone and computer separately | Separate files for the two sources when they need independent editing later. |
For a focused walkthrough, see recording system sound and microphone together.
Choose the output format and destination. Open the Record settings to review Record From, bitrate, sample rate, channels, and file naming, then confirm the settings for your recording.
The recording window shows Format and Location. In the Record settings tab, use Record From and Test to check the selected source, then review the audio settings and file name.
Click Record, play the computer audio or speak into the microphone, and stop after a short sample. Replay the saved audio to check that each intended source is audible, clear, and free from echo or distortion.
For Include both, test PC playback and your voice together, then listen for both in the saved audio. Check that commentary does not disappear beneath the playback.
Use headphones if speaker audio returns through the microphone. If speech sounds harsh, lower the input or gain and test again.
Confirm the destination and file format. For separate-file output, open both source files; for left/right output, check each channel.
Start the full recording with Record or your configured Start / Stop hotkey. Stop when finished, open the saved file, and check the beginning, middle, and ending before sharing or editing it.
Use My Audio to review the recordings, and check Location for the save folder. For a meeting, lesson, or interview, verify that the intended opening and ending are included and that the recorded audio plays completely.
Keep the original capture before applying cleanup. If the session needs an unattended start or a bounded recording length, configure the optional controls below and test them in advance.
Click +Auto Record to create a plan. Choose the start condition, stop condition, and output settings for the session rather than relying on the plan's example values.
For a timed session, set the day and time. The plan also shows app-based and Windows-startup conditions; choose the condition that matches how the audio source will become available.
Choose a duration, size, end time, app-ending condition, or no automatic stop as appropriate. Review any exit or shutdown action before saving the plan.
Use the normal recording settings or specify the plan's own output folder and file name. Keep Windows awake, the recorder running, and the selected audio devices available, then run a short scheduled test.
For a dedicated example, follow how to schedule audio recording.
Open the Voice Activation tab. Set the silence-detection threshold and the silent interval, then select the action you want:
These actions are different. Test the quietest expected speech and the normal room noise before choosing a threshold. A setting that treats quiet words as silence can interrupt speech; one that reacts to background noise may keep the recording active.
See the voice-activated recording guide for more detail.
Open the Hotkey tab and choose a Start / Stop shortcut that does not conflict with the application you will use. Test it while that other application has focus before relying on it during a presentation or interview.
Open the File settings tab, choose a Time or Size limit, and decide what should happen when that limit is reached.
Choose Record a new file when the limit is reached when a long session should continue in separate files.
Choose Stop recording when the limit is reached when the session should finish at the configured limit.
For scheduled sessions, also review the Auto Record plan's stop conditions so the plan and file-limit settings match the result you expect.
Open My Audio to review captured files, and confirm the folder shown in Location. An Auto Record plan can save to its own destination, so check the plan if a scheduled file is not in the usual folder.
The Effect tab provides Noise suppression mode and Volume Gain. Make a small change and test the voice again. Raising gain increases the signal and its existing noise; strong noise suppression can also change speech detail.
The separate Denoise workspace includes background-noise, wind, hiss, echo, and voice-enhancement tools. Start with the problem you hear, compare a short treated sample with the original, and keep the original recording.
Follow the audio recording cleanup guide for the next stage, or the background-noise removal guide for that specific problem.
If microphone capture remains silent on Windows 11, open Settings > Privacy & security > Microphone and check microphone access for desktop apps. Microsoft explains the permission controls in Turn on app permissions for your microphone.
Choose Include both under Audio Source, select the intended devices, and balance Microphone volume and Computer volume. Automatic mixing combines them. The Mixing menu also offers separate left/right channels or Files of microphone and computer separately when you need independent outputs.
Choose Computer or Include both, confirm the playback device, and check that the app producing the sound is not muted. Use Record From and Test in the Record settings, then capture and replay a short sample. Check the device selection again after switching speakers or headphones.
Choose Microphone or Include both and select the microphone actually connected to the PC. Check its hardware mute, Windows microphone access, and input level. Speak at a normal distance and record a sample before increasing gain; extra gain also raises existing background noise.
When speakers play into a nearby microphone, the same audio can be captured again. Use headphones for combined recording, check microphone monitoring, and replay a short sample. If you only need PC playback, choose Computer instead of Include both.
Check that the plan is enabled, its date and time are correct, and the selected start condition matches the session. Keep Windows awake, the recorder running, and the required devices available. Review the output folder and run a short scheduled test first. Auto Record settings may require activation.
The silence threshold or silent interval may not suit the speaker and room. Adjust the threshold gradually and test with the quietest expected speech as well as background noise. Check whether the selected silence action pauses, starts a new recording, or stops capture.
Check both the File settings and any Auto Record plan. File can use a time or size limit to create a new file or stop recording; Auto Record has its own stop conditions. Change the rule that is ending or splitting your session.
Check Location in the recording window or Record settings and open My Audio to review the captured files. An Auto Record plan can use a different output folder or file name, so check that plan too if a scheduled recording is not in the usual location.
Audio Recorder Pro supports MP3, WAV, and WMA recording. MP3 is convenient for sharing and smaller files, while uncompressed WAV is useful for later editing. Check bitrate, sample rate, and channels in the Record settings, then verify the saved file in the app or device where it will be used.
Choose a focused walkthrough for your source, recording setup, or next editing task. For the feature overview, visit GiliSoft Audio Recorder Pro.
Choose the source and output you need, test a short sample, and prepare your next lesson, interview, webinar, or narration recording.


Enter your email address to get our latest newsletter