
WAV Joiner for Windows
WAV is a RIFF audio container commonly holding uncompressed PCM or other Windows audio codecs. Before joining, inspect sample rate, bit depth, channels, peaks, metadata, and complete duration so the edit does not drop useful tracks, change timing, or create an incompatible output.
Quick answer
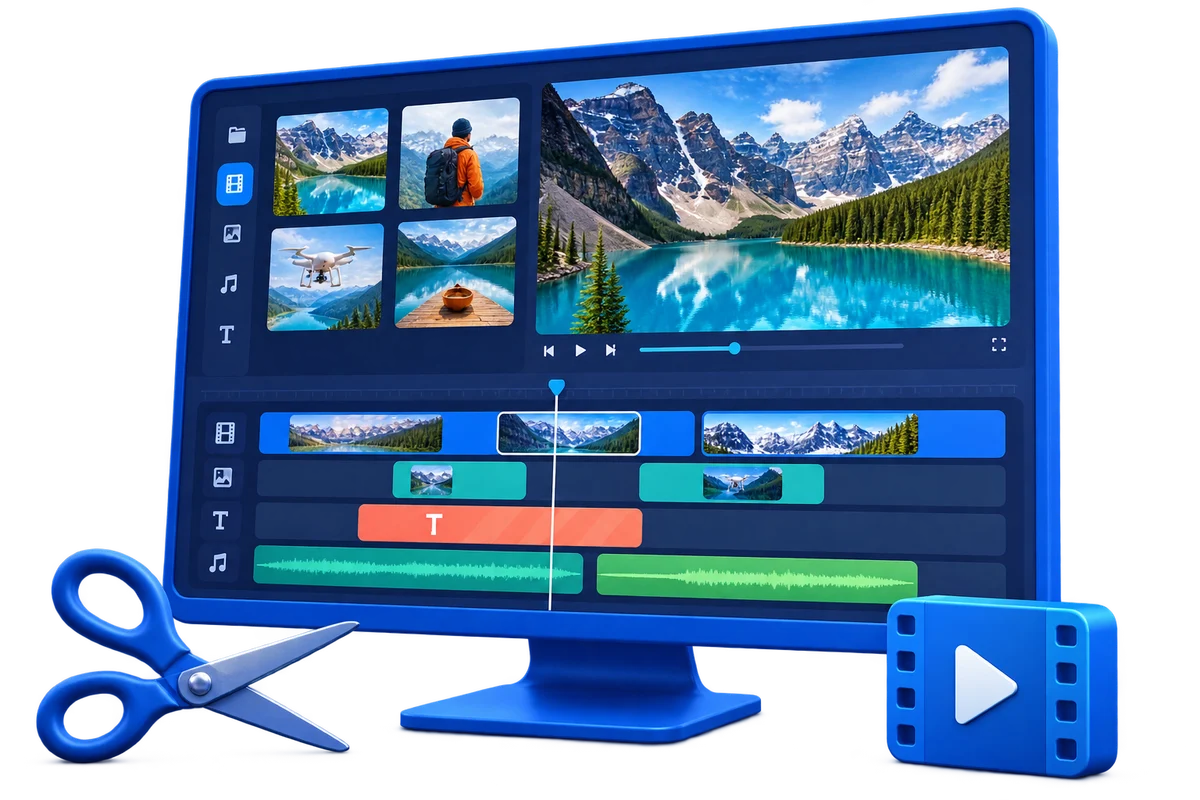
Place the authorized WAV files in order on the GiliSoft Video Editor timeline, inspect their stream differences, adjust boundaries, and export one consistent result. Audio clips with different sample rates, channels, or loudness should be normalized deliberately.
Choose the Right Joiner Workflow
| Goal | Recommended approach | Verification |
|---|---|---|
| Matching recordings | Order clips and inspect waveform boundaries | No click, silence gap, or overlap |
| Different loudness or channels | Normalize levels and choose a consistent layout | Volume and stereo image remain stable |
| Music or spoken sequence | Use fades only where the material needs them | No clipped phrase, beat, or ambience |
Step-by-Step Workflow
- Preserve and inspect the source
Keep the authorized original unchanged. Play it and check sample rate, bit depth, channels, peaks, metadata, and complete duration.
- Define the exact result
Decide why you are joining the file, who will receive it, and which duration, order, format, tracks, captions, or size limits matter.
- Build the joiner edit
Arrange clips in the required order and inspect every boundary in GiliSoft Video Editor.
- Preview the difficult boundaries
Check waveform transitions, words, beats, ambience, channels, and loudness.
- Export and verify every result
Use settings for the destination, then check the beginning, boundaries, middle, ending, duration, file names, and playback outside the editor.
Protect Timing, Quality, and Context
- Keep the authorized original unchanged and export a separate edited copy.
- Review every edit boundary with sound and picture rather than relying only on the timeline markers.
- Match output format, resolution, frame rate, channels, and captions to the actual destination.
Limits to Understand
Export settings should preserve required bit depth and channels; converting to a lossy format is not lossless editing. Direct joining without re-encoding generally requires closely matching streams; a timeline export normalizes differences but creates a new encoded file.
Frequently Asked Questions
Can different formats be joined directly?
A direct join usually needs matching streams. A timeline can combine different sources by decoding and exporting them into one consistent output.
Why is there a gap or click at a join?
The clips may contain silence, mismatched timestamps, or hard audio boundaries. Trim and preview the join, then use a short fade when appropriate.
Should every clip use the same frame rate?
A consistent project and output frame rate is normally safer. Review motion when sources differ.
How should I verify a long joined file?
Check every join point as well as the beginning, middle, ending, duration, audio sync, and final file size.