
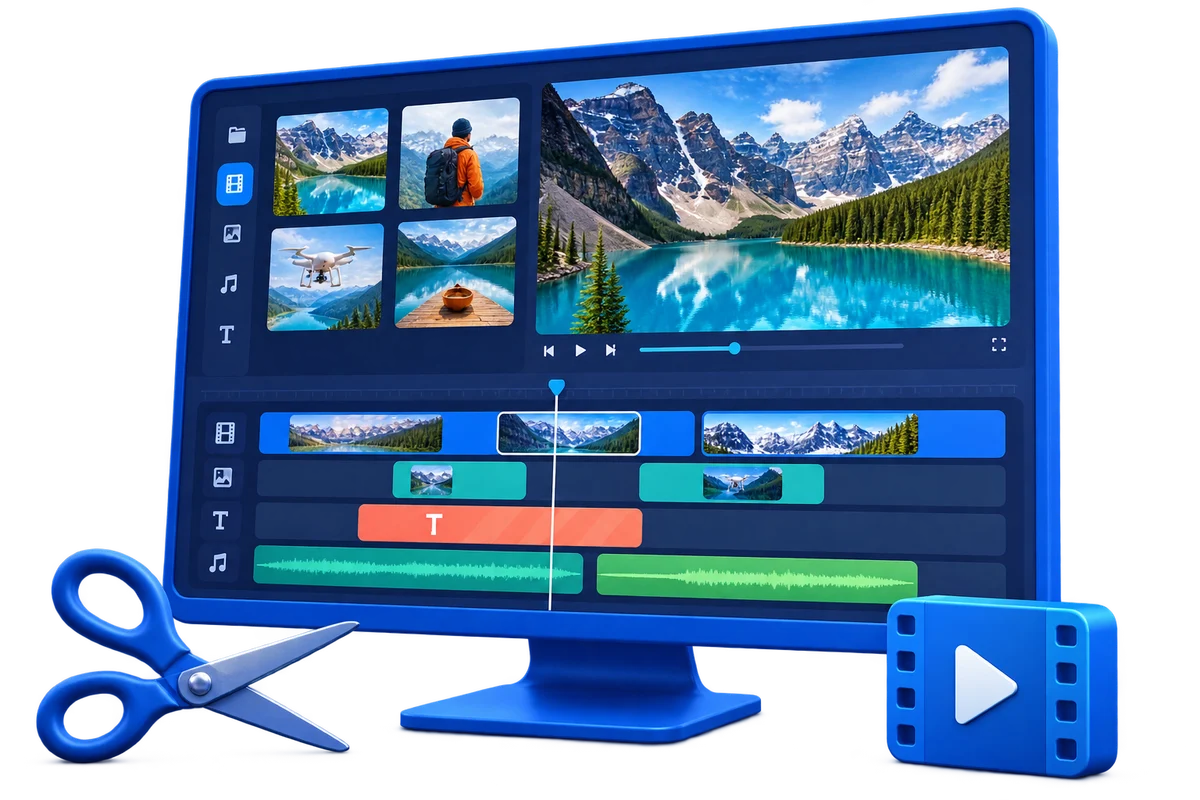
WAV Splitter for Windows
WAV is a RIFF audio container commonly holding uncompressed PCM or other Windows audio codecs. Before splitting, inspect sample rate, bit depth, channels, peaks, metadata, and complete duration so the edit does not drop useful tracks, change timing, or create an incompatible output.
Quick answer
Import the authorized WAV source into GiliSoft Video Editor, define segment boundaries by content or delivery requirement, and export clearly named parts. Inspect waveform boundaries and use short fades when necessary to prevent clicks.
Choose the Right Splitter Workflow
| Goal | Recommended approach | Verification |
|---|---|---|
| Split by track or topic | Use waveform and listening together | Every part starts and ends cleanly |
| Split by duration | Move boundaries away from words and transients | No click, clipped syllable, or cut beat |
| Batch output | Use numbered names and consistent audio settings | Order, duration, channels, and loudness are correct |
Step-by-Step Workflow
- Preserve and inspect the source
Keep the authorized original unchanged. Play it and check sample rate, bit depth, channels, peaks, metadata, and complete duration.
- Define the exact result
Decide why you are splitting the file, who will receive it, and which duration, order, format, tracks, captions, or size limits matter.
- Build the splitter edit
Place segment markers at complete content boundaries in GiliSoft Video Editor.
- Preview the difficult boundaries
Check waveform transitions, words, beats, ambience, channels, and loudness.
- Export and verify every result
Use settings for the destination, then check the beginning, boundaries, middle, ending, duration, file names, and playback outside the editor.
Protect Timing, Quality, and Context
- Keep the authorized original unchanged and export a separate edited copy.
- Review every edit boundary with sound and picture rather than relying only on the timeline markers.
- Match output format, resolution, frame rate, channels, and captions to the actual destination.
Limits to Understand
Export settings should preserve required bit depth and channels; converting to a lossy format is not lossless editing. Exact video split points can depend on keyframe placement; frame-accurate boundaries may require re-encoding.
Frequently Asked Questions
Can a video be split at an exact frame?
Yes with frame-accurate editing, but the boundary may need re-encoding when it falls between keyframes.
How should split files be named?
Use a stable base name plus ordered numbers or meaningful chapter labels so the sequence is obvious.
Can I split by file size?
Use a target size as a planning limit, but verify duration and content boundaries because encoded size can vary.
Should every segment use the same settings?
Usually yes for a consistent series, unless a destination explicitly requires different output.