
How to Beautify a Photo on Windows
Good beautification often means correcting light and small distractions rather than smoothing every detail. Different portraits need different levels of adjustment.
Quick answer
In GiliSoft Image Editor, fix framing and exposure first, then use subtle face or color adjustments only where needed. Compare at full size and at the final display size before exporting a separate copy.
Before You Start
- Keep the highest-quality original and avoid repeated lossy exports.
- Decide whether the photo is for a personal portrait, product listing, or document; each has different authenticity expectations.
- Check existing white balance and lighting before applying filters.
Choose the Right Approach
| Situation | Approach | Check |
|---|---|---|
| Underexposed face | Adjust light and shadows | Skin tone remains believable |
| Temporary blemish or stray detail | Use a focused repair | Texture and facial features remain intact |
| Dull overall color | Apply restrained color enhancement | No clipped highlights or oversaturation |
Beautify a Photo on Windows: Step by Step
- Correct the frame
Crop and rotate without cutting off important features.
- Adjust global tone
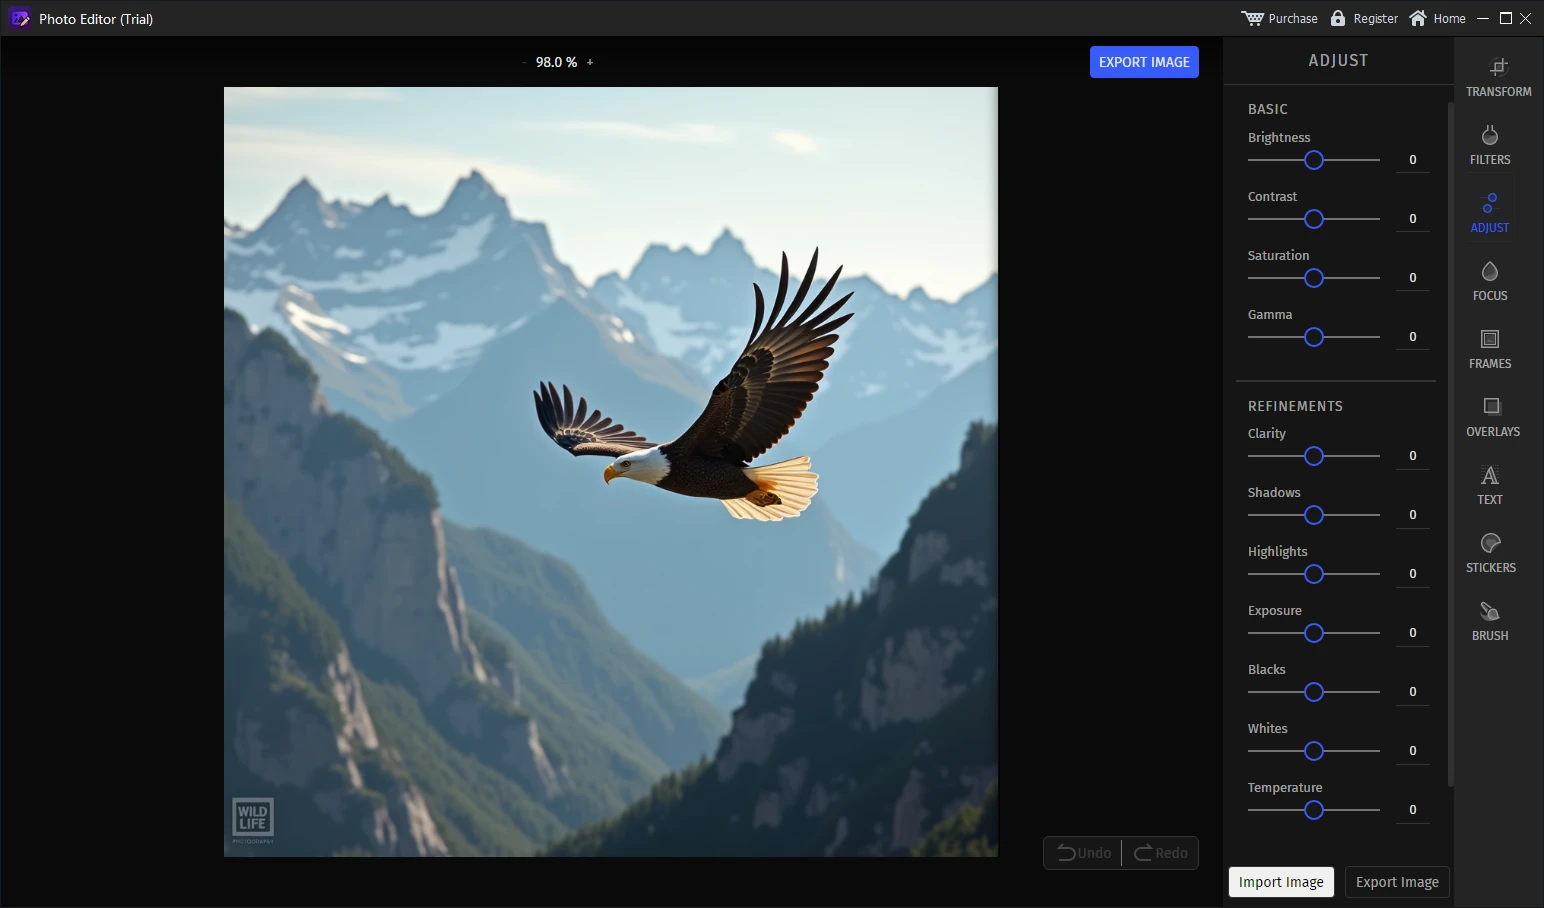
Use Image Editor's light and color tools to make the subject clear while preserving contrast.
- Retouch selectively
Apply available face repair or cleanup only to small problem areas.
- Review side by side
Check skin texture, eyes, hair, background edges, and color on both desktop and intended output size.
Review the Result
- Does the person still look like themselves?
- Are skin texture and facial details preserved?
- Will the output's crop and resolution fit the destination?
Limits and Common Mistakes
Strong smoothing, sharpening, or saturation can create halos and unnatural skin. Do not alter identification or evidence photos where authenticity rules prohibit edits.
Frequently Asked Questions
Should I use face repair or global enhancement?
Correct overall lighting first, then use a targeted face tool only where needed.
Can I beautify a group with one setting?
Test several faces first; different lighting and skin tones may need separate adjustments.
How do I keep the original?
Export to a new filename and compare the final result before replacing any approved asset.