
Work from a copy when the photo is important so the original remains available for comparison or another edit.
GiliSoft Image Editor User Guide
Image Editor User Guide for Windows
Edit, retouch, watermark, clean, and enhance photos from one Windows workspace.

Before you edit a photo
Keep the original image available and decide whether the job is basic editing, visible design work, cleanup, or photo enhancement.
Know whether the image is intended for a website, product listing, lesson, social post, report, archive, or personal collection.
Zoom in around faces, text, hair, product edges, and small objects before applying cleanup or enhancement tools.
When several images need the same preparation, test the settings and visual style on one representative photo first.
Image Editor is for photo editing and enhancement. Use the dedicated GiliSoft Image Converter when the main task is format conversion, RAW or HEIC conversion, image compression, or image-to-PDF output.
1. Open the Image Editor workspace
Start with the photo and the task you need
- Open GiliSoft Image Editor.
- Add the photo or image set you want to prepare.
- Select the image and review it in the main workspace.
- Choose Transform, Adjust, Filter, Text, Watermark, Cleanup, or another available tool.
- Preview each change before applying it permanently.
- Save a test copy when several images will receive similar edits.
The main workspace keeps ordinary editing, design elements, watermark tasks, cleanup, and photo enhancement close together.
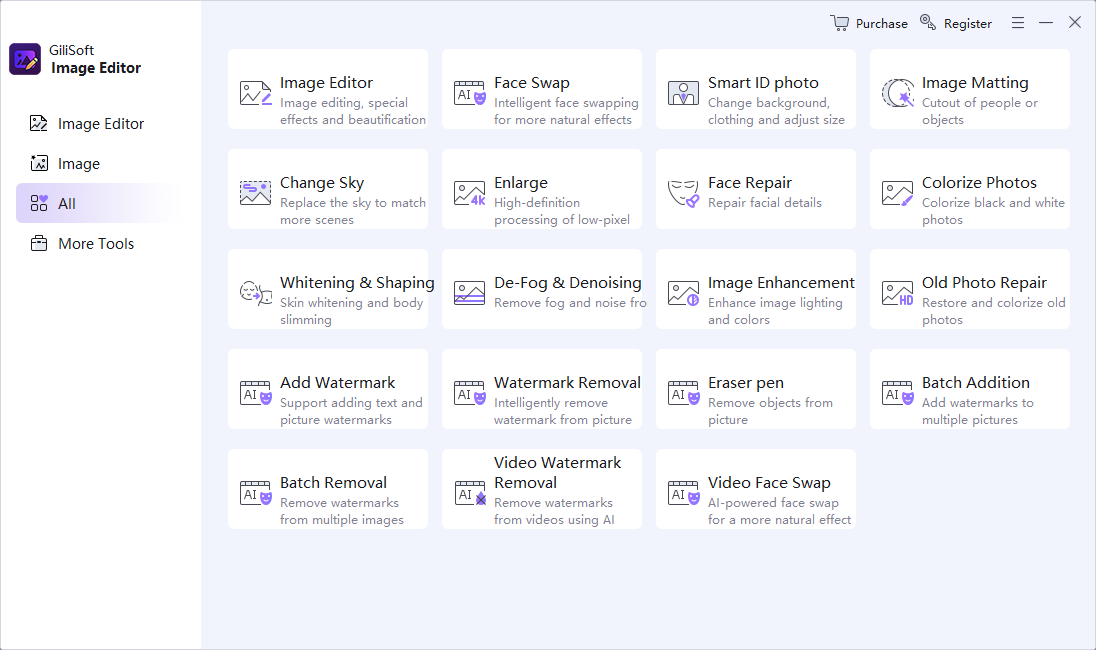 Choose the photo and the editing task from the main workspace
2. Crop, rotate, resize, and adjust photos
Begin with composition and orientation, then correct the overall appearance before adding text, marks, or decorative elements.
Correct the frame and overall image appearance
- Open Transform to crop, rotate, resize, or reorient the photo.
- Set the crop boundary around the content you want to keep.
- Check that important subjects and text remain inside the frame.
- Open Adjust and review brightness, contrast, color, and other available controls.
- Compare the edited preview with the original.
- Apply the changes only when important colors and details still look natural.
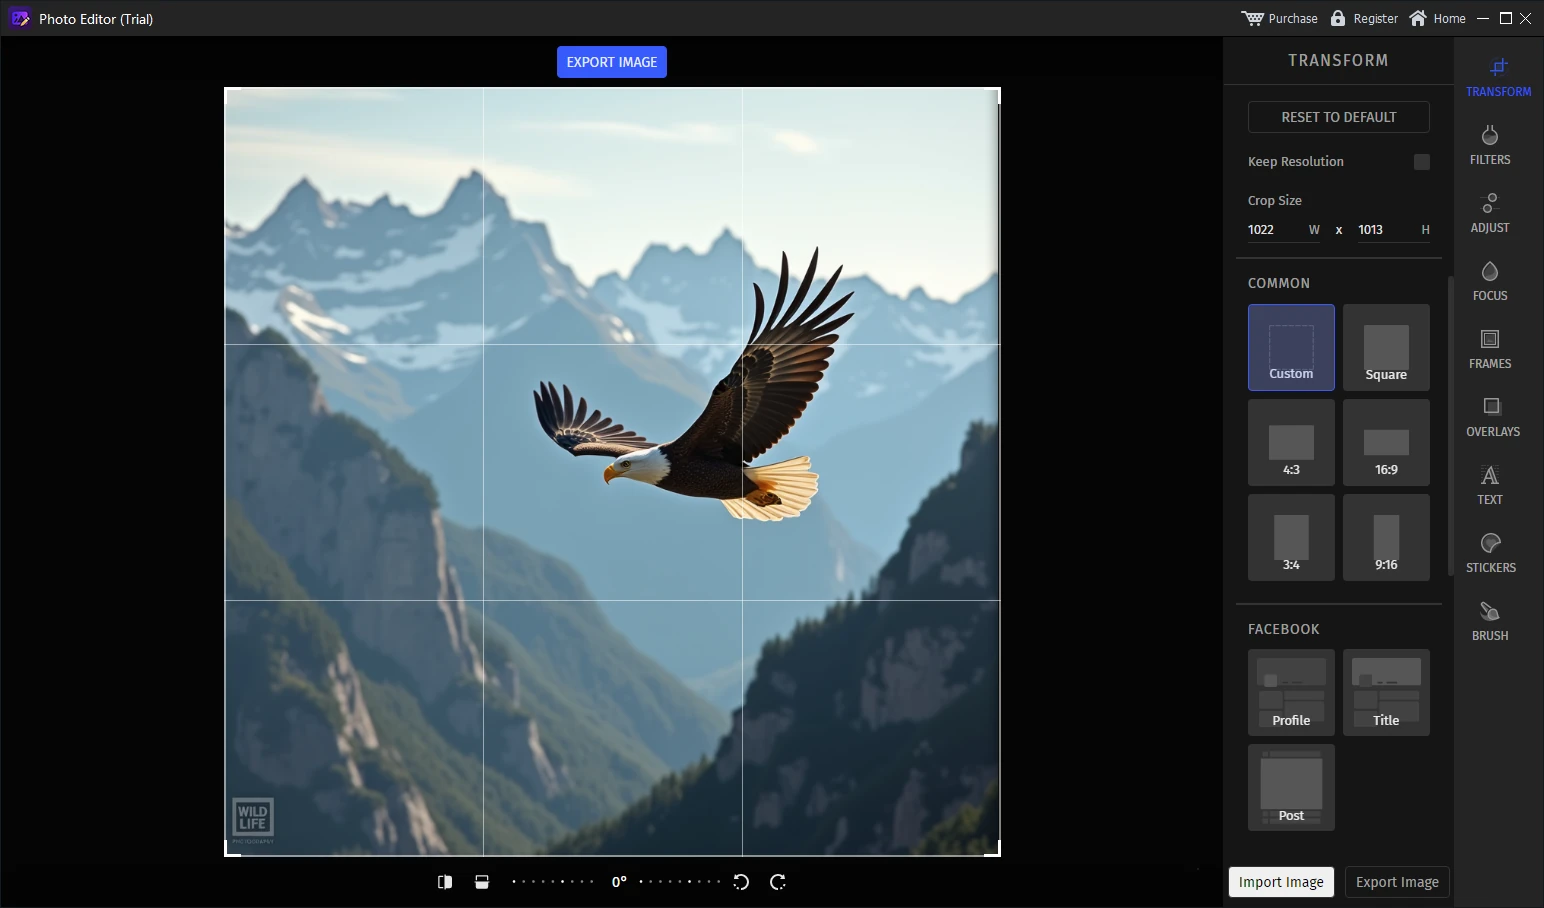 Crop, rotate, resize, and reframe the photo
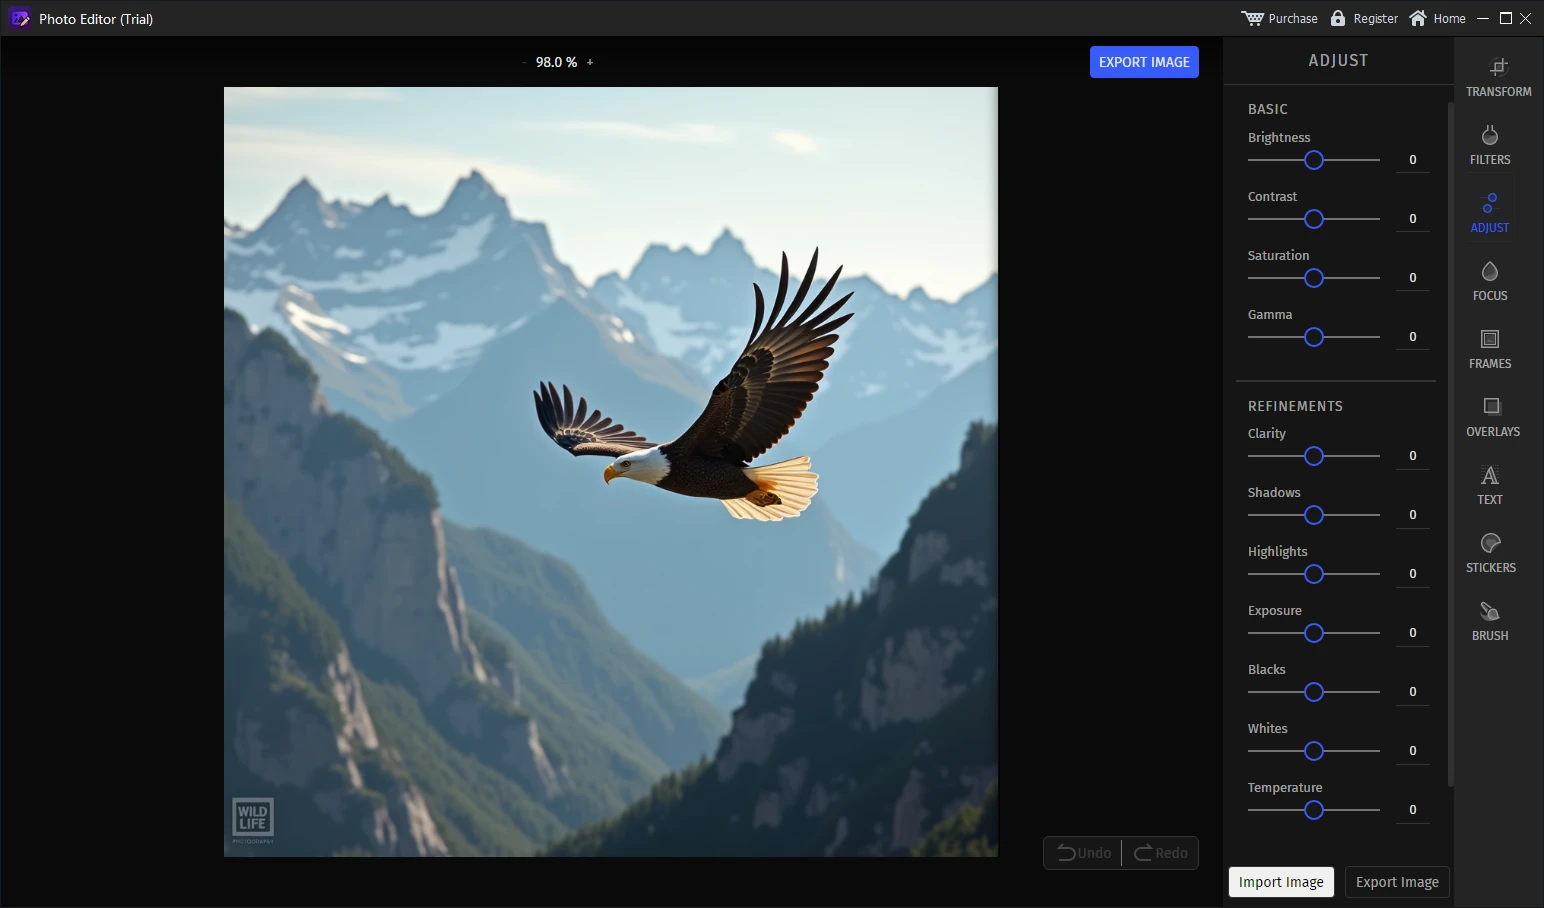 Correct the overall visual balance with adjustment controls
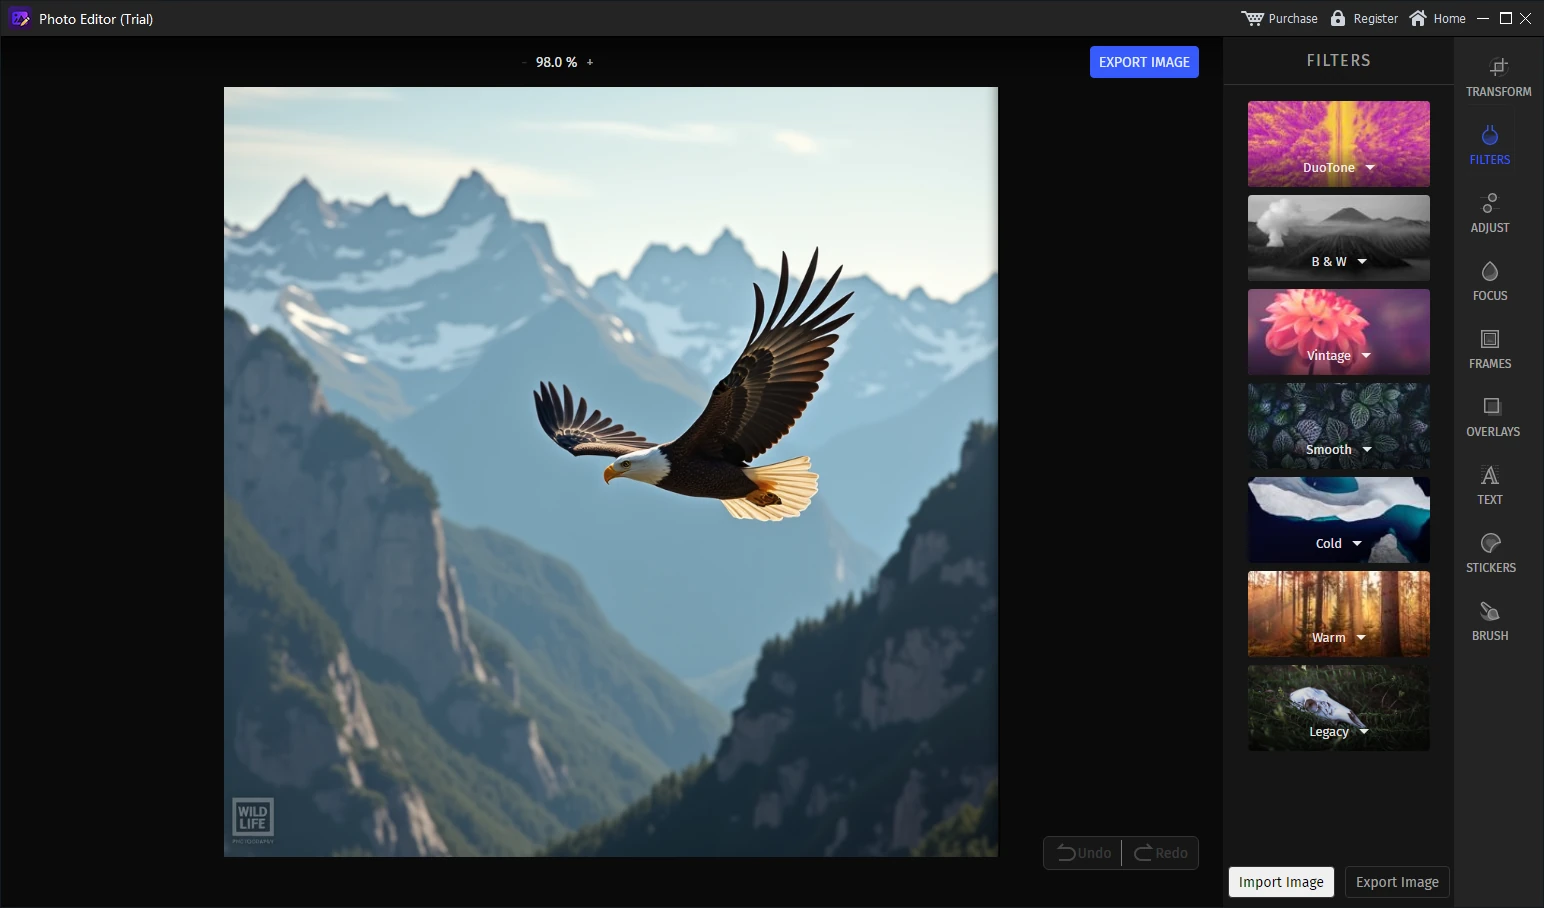 Preview creative filters before applying the final look
3. Add text, stickers, frames, and overlays
Use visual elements to add context, branding, decoration, instructions, or a consistent presentation style.
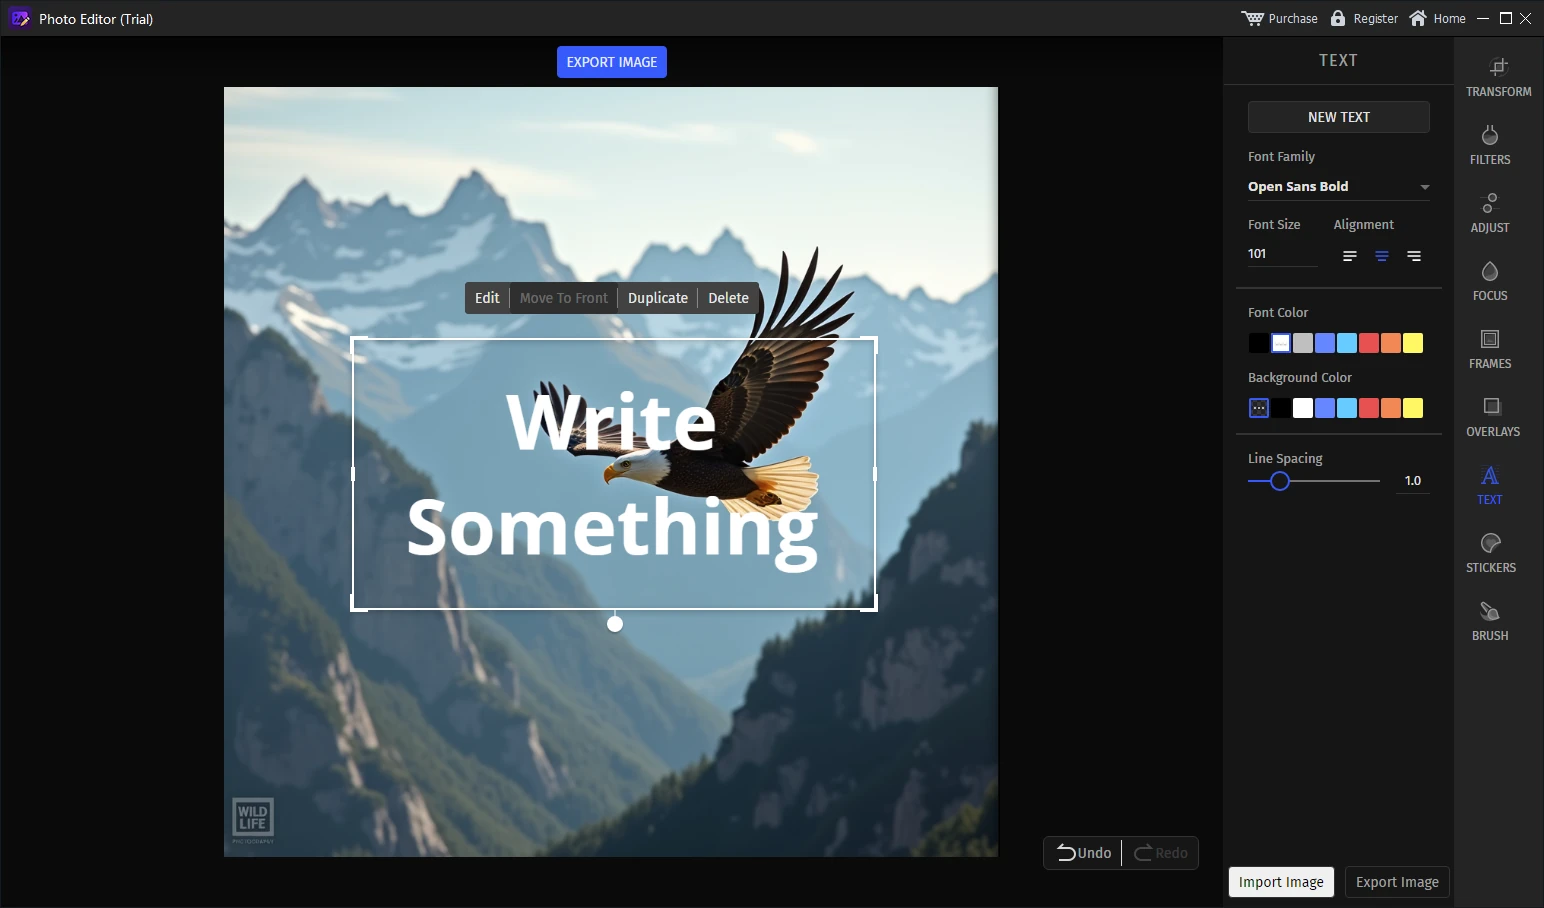 Add headings, captions, labels, or short visual notes
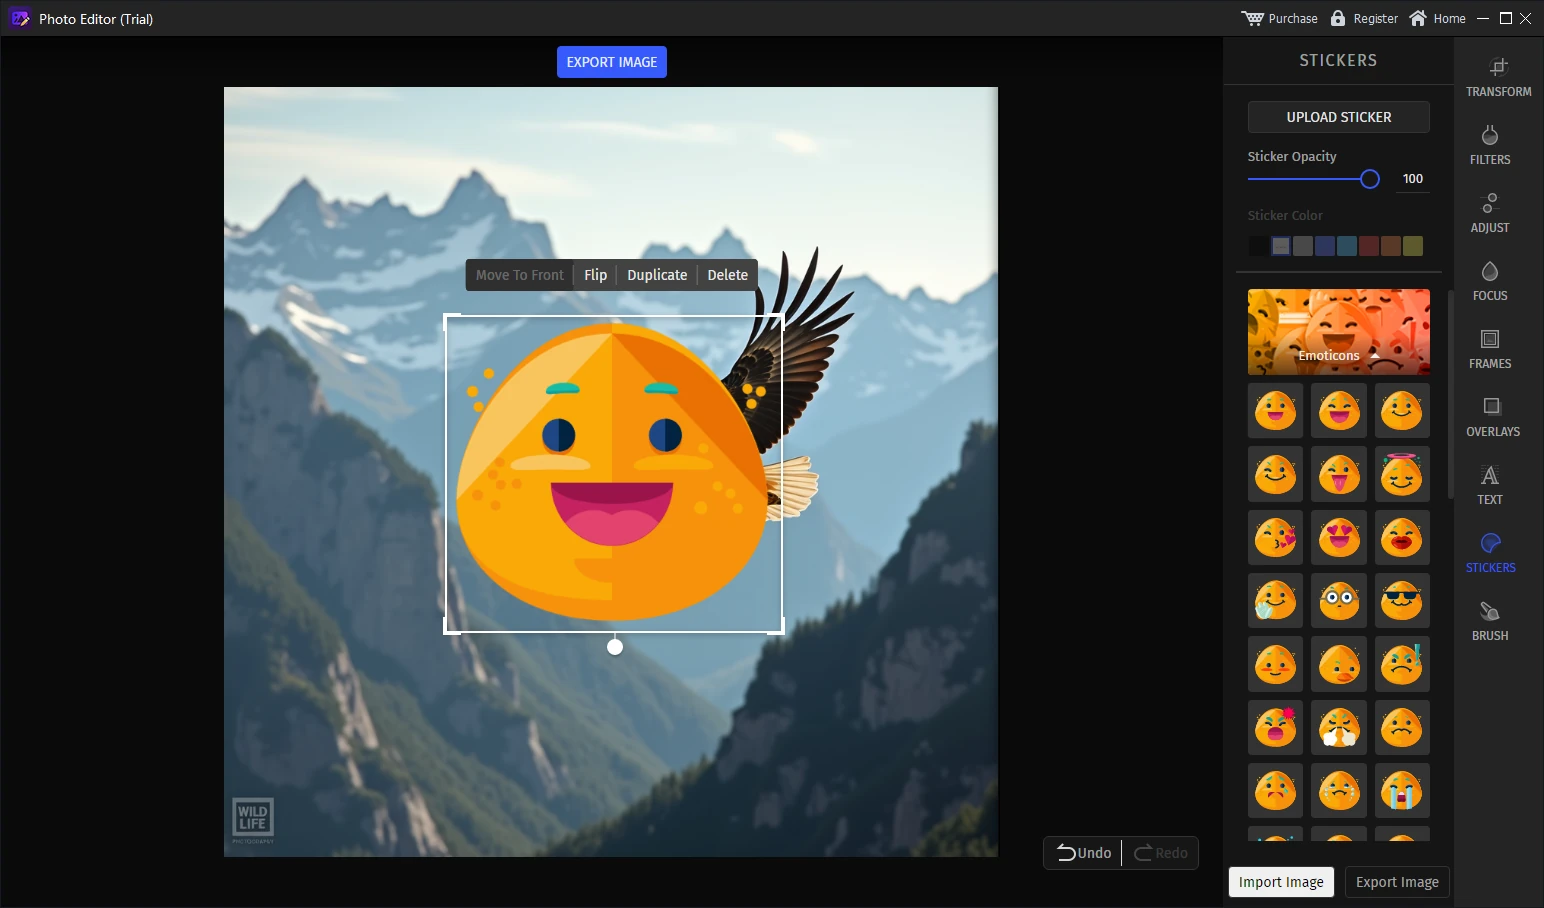 Place decorative or explanatory stickers
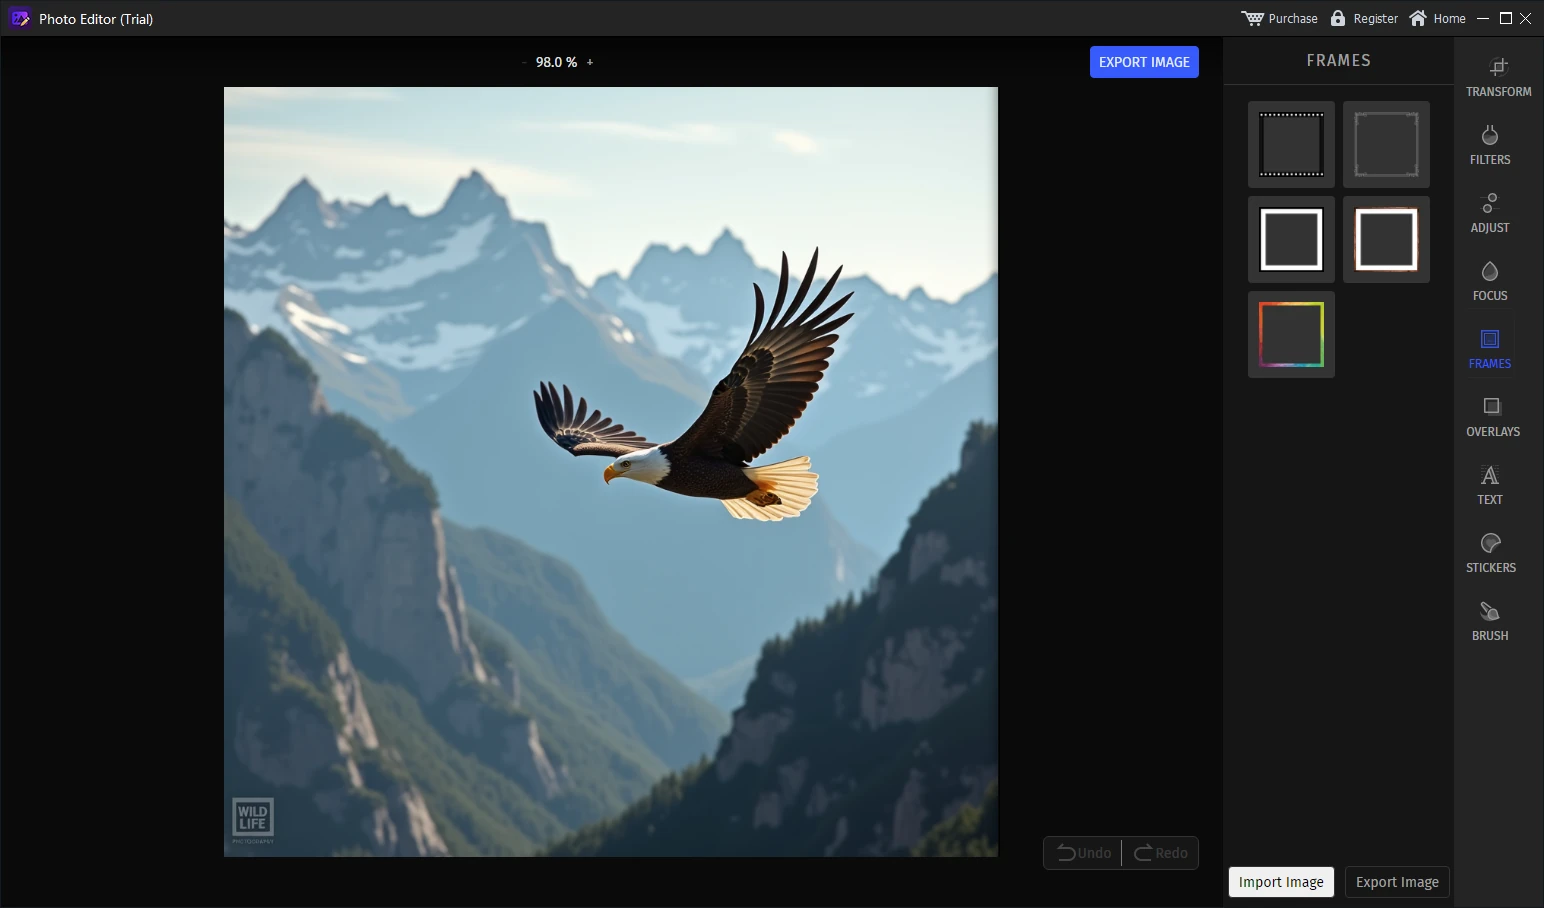 Apply a frame that suits the final image
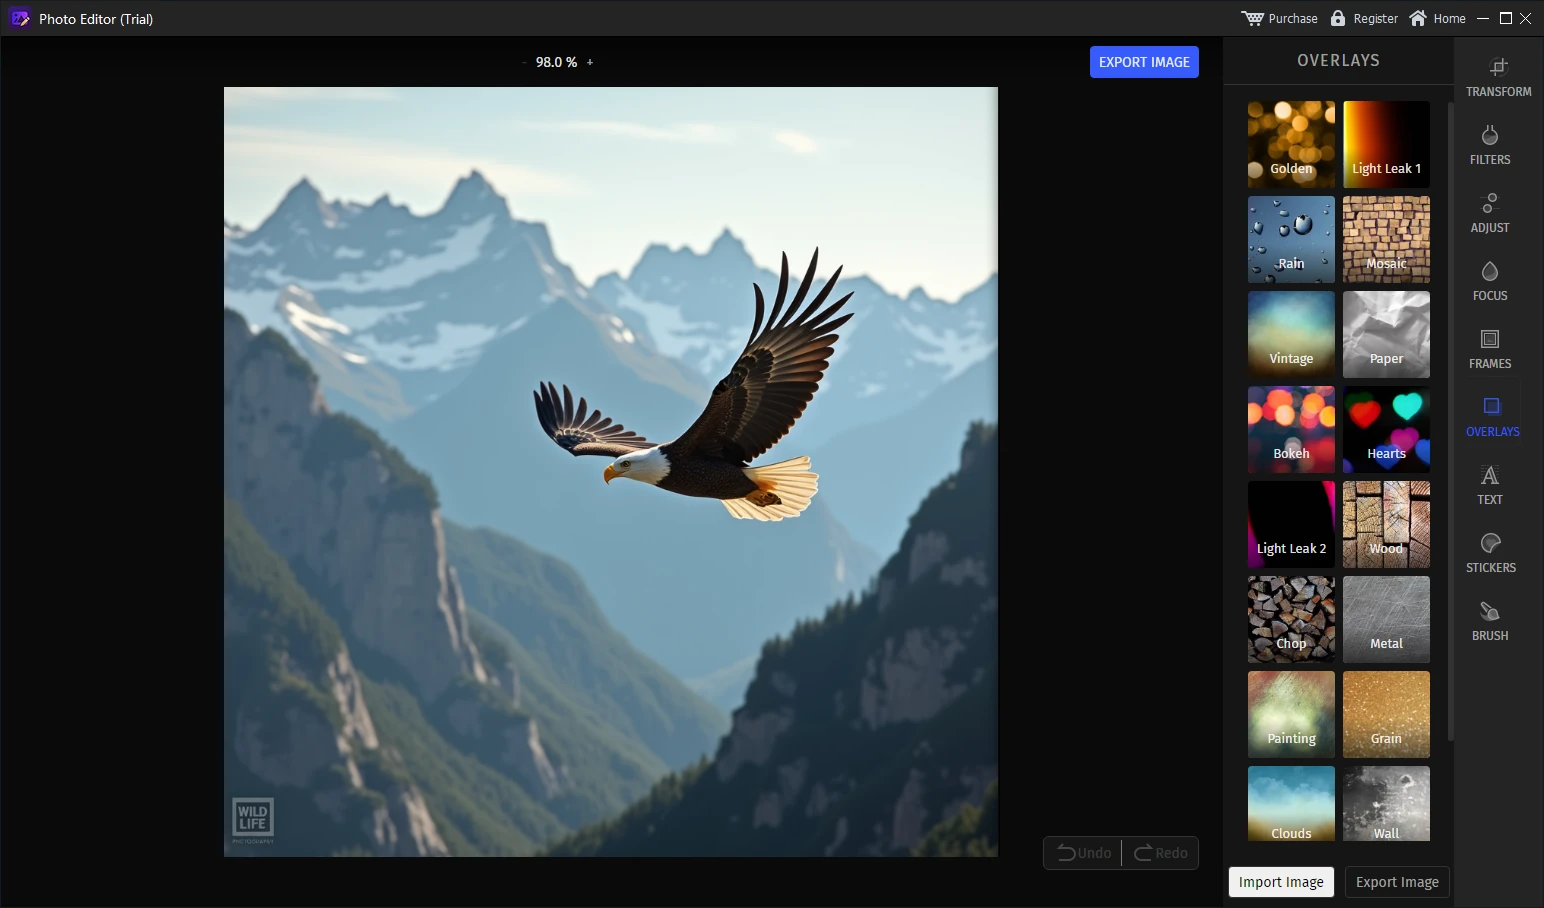 Add a visual overlay and review its effect on the subject
Keep text readable
Use concise wording, sufficient contrast, and a size that remains clear on the expected display.
Protect the main subject
Keep stickers, frames, and overlays from hiding faces, products, or important document details.
Use a consistent style
Apply the same fonts, colors, and decorative choices when several photos belong to one project.
4. Add, remove, and repeat photo watermark tasks
Choose the watermark action that matches the source
- Use Add Watermark when the finished photo needs a current text, logo, or ownership mark.
- Position and size the new mark without covering the main subject.
- Use Remove Watermark for an obsolete date, label, logo, or other authorized visible mark.
- Keep removal selections tight around unwanted elements.
- Use the batch watermark workspace when several photos need the same visible mark.
- Export one test image and inspect it before continuing with the remaining photos.
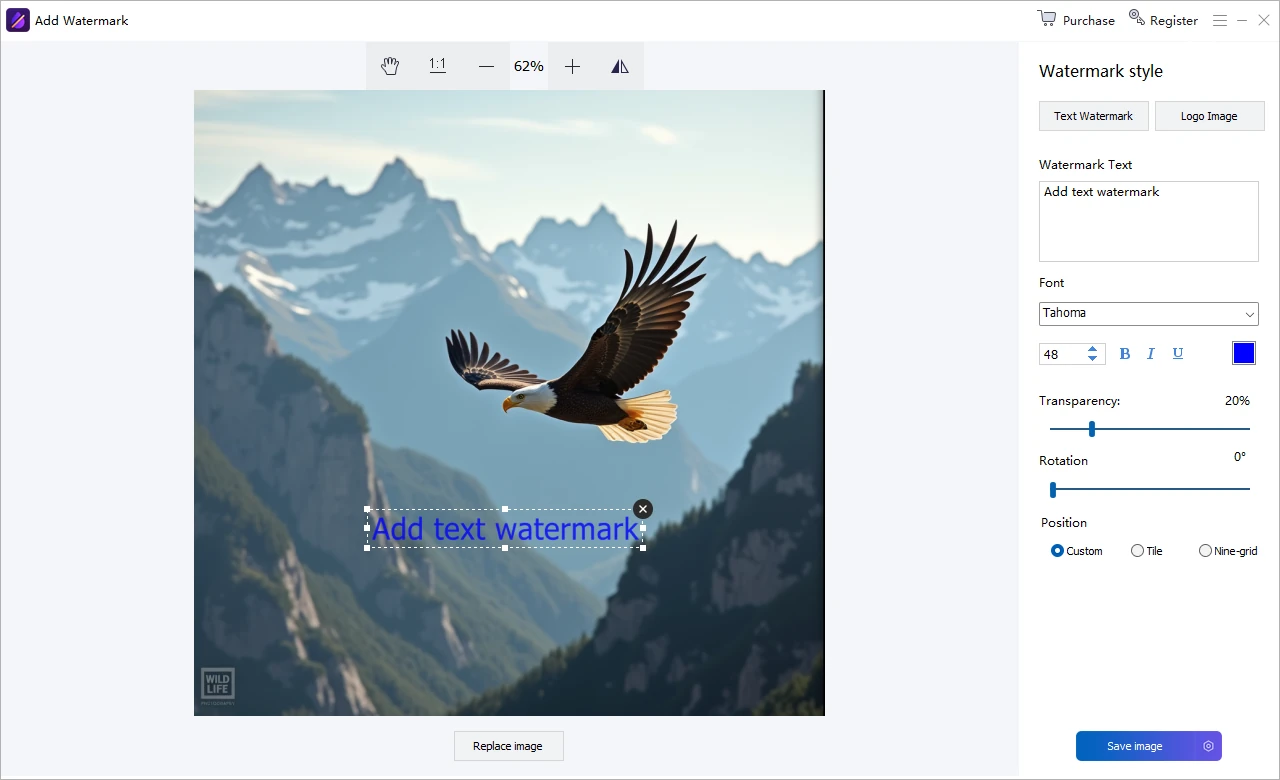 Add and position a text or image watermark
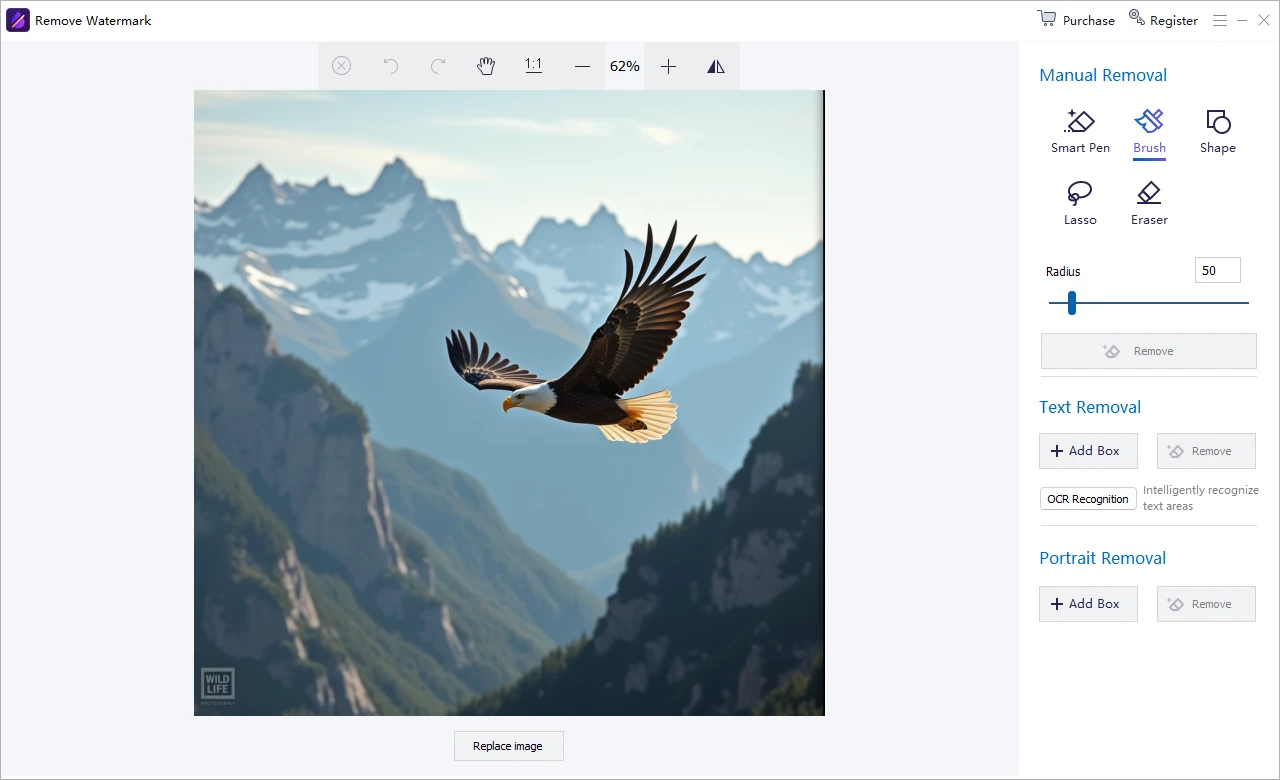 Select and clean an unwanted visible mark
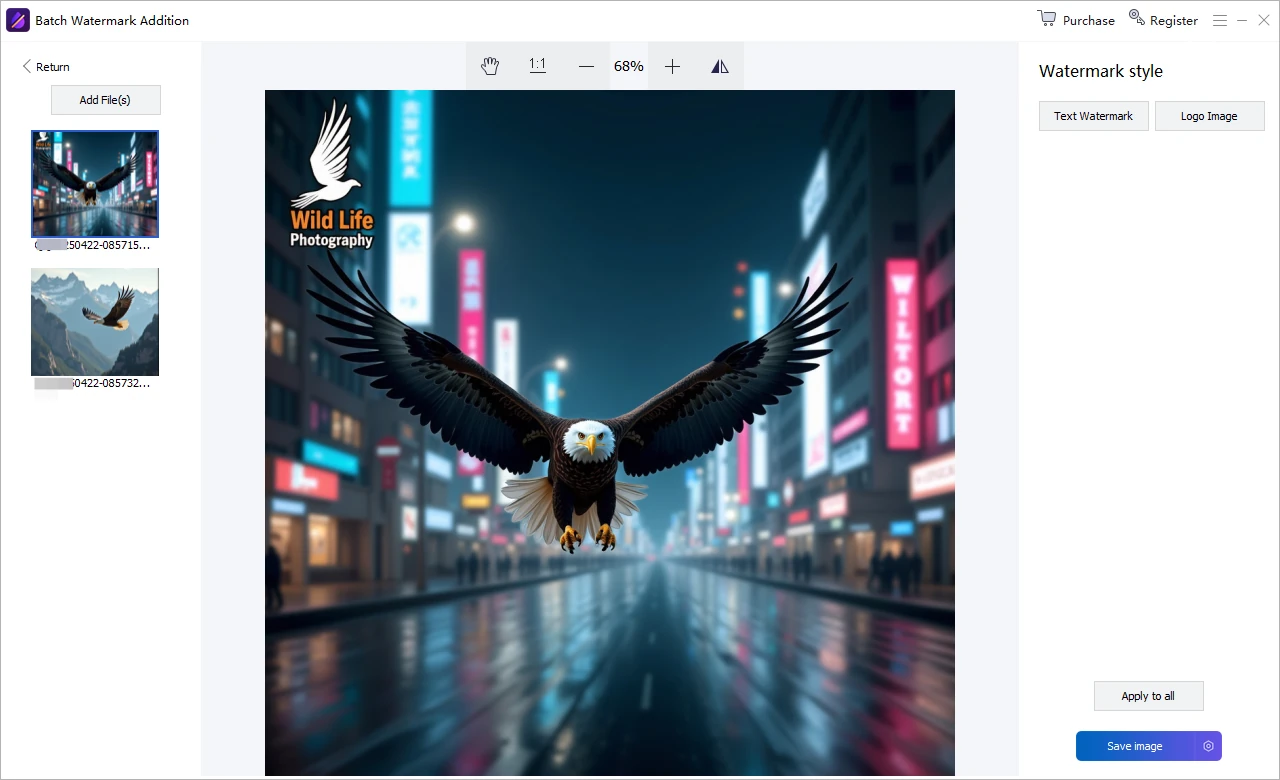 Prepare repeated watermark tasks for an image set
5. Clean unwanted areas and change the photo background
Refine the image without affecting important details
- Use the eraser or cleanup pen on small unwanted areas.
- Zoom in and keep the selected region away from important edges.
- Work in smaller passes when the background contains detailed texture.
- Use the sky-change workspace when the outdoor background needs a different sky treatment.
- Review hair, buildings, tree branches, and other fine boundaries closely.
- Compare the complete photo with the original before saving.
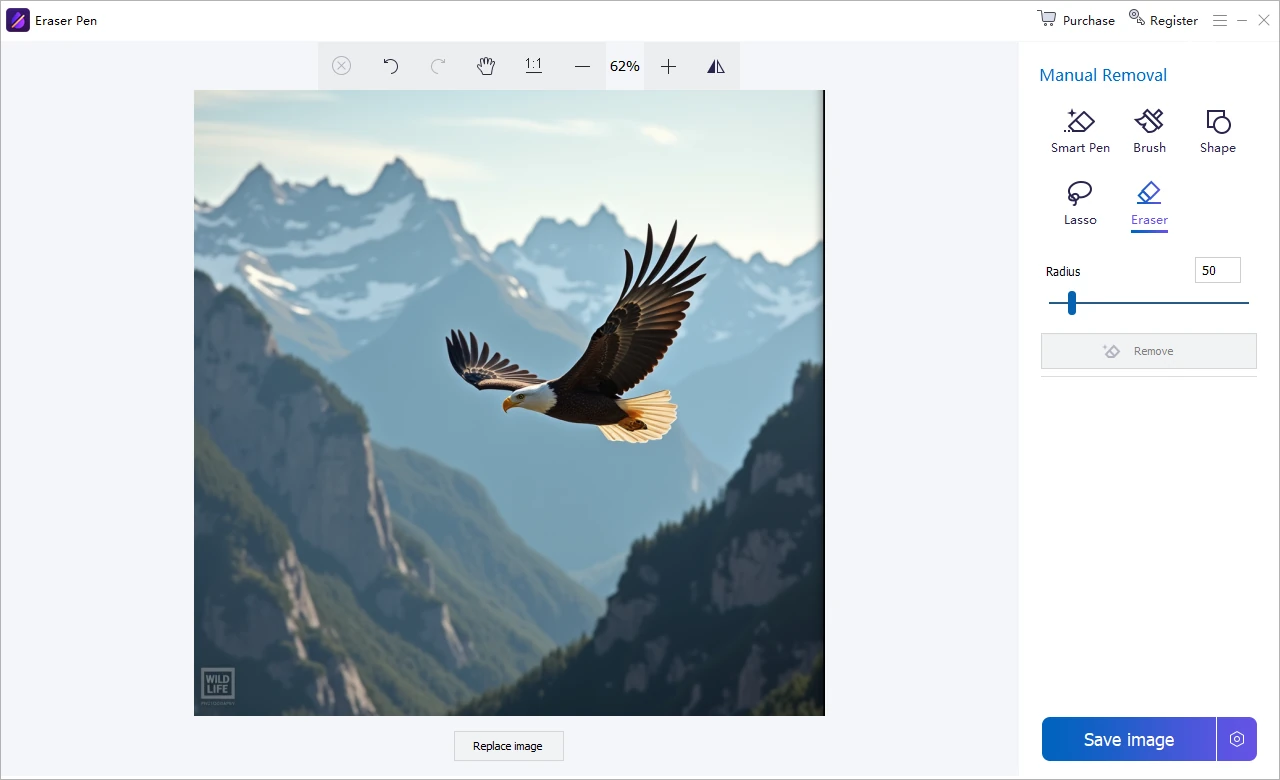 Clean small unwanted areas with a controlled selection
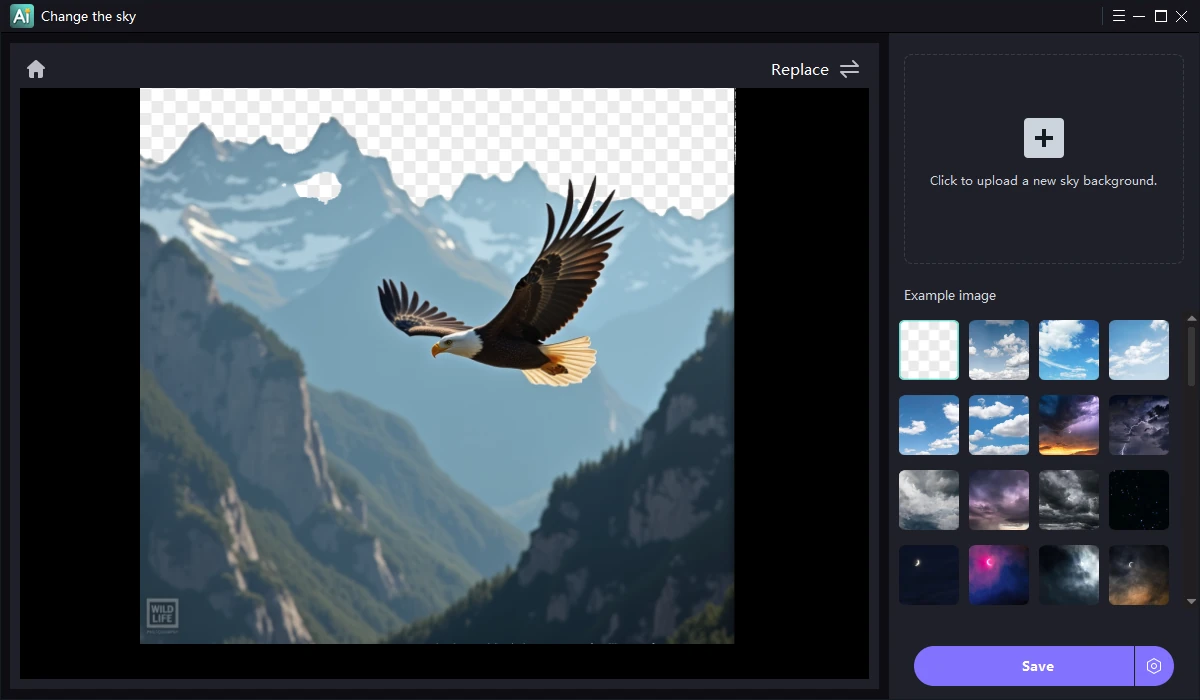 Replace or adjust the sky while reviewing fine boundaries
Review complex edges
Faces, hair, transparent objects, foliage, product outlines, and architectural details require closer inspection after cleanup or background changes.
6. Improve old, weak, or hazy photos
Use the enhancement workspaces for visual photo improvement, then review the result rather than assuming every automatic change should be kept.
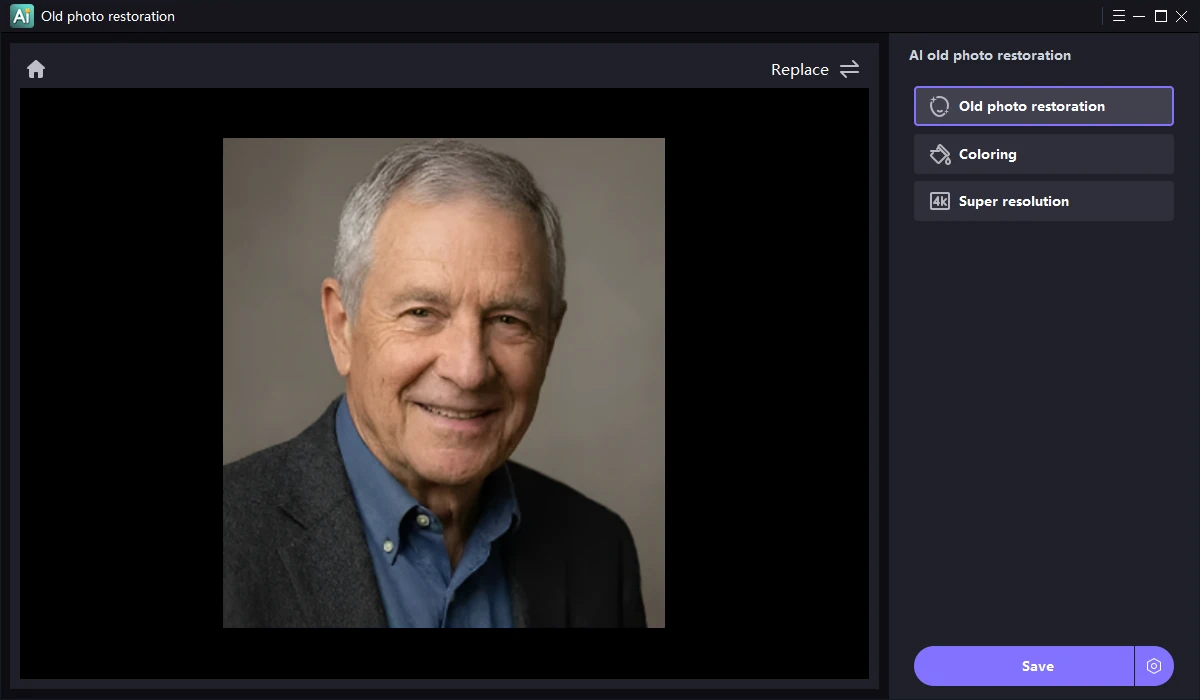 Improve faded or visually weak older photos
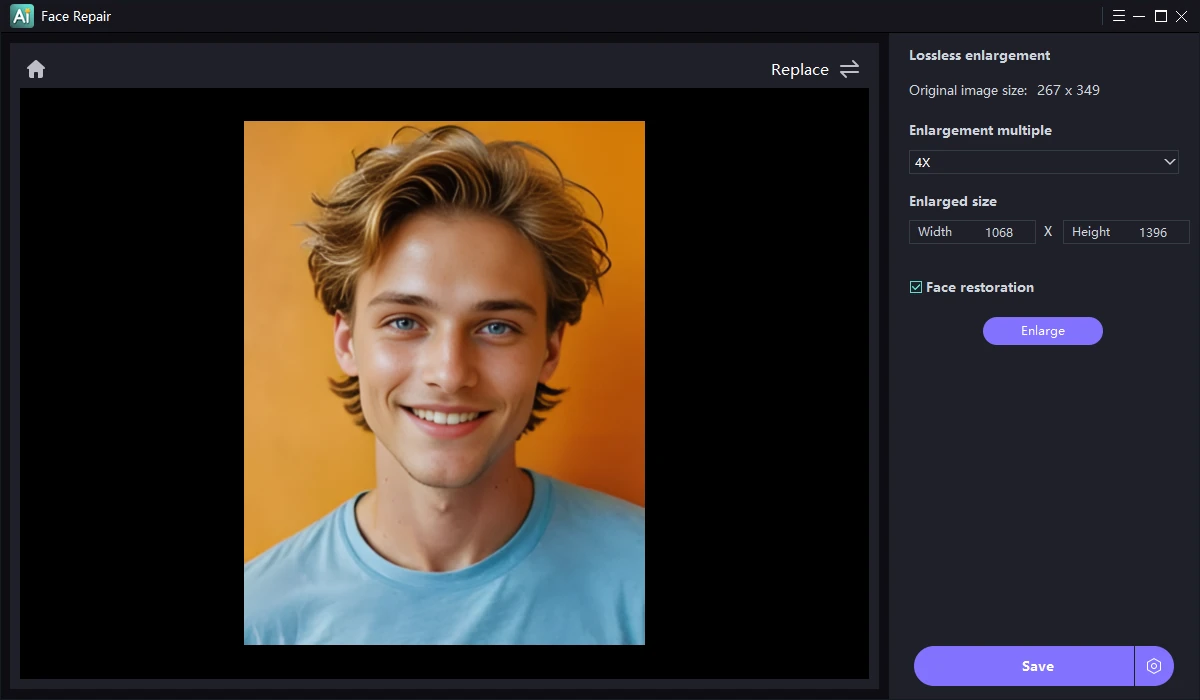 Review facial improvement at full image size
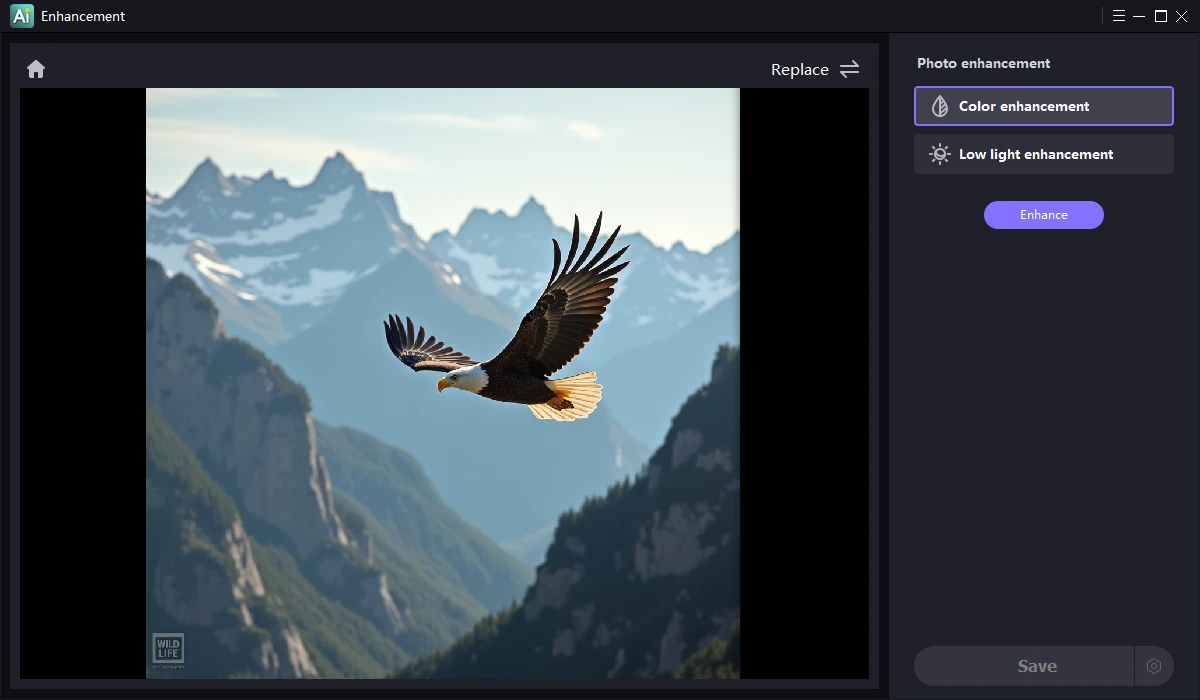 Improve weak color while keeping the image natural
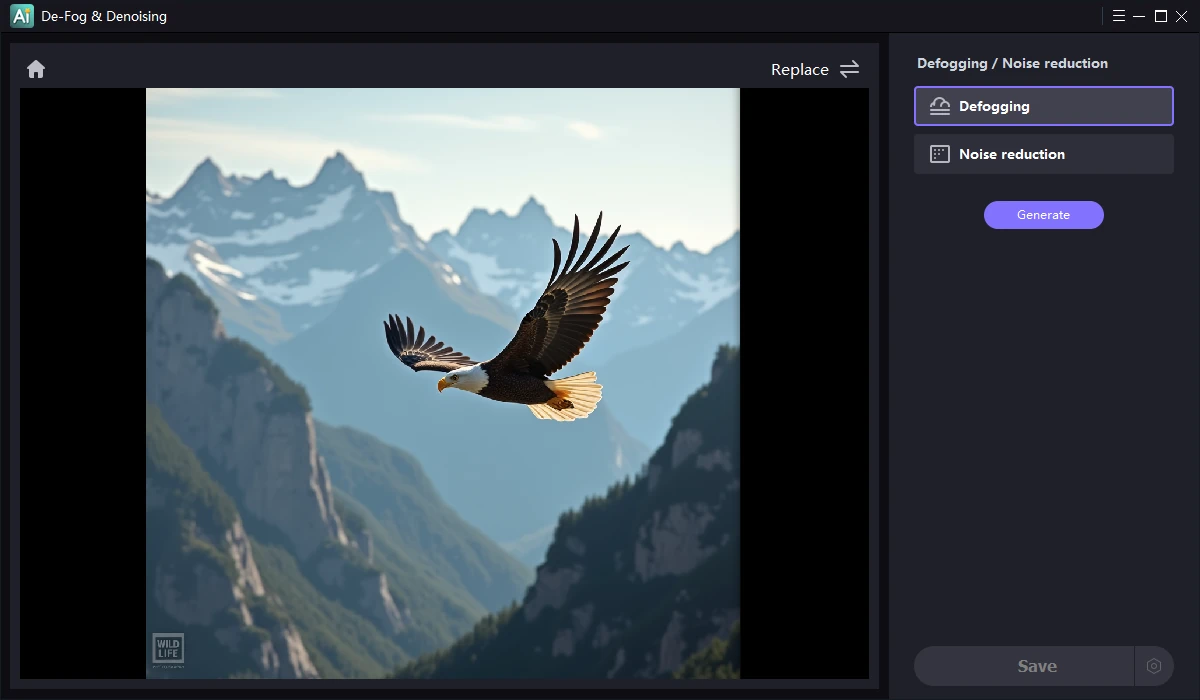 Improve clarity in hazy-looking photos
These tools improve the visual appearance of photos. They are not damaged-file repair or deleted-image recovery functions.
7. Review and export the finished image
Check one complete result before repeated work
- Review the crop, orientation, color, text, decorative elements, and watermarks.
- Zoom in around cleanup areas, faces, hair, products, and detailed boundaries.
- Compare the edited photo with the untouched original.
- Save the finished image to the intended output folder.
- Open the exported file outside Image Editor and confirm it displays correctly.
- When the result is correct, repeat the approved process for the remaining images.
Return to the main workspace and verify the complete photoFinal Image Editor checklist
Confirm these points before publishing, sharing, or continuing with a larger image set.
Image Editor Help by Topic
Continue with the focused guide that matches the photo you need to prepare, clean, enhance, or restore.
Edit and prepare photos
Improve ordinary images and prepare consistent product visuals for publishing.
Image enhancement software for WindowsPrepare product photos for marketplace listingsWatermarks and subject preparation
Add visible ownership marks or separate a person or product from its original background.
Add watermark to photo softwareImage matting softwarePortrait and old photo repair
Improve facial details and restore faded or black-and-white photographs.
Face repair softwareOld photo repair and colorizationScene and presentation changes
Replace a weak sky or create a scanned-image appearance for a specific project.
Change sky in photo softwareImage to scanned softwareGiliSoft Image Editor troubleshooting and FAQ
Why does the edited photo look unnatural?
Reduce strong filter, color, or enhancement settings and compare the result with the original. Apply smaller changes when faces, products, or skin tones must remain accurate.
Why is text hard to read?
Increase contrast, simplify the wording, choose a clearer font size, and move the text away from a visually busy background.
Why does watermark cleanup look blurred?
Tighten the selected area and process smaller sections. Detailed textures and important edges require more careful selections.
Can I apply the same watermark to several photos?
Yes. Use the batch watermark workspace, test one representative image, and confirm size and placement before continuing.
Can Image Editor convert RAW or HEIC files?
Use GiliSoft Image Converter when the primary job is image format conversion, RAW or HEIC conversion, compression, or image-to-PDF output.
Can it repair corrupted image files?
No. The enhancement tools improve the visible appearance of photos; they are not corrupted-file repair or deleted-image recovery tools.
Ready to edit and enhance your photos?
Use GiliSoft Image Editor for everyday photo preparation, visual design elements, watermark tasks, cleanup, and image enhancement.


