
Quick Answer: Convert Only When the Upload Needs It
Keep the source file when it already meets the platform's current format, codec, resolution, frame rate, audio, aspect-ratio, and size requirements. Use GiliSoft Video Converter when the source is rejected, too large, unnecessarily difficult to upload, incorrectly framed, or needs trimming, subtitles, a watermark, or another final delivery change.

Convert one file or a batch, compress oversized media, trim unnecessary footage, and set the output for the actual destination.
Download GiliSoft Video ConverterShould You Convert the Video Before Uploading?
| Source condition | Best action | Reason |
|---|---|---|
| Already accepted and visually correct | Upload the original or final master. | Avoid another compression step and preserve the highest useful quality. |
| Unsupported format or codec | Convert to a destination-supported combination. | The upload may fail or process incorrectly even when the file extension looks familiar. |
| File exceeds a portal limit | Trim unnecessary time, then reduce bitrate or resolution carefully. | Removing content saves quality more efficiently than aggressive compression alone. |
| Upload connection is slow or unstable | Create a smaller upload copy after confirming quality. | A smaller file completes sooner and is less costly to retry. |
| Wrong aspect ratio or rotation | Rotate or crop for the destination without stretching. | Correct framing prevents sideways video, distorted subjects, or baked-in bars. |
| Needs captions, logo, or privacy cleanup | Make the required edit, then export once. | The final upload copy should already contain every required delivery element. |
Practical Video Settings for Online Uploads
There is no single preset for every service. Platform limits change, so verify the official destination documentation before a large batch. These decisions are a reliable starting framework.
| Setting | Practical starting point | Do not assume |
|---|---|---|
| Container | MP4 is broadly accepted and appears in YouTube and Vimeo recommendations. | An MP4 extension guarantees compatible video and audio codecs. |
| Video codec | H.264 is a widely supported upload choice; HEVC may reduce size but can take longer to encode and is not universal. | The newest codec is always the best choice for every portal. |
| Audio codec | AAC-LC is recommended by YouTube and Vimeo for common upload workflows. | Video compatibility alone means the audio will process correctly. |
| Resolution | Keep the source resolution when accepted; reduce it only for a specific size, bandwidth, or destination requirement. | Upscaling a small source creates real detail. |
| Frame rate | Keep the recorded native frame rate. Both YouTube and Vimeo recommend matching the source in ordinary cases. | Converting 30 fps to 60 fps automatically improves motion. |
| Bitrate or quality | Use enough data for the source resolution, motion, grain, text, and detail; compare short samples. | The lowest bitrate that uploads is good enough for viewers. |
| Aspect ratio | Match the intended player or placement and preserve square pixels without stretching. | One horizontal file is ideal for every vertical, square, and presentation placement. |
How to Convert a Video Before Uploading
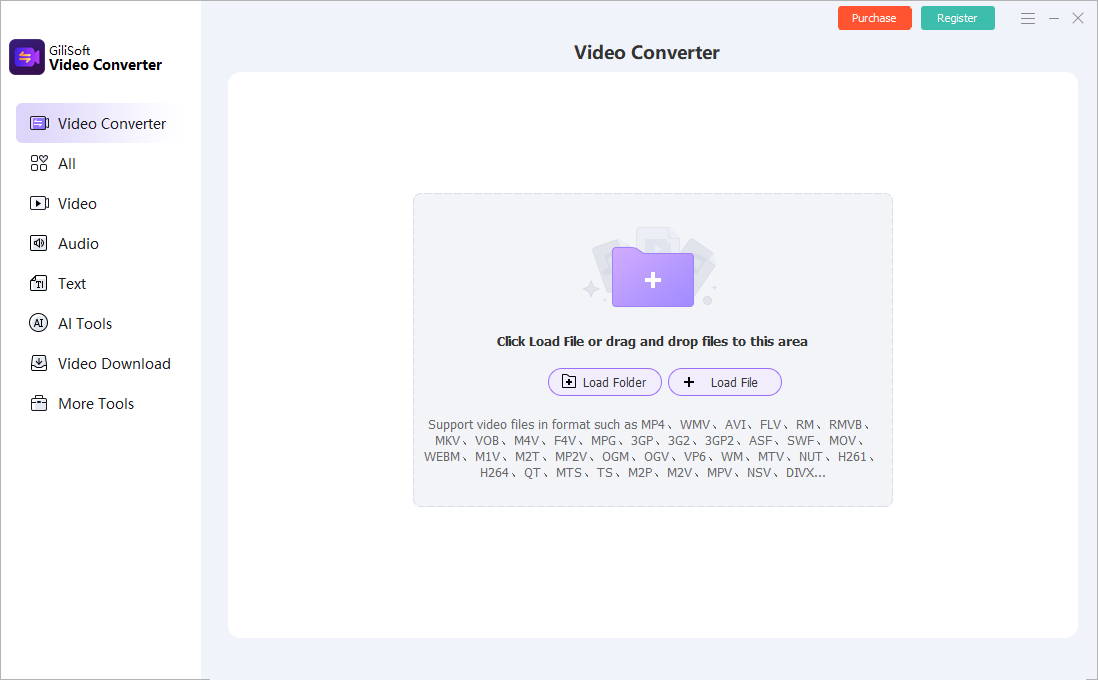 Add the source and inspect the queue before choosing an upload output. Click to enlarge.
- Check the destination first
Confirm accepted formats, codecs, maximum duration and file size, required aspect ratio, caption method, and any account-specific limits. Do not rely on a generic social-media preset for a private LMS or client portal.
- Inspect the source video
Play the original and note format, codec, resolution, frame rate, duration, orientation, audio, subtitle needs, and file size. Keep this source unchanged.
- Remove unnecessary material
Trim mistakes, long silence, countdowns, unused endings, and other content the viewer should not receive. Correct rotation or crop only when the destination requires it.
- Choose format, codec, and audio
Select a destination-compatible profile. MP4, H.264, and AAC are practical for many uploads, but preserve HDR, multiple tracks, transparency, or specialist media only through a workflow that explicitly supports them.
- Set resolution, frame rate, and quality
Match the source where practical. Reduce resolution or bitrate only when a real size or bandwidth problem exists, then test text, motion, gradients, faces, and audio.
- Export, upload, and verify
Check the local file first, then upload privately or as a draft when the platform allows it. Wait for higher-quality processing and inspect platform playback, captions, orientation, audio sync, and the beginning, middle, and end.
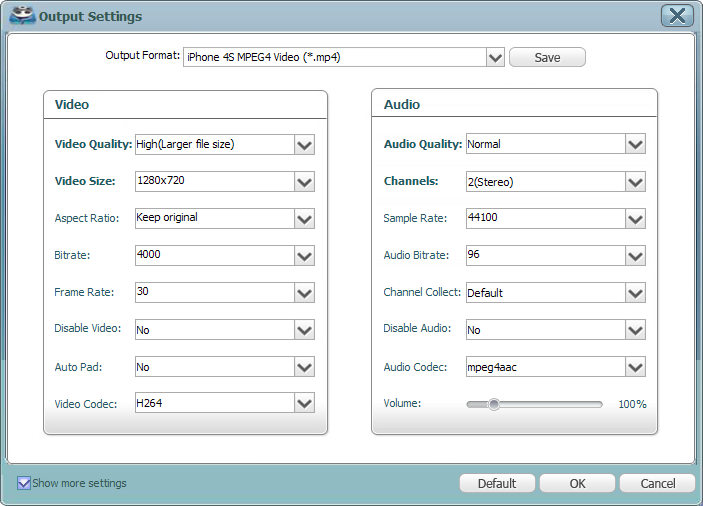 Adjust output parameters only to meet a real destination or file-size requirement. Click to enlarge.
Match the Upload Copy to Its Destination
YouTube
Official guidance recommends MP4, H.264, AAC-LC, progressive scan, native frame rate, and upload settings appropriate to resolution. YouTube will process additional playback versions.
Vimeo
Vimeo recommends H.264, ProRes, or H.265, native constant frame rate, square pixels, progressive video, and AAC-LC audio. H.264 is the practical starting point for efficient uploads.
Social posts and short vertical video
Confirm the current placement dimensions and duration. Prepare the actual vertical, square, or horizontal frame instead of stretching one master into every slot.
LMS, CMS, and customer portals
Check the platform's file-size ceiling, browser playback requirements, captions, and account limits. Private portals can be stricter than public video services.
Client review
A smaller 720p or 1080p review copy may upload faster while the original-quality master remains available separately for approval or delivery.
Website self-hosting
Browser playback, server configuration, bandwidth, adaptive streaming, poster images, captions, and mobile delivery matter beyond simply creating one MP4 file.
Reduce Upload Size Without Destroying Quality
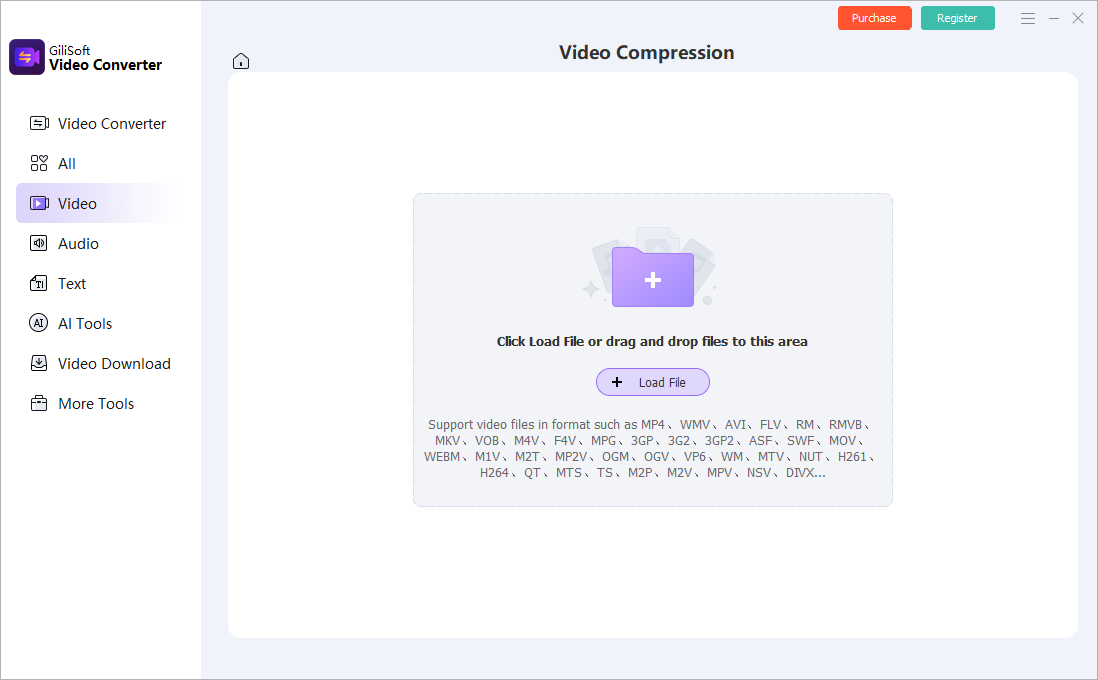 Use the dedicated compression workspace when upload size is the real problem. Click to enlarge.
| Change | File-size effect | Quality risk |
|---|---|---|
| Trim duration | Reduces size directly by removing time. | Low, provided no required content is removed. |
| Use a more efficient codec | Can reduce size at similar visual quality. | Compatibility and longer encoding time may become problems. |
| Lower bitrate | Often provides the most direct size control. | Blockiness, banding, smeared motion, and damaged text when pushed too far. |
| Lower resolution | Can substantially reduce data needs. | Fine text, UI details, faces, and large-screen playback become less clear. |
| Lower frame rate | Can reduce data requirements. | Motion becomes less smooth; avoid unless the destination or source supports the decision. |
For a focused workflow, see Video Compressor for Windows. Change one major variable at a time so you can see which adjustment caused the quality loss.
Pre-Upload Quality Checklist
File opens locally
The upload copy plays from start to finish and contains the expected picture, audio, and subtitle behavior.
Frame is correct
No stretching, accidental bars, sideways orientation, clipped captions, or missing edge content.
Audio survives conversion
Speech is clear, channels are present, synchronization holds, and loud sections do not distort.
File meets actual limits
Duration, size, codec, dimensions, and account-specific restrictions match the destination.
Platform playback is reviewed
Do not judge only the local export. Check the processed platform copy at several quality levels and devices.
Original remains archived
The upload copy does not replace the final master, source recording, project, or subtitle files.
Fix Common Video Upload Problems
| Problem | What to check |
|---|---|
| Platform rejects the file | Inspect the real container, video codec, audio codec, duration, dimensions, and account limits. The filename extension alone is not enough. |
| Upload is too slow | Check outbound speed and file size. Trim unused time or make a carefully compressed copy instead of repeatedly restarting the same oversized upload. |
| Video looks blurry after upload | Wait for HD or 4K processing, then compare the source and upload bitrate, resolution, frame rate, and platform playback quality. |
| Motion is choppy | Keep the source frame rate, avoid needless frame-rate conversion, and verify the platform is not still showing a temporary low-quality version. |
| Colors look different | Check SDR/HDR metadata, color primaries, transfer characteristics, and the platform's supported color workflow. |
| Audio is missing or out of sync | Use a supported audio codec, verify channels and sample rate, and compare synchronization near both the start and end. |
| Vertical video has bars or is cropped | Use the destination's intended aspect ratio and avoid baking borders into the source unless the placement explicitly requires them. |
Choose the Right GiliSoft Workflow
GiliSoft Video Converter
Use it for format compatibility, codec changes, batch upload copies, subtitles, watermarks, trimming, and destination-ready output. Download Video Converter.
Video Compression workspace
Use the included dedicated compressor when the source is accepted but exceeds a file-size or upload-bandwidth target.
GiliSoft Video Editor
Choose GiliSoft Video Editor when the upload needs significant scene editing, a longer timeline, transitions, titles, music, and repeated revisions.
GiliSoft Screen Recorder Pro
Use Screen Recorder Pro when the source must be recorded with suitable dimensions, frame rate, system audio, microphone, annotations, and cursor behavior before upload.
Convert Videos Before Uploading FAQ
Should I convert every video before uploading?
No. Keep the source when it already meets the destination requirements. Convert only to solve compatibility, size, framing, editing, caption, or delivery problems.
What format should I use for YouTube or Vimeo?
MP4 with H.264 video and AAC audio is a broadly supported starting point found in both services' guidance. Check current platform requirements, especially for HDR, high frame rate, or specialist sources.
Should I upload 4K or convert to 1080p?
Upload the useful source resolution when the platform, account, bandwidth, and content justify it. Convert to 1080p when the destination or upload constraints make 4K unnecessary.
Should I change 30 fps video to 60 fps?
Usually no. YouTube and Vimeo recommend maintaining the native frame rate in ordinary upload preparation.
How can I reduce upload time?
Remove unnecessary duration, use an efficient accepted codec, and reduce bitrate or resolution only as far as the required text, motion, faces, and audio remain clear.
Why does the uploaded video initially look low quality?
Some platforms publish a lower-resolution version while HD or 4K processing continues. Wait for processing before judging the final quality.
Research Sources
The upload and compression recommendations were checked against current GiliSoft behavior and these official external references:
- YouTube Help: recommended upload encoding settings
- YouTube Help: troubleshoot audio and video upload problems
- Vimeo Help: video and audio compression guidelines
- Microsoft Clipchamp: choose the right export resolution
- EaseUS Video Converter: format, quality, batch conversion, compression, and editing workflow