
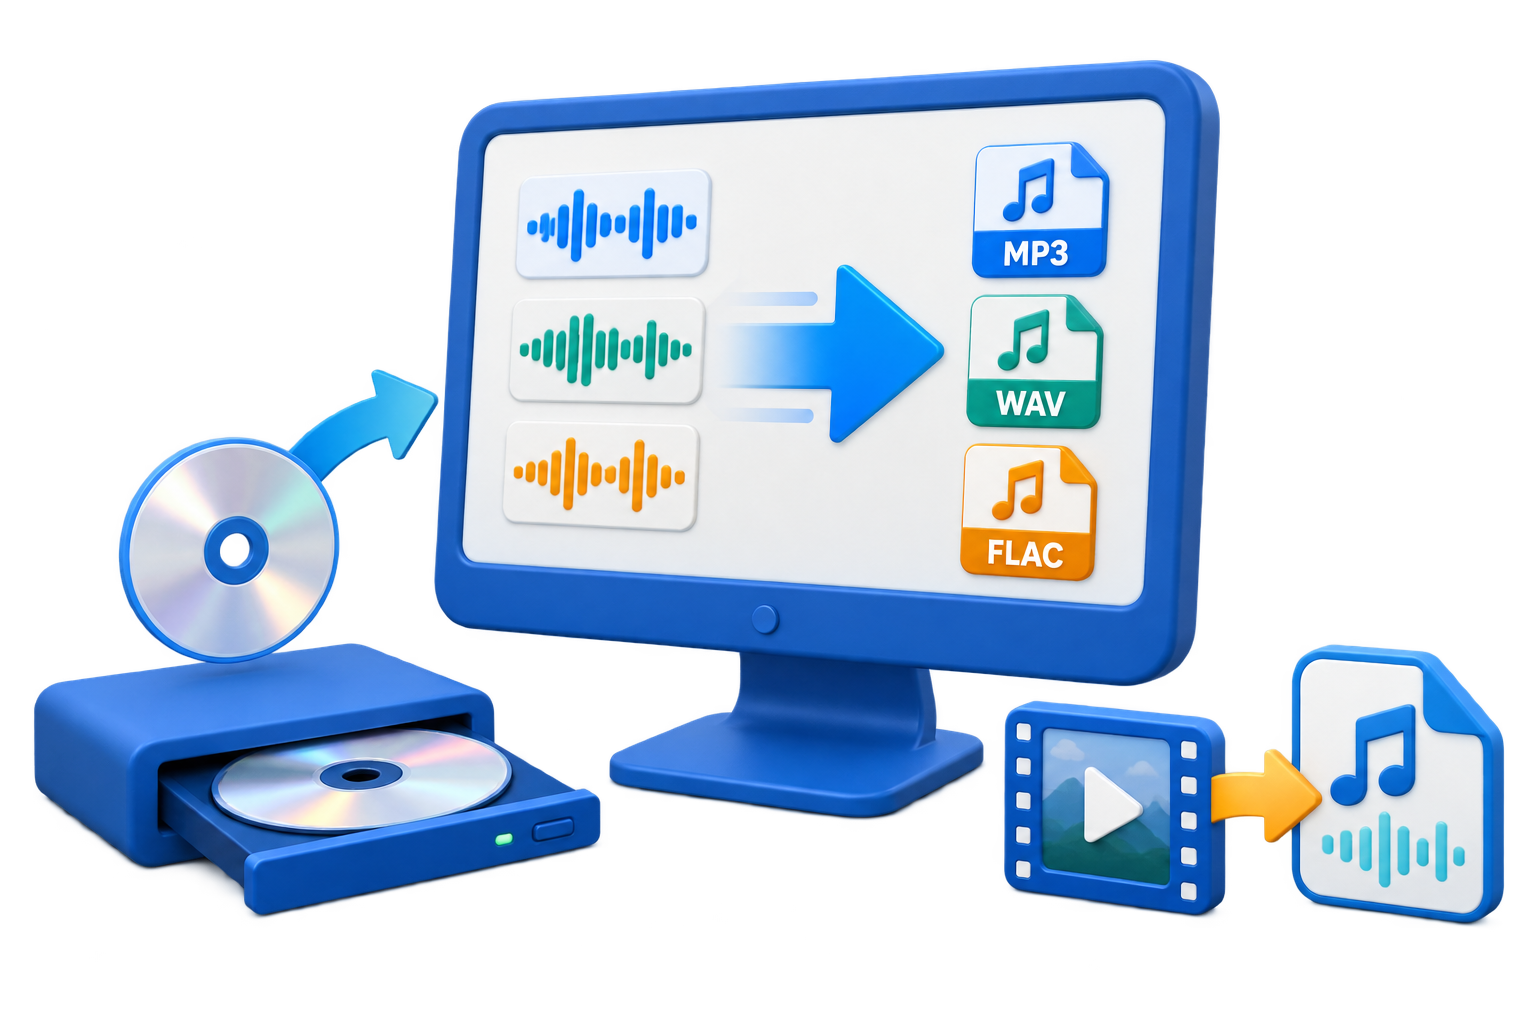
Use WAV for Masters and MP3 for Delivery
Quick answer: Keep WAV when the file is a recording master, editing source, or preservation copy. Create MP3 when smaller size and broad playback support matter. Lower bitrate reduces file size, but it also increases the risk of audible artifacts.
| Use case | Preferred file | Why |
|---|---|---|
| Editing or mastering | WAV | Avoids an added lossy encoding stage |
| Archive of original recording | WAV plus backup | Preserves the source data and workflow options |
| Web, phone, car, or email | MP3 | Smaller and broadly compatible |
| Spoken-word delivery | Tested MP3 profile | Speech may tolerate smaller settings than complex music |
Check the WAV Source Before Conversion
WAV is a container and may hold different sample formats, rates, channels, and bit depths. Inspect the real files and avoid assuming every WAV source is identical.
Preserve the master
Keep the original recording or mix in a protected source folder.
Trim obvious waste
Remove long silence or unwanted sections before encoding when appropriate.
Match the content
Test voice and music separately because they respond differently to aggressive compression.
Plan metadata
WAV metadata support varies; verify MP3 tags after conversion.
Convert WAV to MP3 in 6 Steps
Back up the WAV source
Keep an unchanged master before trimming, processing, or converting.
Add WAV files
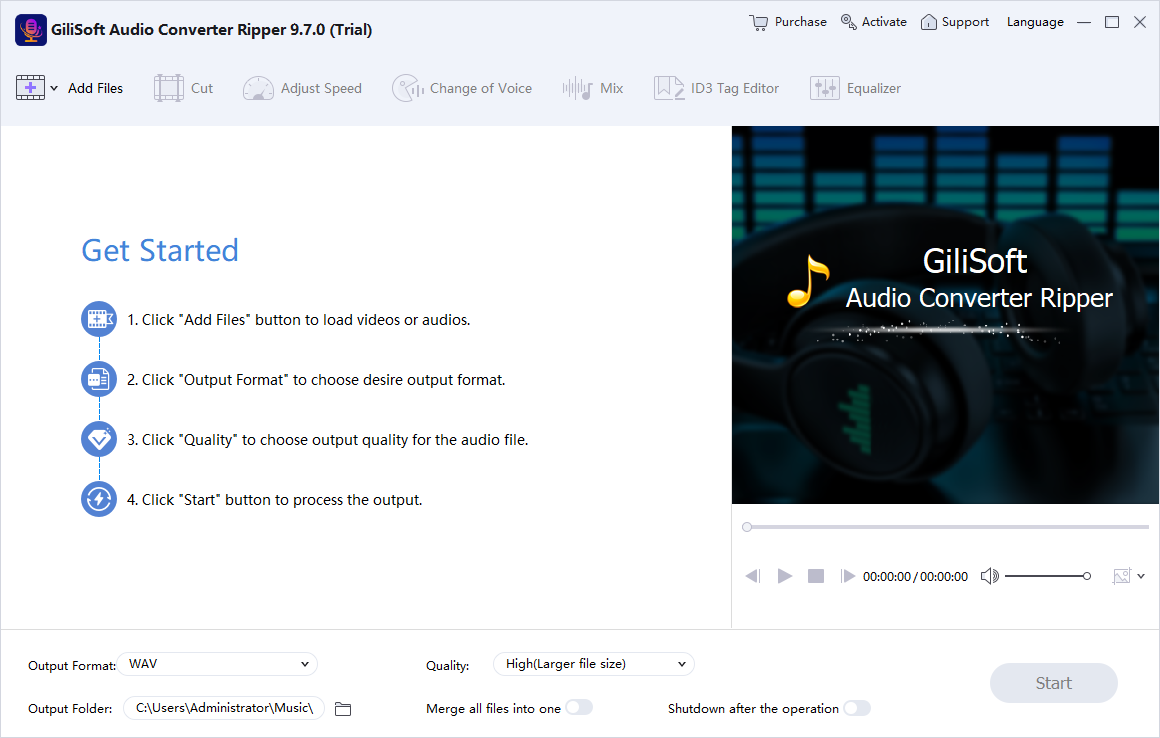
Open Audio Converter Ripper and add the recordings or folders to the queue.
Choose MP3 output
Select MP3 and review bitrate, sample rate, channels, and output location.
Trim only when needed
Use the cut tool to remove unwanted heads, tails, or excerpts before export.
Convert a short test
Check voice clarity, music detail, noise, duration, and resulting file size.
Batch-convert and verify
Process the remaining files and confirm playback, endings, filenames, and ID3 information.
Control Size Without Losing the Master
Bitrate
Higher MP3 bitrate usually increases size and can reduce audible encoding artifacts.
Channels
Do not force stereo when the source and intended delivery are genuinely mono unless needed.
Sample rate
Changing it does not recreate detail missing from the source and may add unnecessary processing.
Noise floor
Encoding does not remove room noise; clean or edit the source separately when required.
Important: File-size compression is not the same as dynamic-range compression. This workflow encodes WAV into a smaller MP3; it does not automatically balance quiet and loud performance levels.
Convert and Organize WAV Files in One Workflow
GiliSoft Audio Converter Ripper handles batch conversion and also provides trimming, mixing, fades, volume, equalizer, compression options, voice effects, and ID3 editing for files that need preparation before delivery.
- Keep original WAV recordings outside the MP3 destination folder.
- Use a separate preset for voice and complex music when their requirements differ.
- Check converted files at the beginning, middle, and end rather than testing only one second.
Troubleshoot Common Audio Workflow Problems
- Speech sounds metallic: Increase the MP3 quality setting and test from the original WAV.
- The file is still too large: Review duration, bitrate, channel mode, and whether unneeded silence can be trimmed.
- Volume varies between files: Normalize or adjust level deliberately; changing format alone does not solve inconsistent recording levels.
- Metadata is empty: Add MP3 ID3 tags after conversion and verify them in another player.
- One WAV will not import: Confirm its codec and integrity because a .wav extension can contain different audio encodings.
- The ending is cut off: Compare duration with the source and replay the final seconds before distribution.
Retain the Original Recording
Keep the WAV master whenever the audio may be edited, remastered, archived, or repurposed. Convert and distribute only recordings for which you have the required permission.
Frequently Asked Questions
Why are WAV files much larger than MP3 files?
WAV commonly stores uncompressed PCM audio, while MP3 uses lossy compression to reduce file size.
Does WAV to MP3 make audio louder?
No. Format conversion does not automatically correct recording level or dynamic range.
Can I batch-convert WAV recordings?
Yes. Add multiple files, choose an MP3 profile and destination, then verify the resulting batch.
Should voice and music use the same MP3 settings?
Not always. Test representative voice and music content separately because artifacts may be easier to hear in different material.
Will MP3 preserve all WAV information?
No. MP3 is lossy. Keep WAV when the original or a lossless master is required.
Can I trim WAV files before conversion?
Yes. Use the cut tool for unwanted starts, endings, or excerpts, while retaining an untouched source copy.