
How to Join Videos on Windows
Joining videos is more than placing files in sequence. Clips may use different dimensions, frame rates, orientation, audio levels, or color. Decide the final frame first, arrange the story, and inspect every join before export.
Quick answer
Open GiliSoft Video Editor Pro and choose Joiner for a direct merge, or use Video Studio when you need trimming, transitions, text, or audio control. Add the clips in playback order, choose one output frame and format, preview each boundary, then export to a new file without overwriting the sources.
Choose Direct Joining or Timeline Editing
| Editing need | Recommended approach | Check carefully |
|---|---|---|
| Clips already match and need no editing | Use Joiner for a direct ordered merge | Confirm dimensions, orientation, codec compatibility, and audio |
| Clips need trimming or transitions | Use Video Studio and place clips side by side | Remove gaps and avoid excessive transition effects |
| Mixed landscape, portrait, or square footage | Choose the destination aspect ratio before arranging clips | Crop, fit, or background treatment for every source |
| Video for online publishing | Export a high-quality MP4 test first | Keep the native frame rate where practical and inspect the upload result |
Step-by-Step Workflow
- Prepare and label the source clips
Copy authorized originals into one project folder, keep them unchanged, and rename working copies in the intended playback order.
- Open Joiner or create a Video Studio project
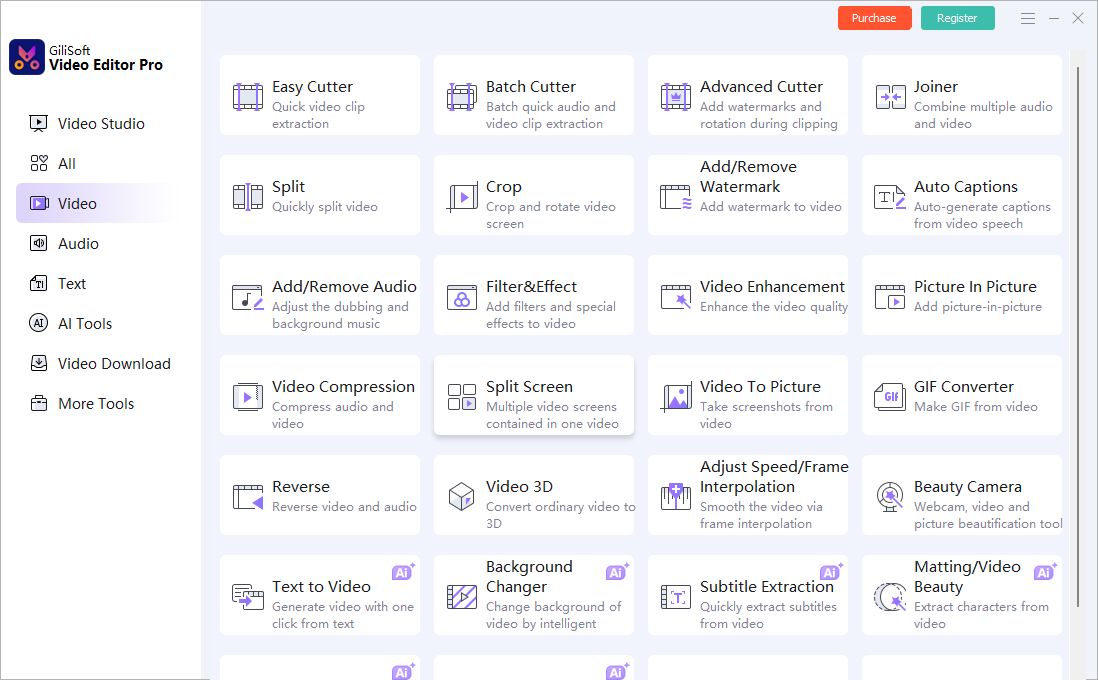
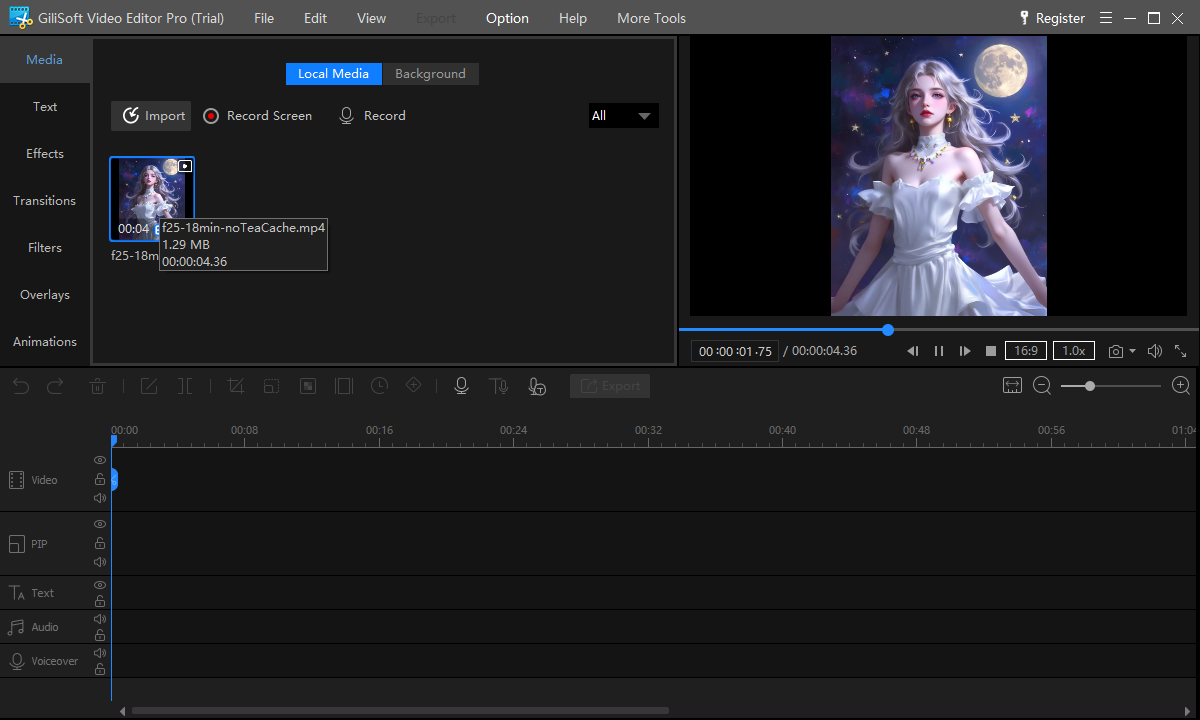
Choose Joiner from the Video tools page for a straightforward merge. Choose Video Studio when the sequence needs detailed trimming, transitions, titles, overlays, or audio work.
- Add clips and set the final order
Import every clip, arrange them from first to last, and remove accidental duplicates. On the timeline, place adjacent clips without empty gaps.
- Review every boundary
Play several seconds before and after each join. Check abrupt audio changes, frozen frames, repeated content, black frames, and whether a short transition is actually useful.
- Export and verify the complete file
Choose a destination format, resolution, frame rate, and audio setting suited to the delivery channel. Export to a new file and watch the beginning, every join, and the ending.
For the complete editing workspace, export options, and other tools, see the Video Editor Pro user guide.
GiliSoft Video Editor Pro Interface
Use the dedicated Video tools for a focused task, or open Video Studio when the edit needs a timeline and additional controls.
Review Before You Export
- Keep the original source files and export the finished result to a separate path.
- Check the project aspect ratio, resolution, orientation, frame rate, and audio before rendering.
- Watch the beginning, every edit boundary, and the ending in the exported file.
- Use only media that you own or are authorized to edit and publish.
Frequently Asked Questions
Can I join videos with different formats?
Yes, when the editor can decode the source files, but the finished project still needs one output format, frame size, and frame-rate plan.
Why is there a black gap between clips?
A timeline gap or a source frame mismatch may be visible. Zoom into the boundary, remove empty space, and review how each clip fits the project frame.
Should every join use a transition?
No. A clean cut is often better. Use a transition only when it supports the change in time, place, or subject.
Does joining videos reduce quality?
The export may re-encode the project. Use suitable output settings and keep the original clips so you can make a new master later.