
How to Split a Video into Multiple Clips
A useful split keeps complete speech, movement, and audio at both sides of the cut. Decide whether you need a few editorial clips, equal-duration segments, or files limited by size before choosing the splitting method.
Quick answer
Open GiliSoft Video Editor Pro and choose Split for a focused splitting task, or use Video Studio for editorial cuts. Import the source, move to each intended boundary, preview both sides, create the segments, and export them to a separate folder with clear names.
Choose the Splitting Method
| Editing need | Recommended approach | Check carefully |
|---|---|---|
| Remove or isolate a few scenes | Split manually at reviewed timeline positions | Speech, music, and motion across each cut |
| Create equal-duration segments | Use a supported time-based split rule | The rule may cut through sentences or actions |
| Meet a file-size limit | Use size-based splitting or adjust export settings | Compressed output size is an estimate |
| Prepare chapters for later editing | Make editorial splits and use descriptive filenames | Keep the master source and a segment list |
Step-by-Step Workflow
- Define the purpose of every segment
Decide whether the clips represent chapters, social excerpts, upload limits, selected scenes, or working sections for another edit.
- Open Split or Video Studio
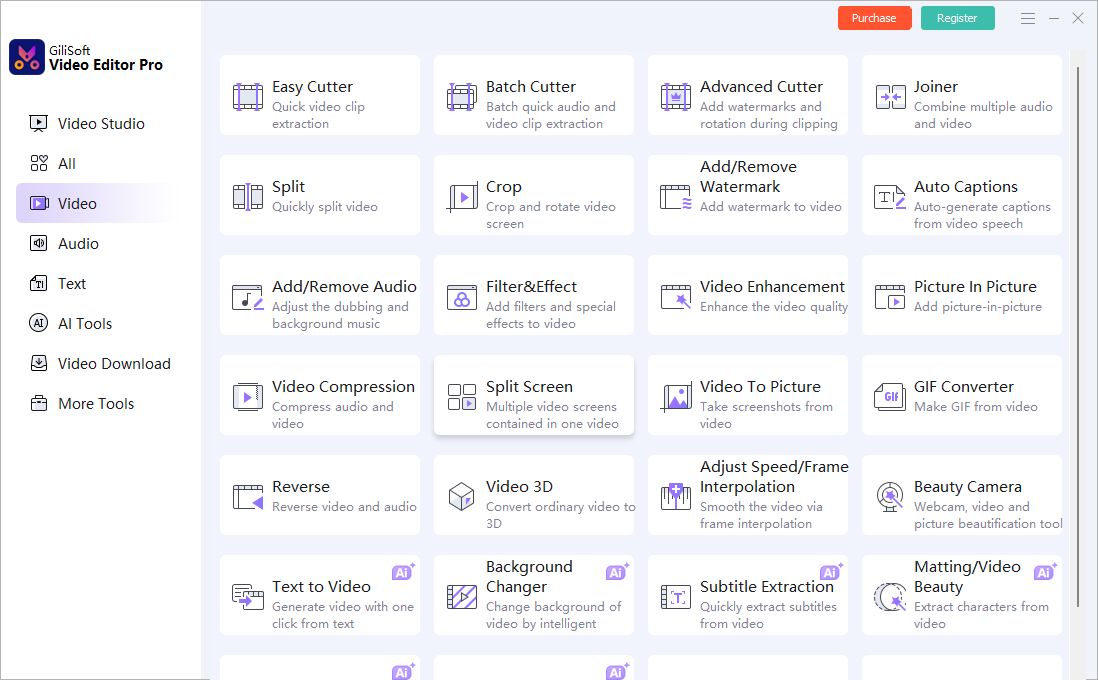
Choose Split from the Video tools page for a focused workflow. Use Video Studio when cuts must be combined with trimming, text, transitions, or a larger timeline edit.
- Mark each boundary precisely
Move the playhead to a natural visual and audio boundary. Listen before and after the cut so words, breaths, music, and motion are not clipped.
- Name and export segments separately
Use numbered and descriptive filenames in a new output folder. Keep resolution and frame rate consistent unless a delivery requirement calls for another setting.
- Audit every exported clip
Confirm the expected file count, open every segment, and check its start, end, duration, audio, and playback compatibility.
For the complete editing workspace, export options, and other tools, see the Video Editor Pro user guide.
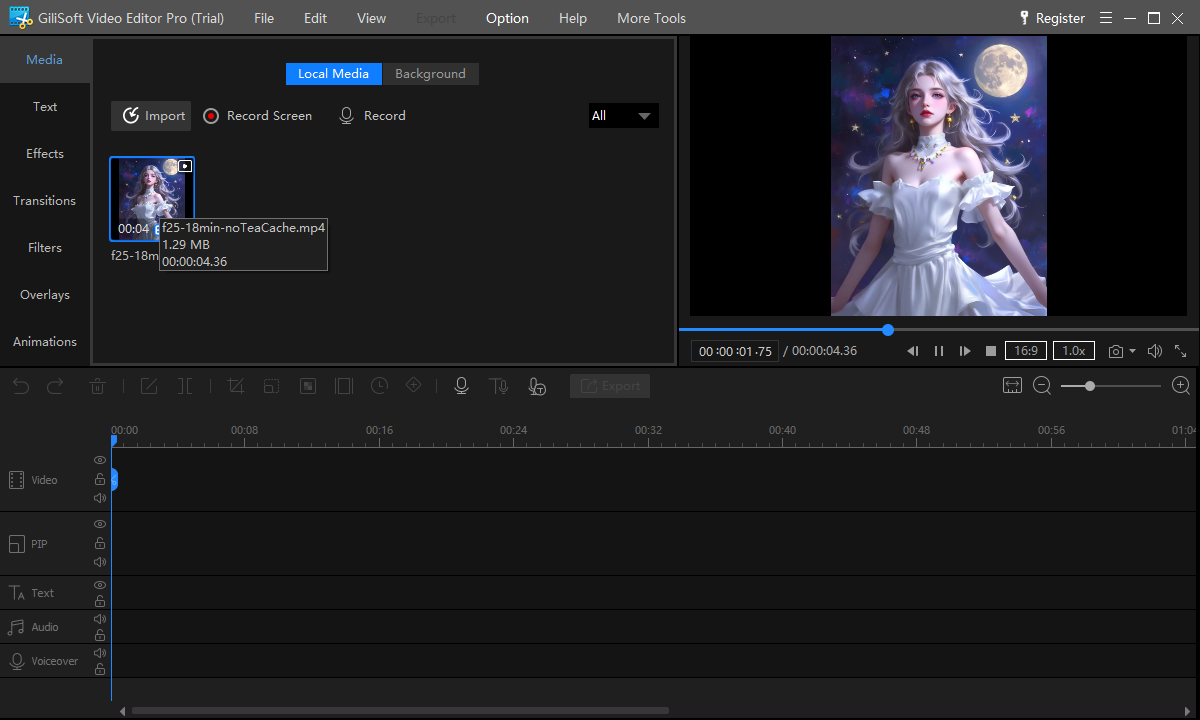
GiliSoft Video Editor Pro Interface
Use the dedicated Video tools for a focused task, or open Video Studio when the edit needs a timeline and additional controls.
Review Before You Export
- Keep the original source files and export the finished result to a separate path.
- Check the project aspect ratio, resolution, orientation, frame rate, and audio before rendering.
- Watch the beginning, every edit boundary, and the ending in the exported file.
- Use only media that you own or are authorized to edit and publish.
Frequently Asked Questions
Can I split a video without deleting the original?
Yes. Keep the source file unchanged and export segments to a separate folder.
Why does a split begin or end abruptly?
The cut may fall inside speech, music, motion, or a compressed frame group. Move it to a cleaner boundary and preview both sides.
Can I split by file size?
A supported size-based rule can estimate segments, but compressed size varies with content and encoding. Verify the actual output files.
Will splitting reduce video quality?
An export may re-encode the clips. Choose appropriate settings and retain the original master for future work.