
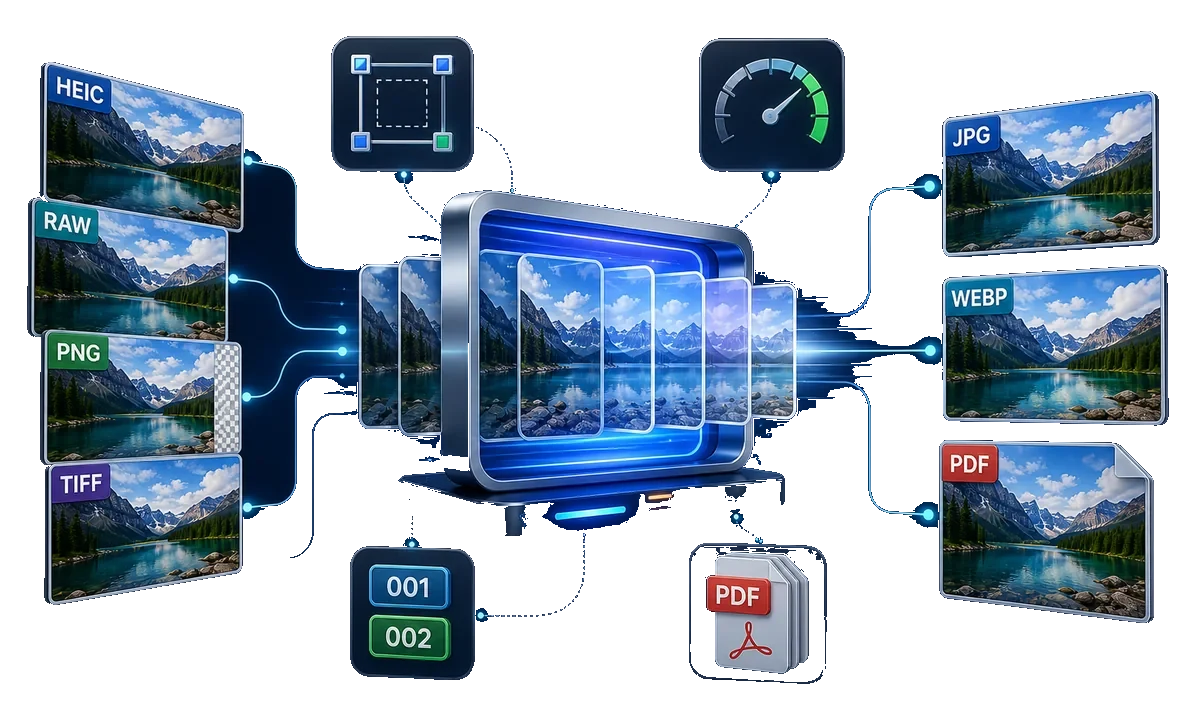
Image Compression Software for Windows
Use this workflow to reduce image file size for upload, email, websites, or documents without making important detail unreadable. Decide the destination first, keep the original, and approve a representative output before processing the full set.
Quick answer
Keep the source files, choose the required pixel dimensions and output format in GiliSoft Image Converter, test a representative image at the intended quality, and compare both visual detail and file size. Batch only after the sample passes in its destination.
Choose the Right Image Workflow
| Situation | Recommended approach | What to verify |
|---|---|---|
| Web or email copy | Reduce dimensions and use a suitable compressed format | Text edges, gradients, detail, and file size |
| Office document image | Match dimensions to the placed use | Legibility after Office or PDF export |
| Archive master | Keep the original format and pixels | No repeated lossy conversion |
Step-by-Step Workflow
- Define the destination
Record the required format, pixel dimensions, aspect ratio, file-size limit, physical print size, or document placement before editing.
- Protect and inspect the source
Work from a duplicate, check orientation, color profile, transparency, metadata, text, and the most difficult file in the set.
- Test the real product workflow
Keep the source files, choose the required pixel dimensions and output format in GiliSoft Image Converter, test a representative image at the intended quality, and compare both visual detail and file size.
- Inspect a representative output
Check pixel dimensions, output quality, transparency, and file size at normal size and 100% zoom, then test the file in its actual destination.
- Process and reconcile the set
Apply approved settings, compare source and output counts, use clear filenames, and retain originals until delivery is accepted.
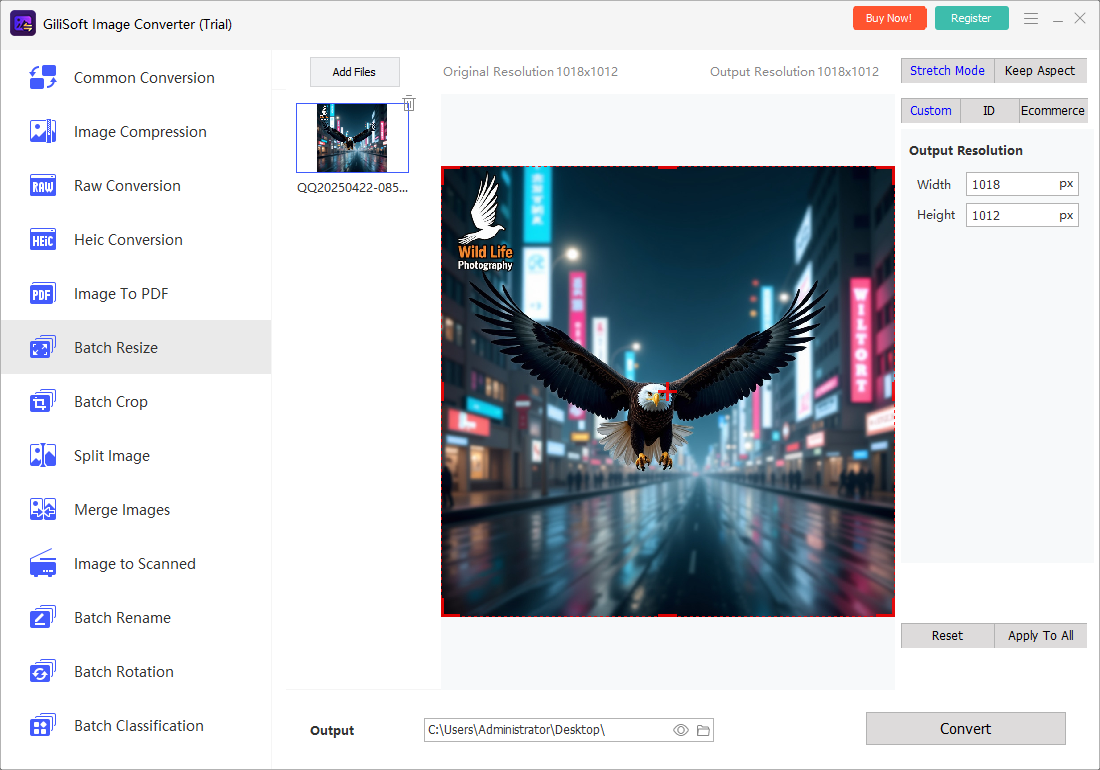
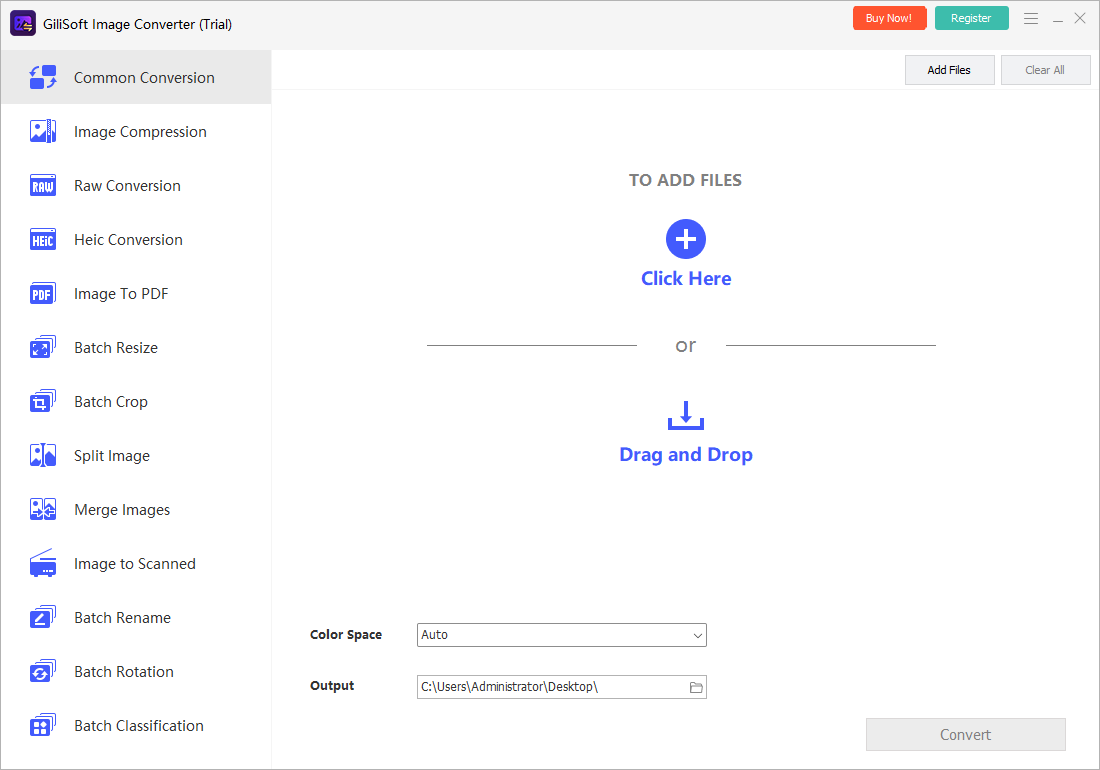
Use the GiliSoft Image Converter Workspace
These screenshots show real product workspaces for this task. Test the installed build with your own source formats and destination requirements before a large batch.
Review the Output Before Delivery
| Pixel dimensions, output quality, transparency, and file size | Compare the output with both the source and the destination requirement. |
|---|---|
| Visual quality | Inspect small text, edges, gradients, faces, transparency, orientation, cropping, and color at useful zoom levels. |
| File handling | Confirm format, dimensions, filename, output folder, file size, source retention, and permission to publish or share. |
Frequently Asked Questions
Is resizing the same as compression?
No. Resizing changes pixel dimensions; compression changes how image data is stored. Both can reduce file size, but they have different quality effects.
Which format should I export?
Choose for the destination: JPG for ordinary photos, PNG for transparency or sharp graphics, and retain the original for future editing.
Can a batch use one setting for every image?
Only when the sources and destination needs are compatible. Separate portrait, landscape, transparent, print, and web assets when they need different rules.
Should I overwrite the source images?
No. Keep originals and export prepared copies to a separate folder until the destination output has been reviewed.
Why test one difficult image first?
A normal sample may hide problems with transparency, small text, unusual orientation, gradients, metadata, or very large dimensions.