
How to Prepare Screenshots for Documentation
Use this workflow to turn raw interface captures into consistent, readable, and maintainable documentation assets. Decide the destination first, keep the original, and approve a representative output before processing the full set.
Quick answer
Capture the correct product state, remove private information at the source, then use GiliSoft Image Editor to crop consistently, add restrained labels where needed, and export a clean working copy. Verify readability at the final page width and add meaningful alternative text in the documentation system.
Choose the Right Image Workflow
| Situation | Recommended approach | What to verify |
|---|---|---|
| Task screenshot | Show only the relevant window and state | Correct version, focus, and readable controls |
| Annotated screenshot | Use short labels and consistent callouts | No essential instruction exists only in pixels |
| Accessible document asset | Add alt text in the publishing system | Purpose and information are conveyed in text |
Step-by-Step Workflow
- Define the destination
Record the required format, pixel dimensions, aspect ratio, file-size limit, physical print size, or document placement before editing.
- Protect and inspect the source
Work from a duplicate, check orientation, color profile, transparency, metadata, text, and the most difficult file in the set.
- Test the real product workflow
Capture the correct product state, remove private information at the source, then use GiliSoft Image Editor to crop consistently, add restrained labels where needed, and export a clean working copy.
- Inspect a representative output
Check correct ui state, privacy, crop consistency, readable labels, and alternative text at normal size and 100% zoom, then test the file in its actual destination.
- Process and reconcile the set
Apply approved settings, compare source and output counts, use clear filenames, and retain originals until delivery is accepted.
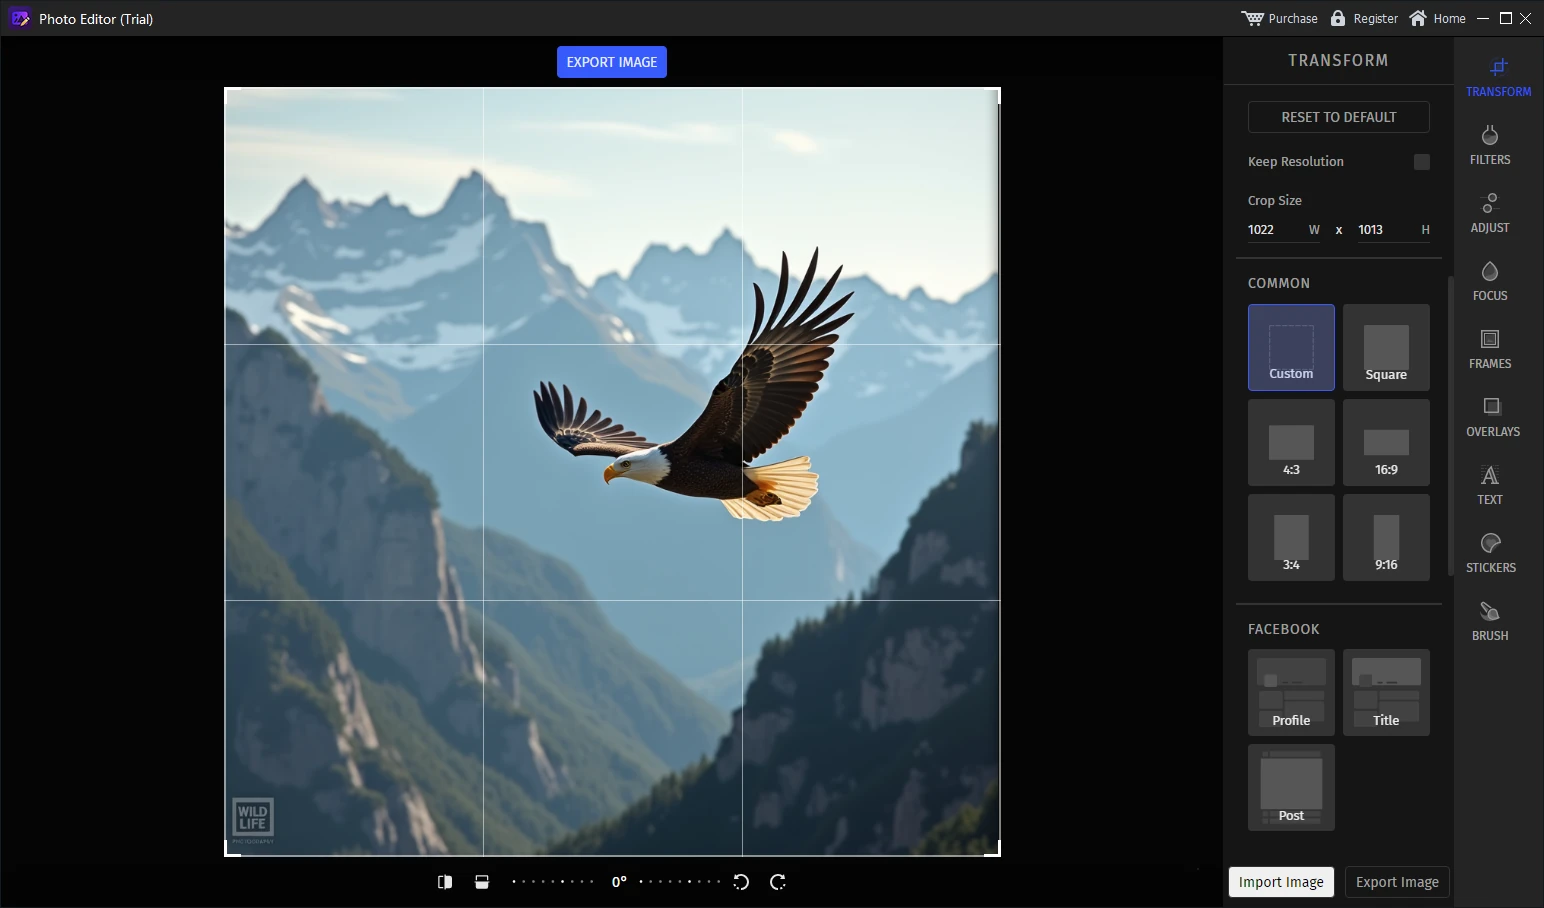
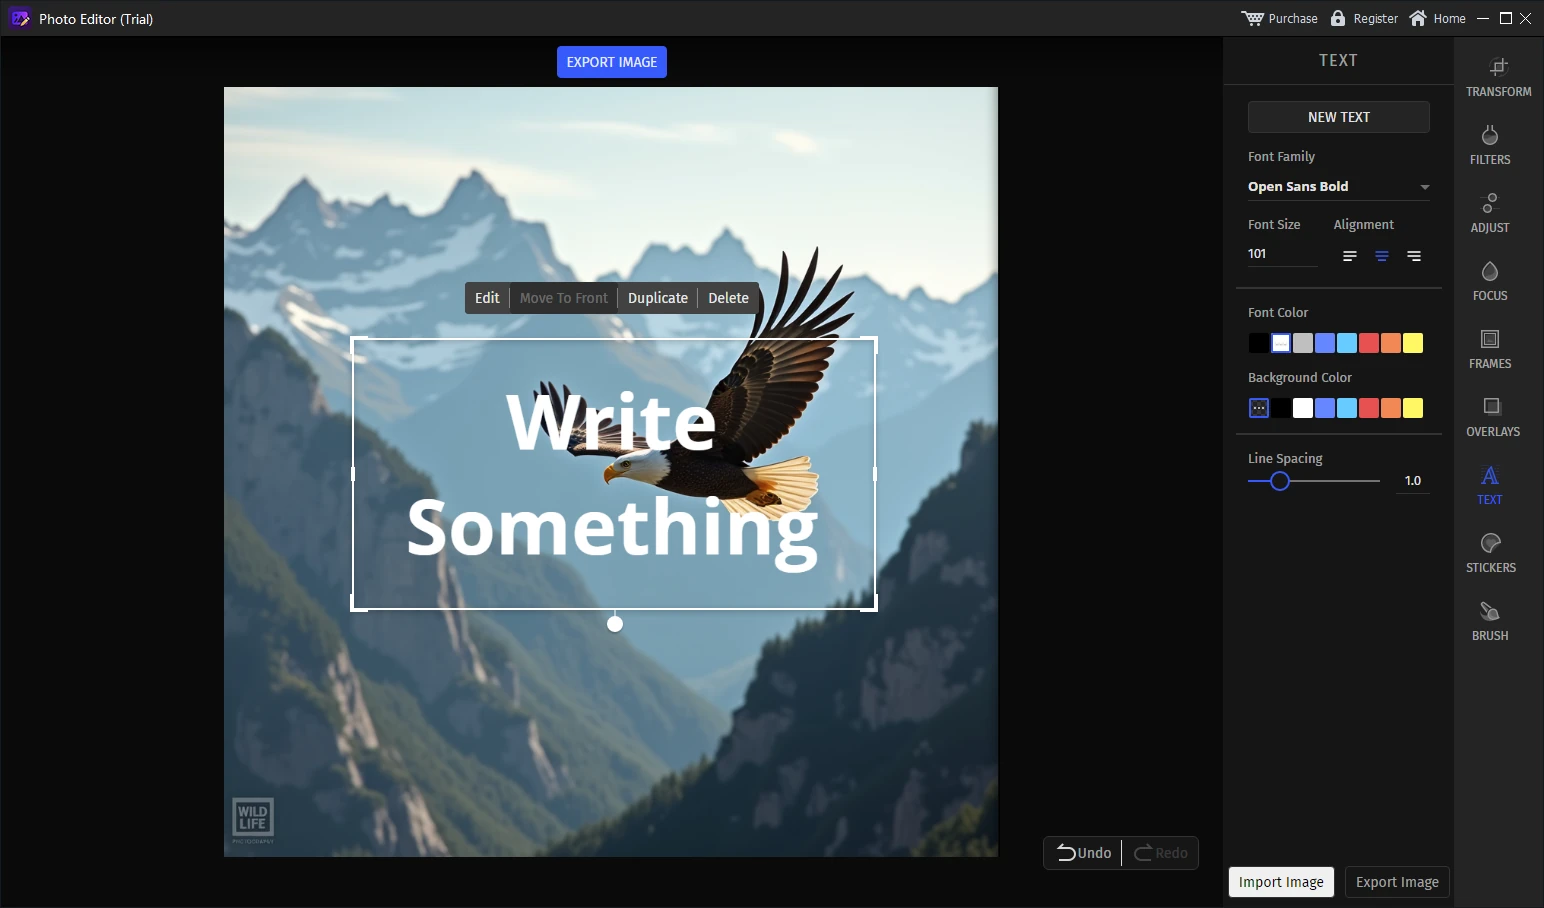
Use the GiliSoft Image Editor Workspace
These screenshots show real product workspaces for this task. Test the installed build with your own source formats and destination requirements before a large batch.
Review the Output Before Delivery
| Correct UI state, privacy, crop consistency, readable labels, and alternative text | Compare the output with both the source and the destination requirement. |
|---|---|
| Visual quality | Inspect small text, edges, gradients, faces, transparency, orientation, cropping, and color at useful zoom levels. |
| File handling | Confirm format, dimensions, filename, output folder, file size, source retention, and permission to publish or share. |
Frequently Asked Questions
Should every screenshot have alt text?
Informative screenshots need a text alternative that conveys their purpose. Decorative images can use an empty alternative in the publishing system.
Should instructions be written inside the screenshot?
Keep essential instructions as real document text. Use image labels only when they clarify a visual location or state.
How should private data be removed?
Prefer sanitized test data before capture. Do not assume a blur or visual cover is sufficient for sensitive information.
Should I overwrite the source images?
No. Keep originals and export prepared copies to a separate folder until the destination output has been reviewed.
Why test one difficult image first?
A normal sample may hide problems with transparency, small text, unusual orientation, gradients, metadata, or very large dimensions.