

Choose the Right Workflow for the Final Result
| Starting point and goal | Use this workflow | Expected result |
|---|---|---|
| Phone photo with desk or background visible | Crop, rotate, adjust tone, and clean distractions | A flatter, cleaner scan-style image |
| Flat image that looks gray or uneven | Adjust brightness, contrast, color, and clarity | A more readable image with a cleaner page background |
| Need searchable or editable words | Prepare the image first, then run OCR | Recognized text or a searchable text layer |
| Need several pages in one document | Clean each page, then assemble them with a PDF tool | A multipage PDF with consistent page appearance |
Prepare the Source Before Editing
Use the original image
Start with the highest-resolution camera file or source image, not a messaging-app copy that has already been compressed.
Keep every page edge
Before cropping, confirm that no corner, line of text, signature, stamp, or handwritten note is missing.
Decide color or grayscale
Keep color when it carries meaning; use grayscale when the page is mostly text and color is unnecessary.
Preserve an untouched copy
Export to a new file instead of overwriting evidence, records, receipts, certificates, or the only original photo.
Make an Image Look Scanned: Step by Step
Open the highest-quality source image
Launch GiliSoft Image Editor and add the original document photo or image. Zoom in before editing to confirm that small text and fine lines are actually present.
Crop to the document boundary
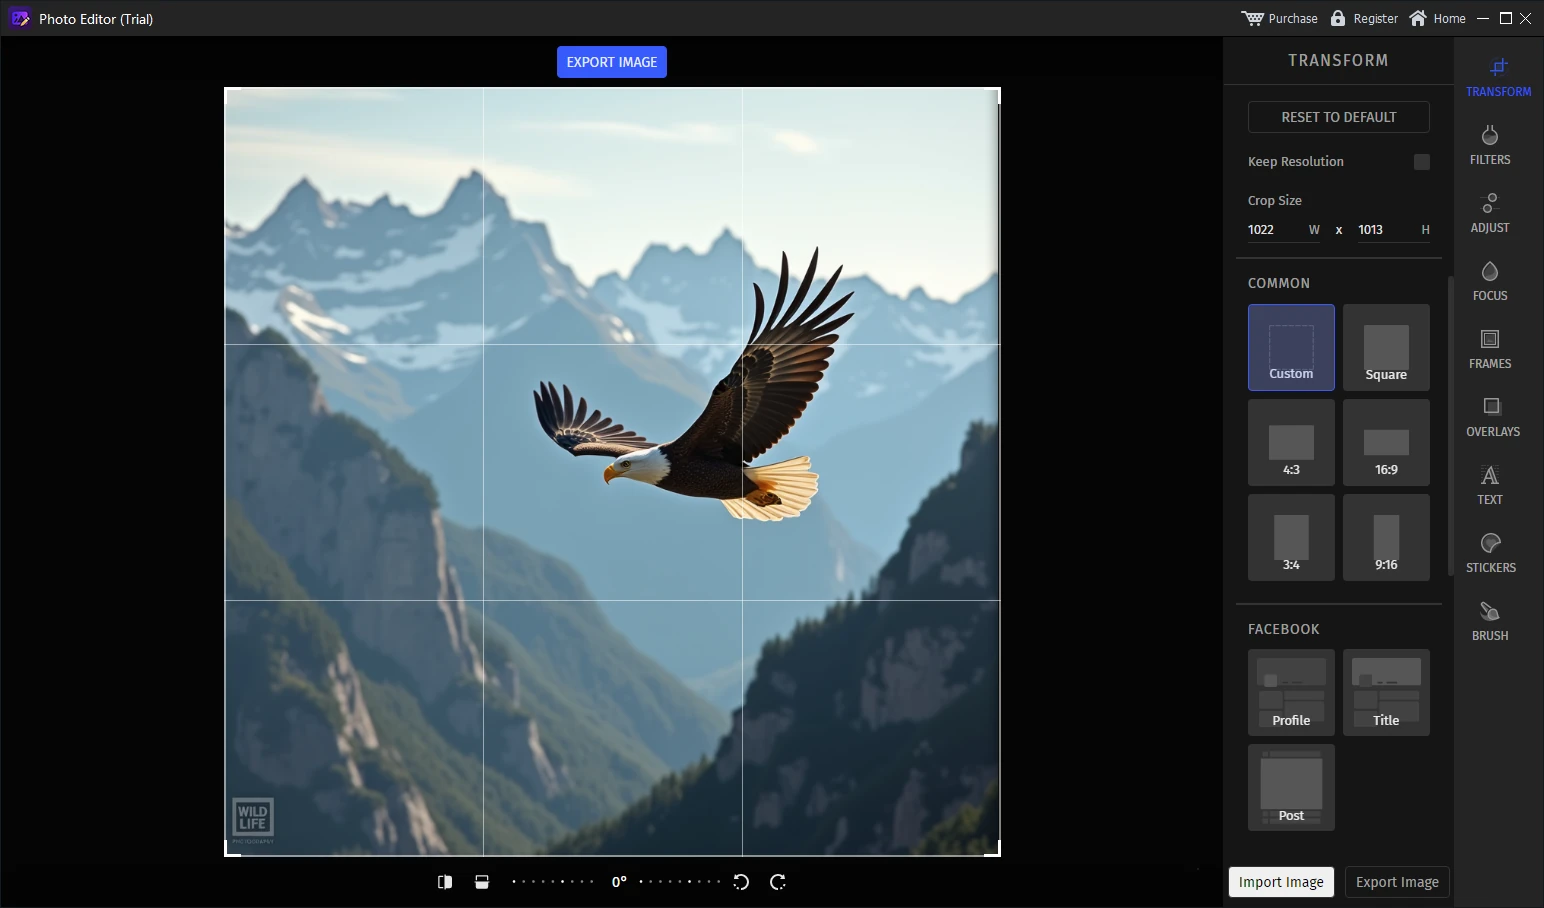
Use Transform tools to remove the desk, hands, shadows outside the page, and unrelated background. Keep all content and leave a narrow, even margin around the page.
Correct orientation and page framing
Rotate the image until text lines read horizontally and the page feels upright. Complete geometry work before changing brightness or color.
Balance brightness, contrast, and color
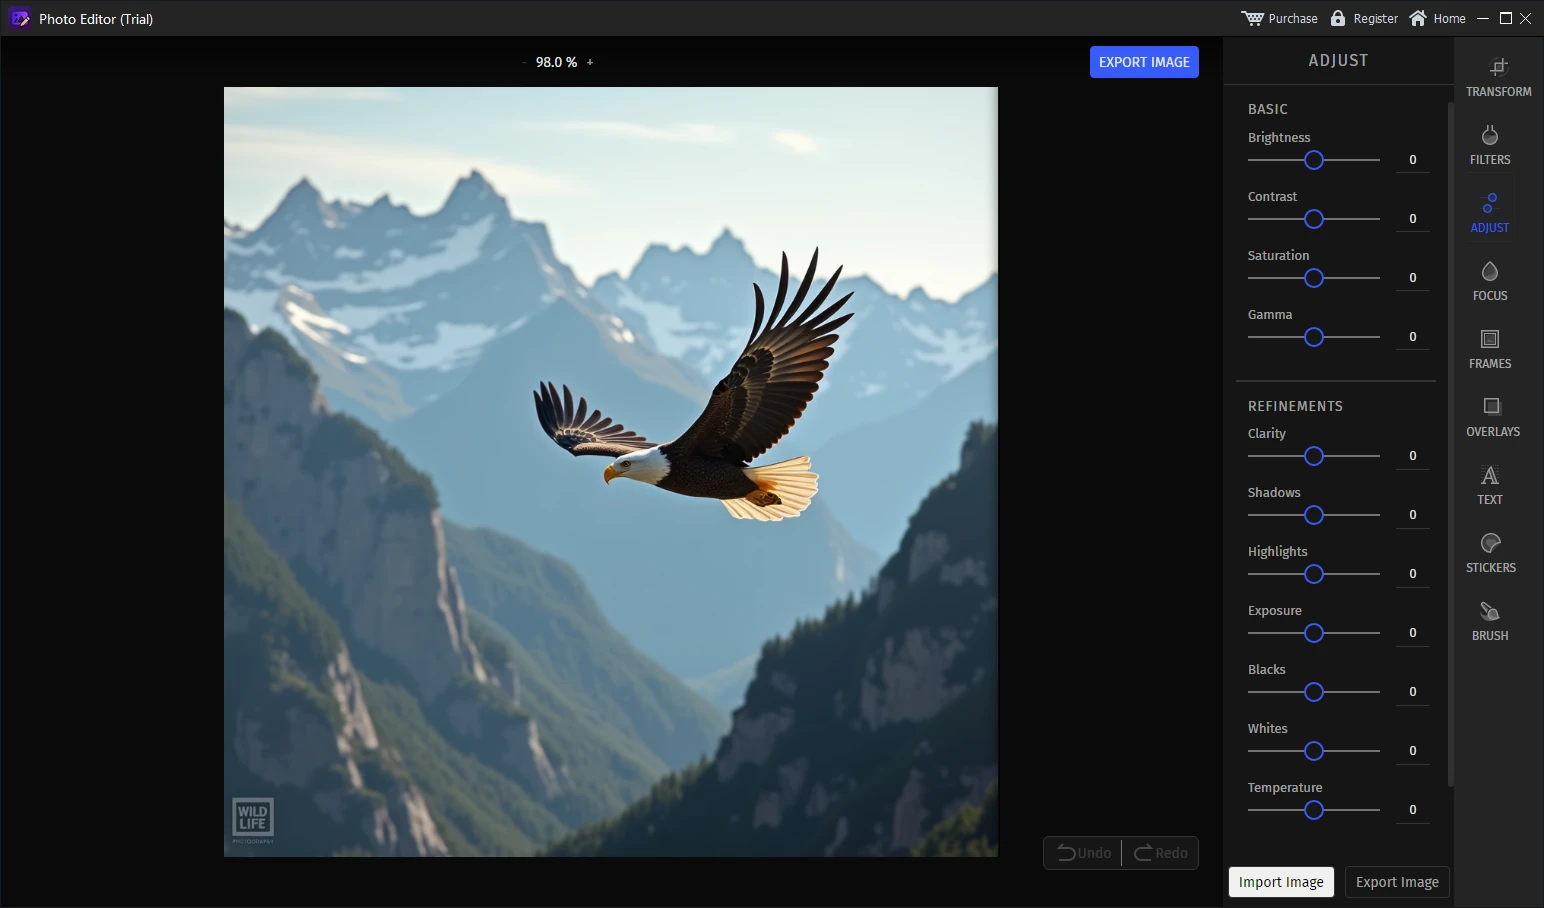
Lighten a dull page and improve separation between text and paper without turning thin characters pale. Switch to grayscale only when color is not part of the information.
Clean small distractions carefully
Remove isolated specks or background marks with a restrained cleanup pass. Do not erase signatures, stamps, punctuation, table borders, or other meaningful details.
Export and inspect the result
Save a new high-quality file, reopen it, and inspect text edges at normal and enlarged views. If OCR or PDF is next, test one page before processing the full set.
Keep the Result Readable, Not Artificial
Fix geometry first
Crop and rotate before tonal work so the page can be judged in its final frame.
Protect character edges
Thin letters and punctuation should remain complete at 100% view after adjustment and export.
Avoid pure-white clipping
A slightly warm or gray page is better than losing faint handwriting, stamps, or pencil marks.
Judge the destination
An image for visual reading, OCR, email, and archival PDF may need different size and compression choices.
Prepare Scan-Style Images with GiliSoft Image Editor
GiliSoft Image Editor combines crop, rotate, resize, brightness, contrast, color, filters, and local cleanup tools in one Windows workspace. It is a practical choice when the immediate goal is a clearer document image rather than text recognition or multipage PDF assembly.
- Use the Image Editor workflow for page framing, orientation, tone, color, and small visual cleanup.
- Move to an OCR tool when you need selectable, searchable, or editable text.
- Move to Formathor, PDF Editor, or an image-to-PDF workflow when you need document conversion or multipage PDF output.
Troubleshoot Common Scan-Style Problems
- The page still looks photographed: crop more carefully, correct orientation, and reduce visible surroundings before applying filters.
- The paper remains gray: raise brightness gradually and use contrast sparingly so faint text is not lost.
- Characters look broken or jagged: undo aggressive sharpening, whitening, resizing, or low-quality JPEG export.
- A shadow crosses the text: return to the original if possible; heavy shadows are difficult to remove without damaging letters.
- The result is clear but OCR performs poorly: verify orientation, source resolution, language selection, and character contrast in the OCR tool.
- Pages look inconsistent: reuse similar crop, color mode, dimensions, and export settings across the whole document set.
Handle Sensitive Document Images Locally
Receipts, identity records, contracts, certificates, and internal documents may contain personal or confidential information. A local Windows workflow keeps visual preparation on the PC, but you should still preserve originals, use controlled folders, review metadata, and confirm the correct recipient before sharing an export.
Frequently Asked Questions
What does image-to-scanned software do?
It cleans the visual presentation of a photographed page or ordinary image so the result resembles a flat, well-framed scan.
Does GiliSoft Image Editor convert the picture into editable text?
No. Image Editor prepares the pixels and improves readability; OCR software is required to recognize the text as searchable or editable content.
Can this workflow create a searchable PDF?
Not by itself. First prepare the page image, then use an OCR or PDF tool to create a searchable text layer and assemble the PDF.
Should a document image be color or grayscale?
Use color when stamps, highlights, signatures, or colored diagrams matter. Grayscale often works well for ordinary text pages and can reduce visual distractions.
How can I improve OCR accuracy after cleanup?
Keep text sharp, avoid aggressive whitening or compression, correct orientation, and use a sufficiently large source image before running OCR.
Should I overwrite the original document photo?
No. Keep the original and export the cleaned version as a new file so you can revise the adjustments or verify details later.