

Choose Joining or Mixing
Quick answer: Join clips when one should play after another in sequence. Mix clips when they should overlap, such as narration over music. These are different timing operations, and using the wrong one can create silence, collisions, or missing content.
| Goal | Use | Result |
|---|---|---|
| Combine lesson parts in order | Join or concatenate | One file with sequential sections |
| Place narration over music | Mix | Sources overlap on the timeline |
| Remove gaps between recordings | Trim then join | Cleaner boundaries before combination |
| Combine different formats | Convert to a consistent output | One final codec and container |
| Keep separate chapters navigable | Consider separate files | One long file may be harder to navigate |
Prepare Clips Before Combining Them
Joining exposes differences in volume, noise, channels, sample rate, and silence. Fix the source order and boundaries before creating the final file.
Name the sequence
Use leading numbers so the intended order is visible outside the software.
Trim boundaries
Remove duplicate introductions, tails, long silence, and accidental clicks.
Check level consistency
Listen for abrupt loudness changes between adjacent clips.
Preserve originals
Work from copies so an incorrect join does not replace the source recordings.
Join Audio Files in 6 Steps
Collect and back up the clips
Place source files in one project folder and keep an unchanged copy.
Confirm the playback order
Rename or list every clip in the exact sequence required.
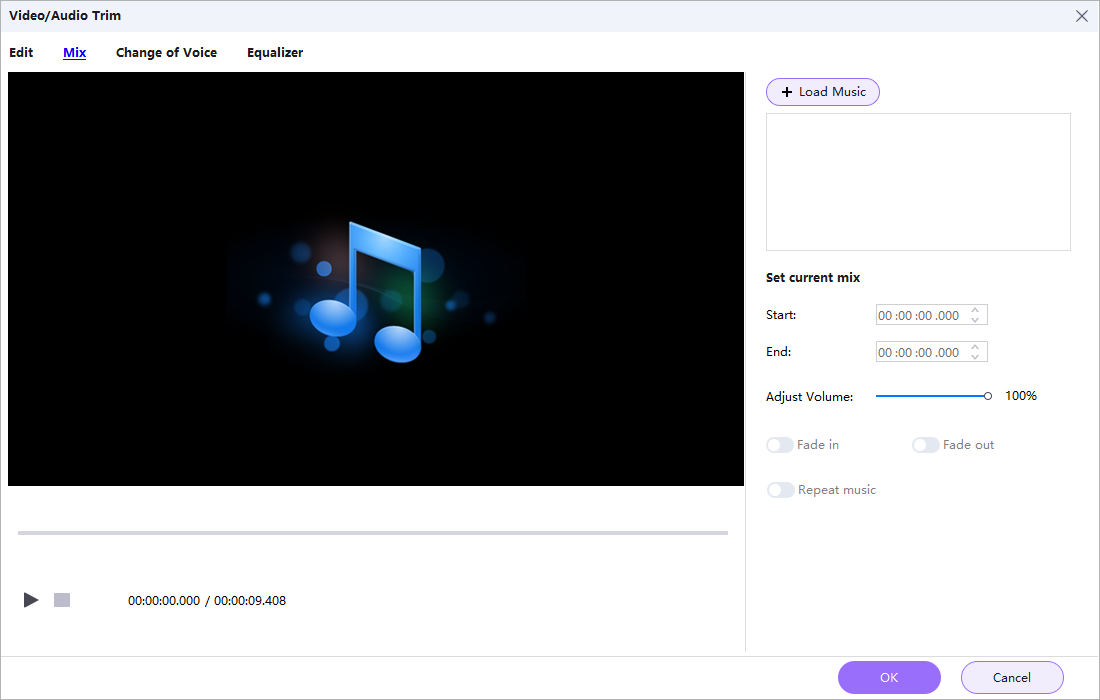
Add files to the mixing workflow
Open Audio Converter Ripper and load the clips you want to combine.
Trim and arrange the boundaries
Remove unwanted material and confirm whether clips should be sequential or overlapping.
Choose the final output
Select one format, quality, filename, and destination for the combined file.
Export and listen through every join
Check transitions, silence, clicks, repeated content, level changes, total duration, and the ending.
Make the Combined File Sound Continuous
Order
Verify the clip sequence before and after export.
Boundaries
Listen several seconds before and after every join for clicks, gaps, or cut words.
Level
Correct obvious loudness jumps rather than expecting format conversion to hide them.
Format
Use an output accepted by the destination and keep the best source clips for future edits.
Important: Joining sequential clips and mixing simultaneous tracks are different tasks. Decide the timeline relationship first, then choose the matching tool and review the result in real time.
Join and Convert Audio in One Windows Workflow
GiliSoft Audio Converter Ripper includes mixing and joining alongside format conversion, trimming, fades, speed, volume, equalizer settings, voice effects, compression options, and ID3 editing.
- Use numbered filenames and a written sequence for long projects.
- Keep a small amount of natural room tone when hard cuts sound abrupt.
- Compare the final duration with the sum of the intended source material.
Troubleshoot Common Audio Workflow Problems
- Clips play in the wrong order: Reorder the source list and use leading numbers in filenames.
- There is a long pause at a join: Trim trailing and leading silence before combining.
- A word is cut off: Move the trim point away from speech and replay the boundary.
- One clip is much louder: Adjust its level or prepare it separately before the final join.
- Files will not combine cleanly: Convert them to a consistent supported format and settings first.
- The final file is hard to navigate: Consider separate chapter files or add an external chapter system instead of one very long file.
Keep Sources and Edit Decisions Reversible
Retain the original clips and a sequence list so the combined output can be corrected later. Join and distribute only recordings you have permission to edit and share.
Frequently Asked Questions
What is the difference between joining and mixing audio?
Joining places clips one after another, while mixing plays two or more sources at the same time.
Can I join MP3 and WAV files?
The software can work with multiple supported formats, but a consistent final output format simplifies delivery.
Should I trim silence before joining?
Yes when the silence is unwanted, but preserve intentional pauses and natural transitions.
Can I join many files in one project?
Yes. Use numbered filenames and verify the full playback order before export.
Why is there a click at the join?
A cut may fall on an abrupt waveform boundary. Adjust the trim point or use a suitable fade where available.
Can I edit the sources after joining?
Keep the original clips. A single exported file is less convenient for changing one section later.