

Choose the Right Approach
| Situation | Practical approach | What to protect |
|---|---|---|
| Fixed corner logo | Same dimensions and position | One carefully tested selection may fit the group |
| Different photo sizes | Separate by dimensions or aspect ratio | A fixed region can move relative to the content |
| Changing watermark position | Split into smaller groups | Each layout needs its own selection |
| Complex backgrounds | Individual review after processing | One batch setting may not suit every texture |
Prepare the Photo Workflow
Make the source, authorization, output, and review decisions before changing pixels.
Back up the source set
Keep originals in a separate read-only or protected folder.
Group similar files
Separate by dimensions, mark position, background, and output requirement.
Choose representative tests
Include easy, average, and difficult photos from every group.
How to Complete the Task on Windows
Work from a preserved source, make controlled changes, and judge the exported result rather than the editor preview alone.
Inventory and group the files
Remove duplicates and separate photos whose watermark position or dimensions differ.
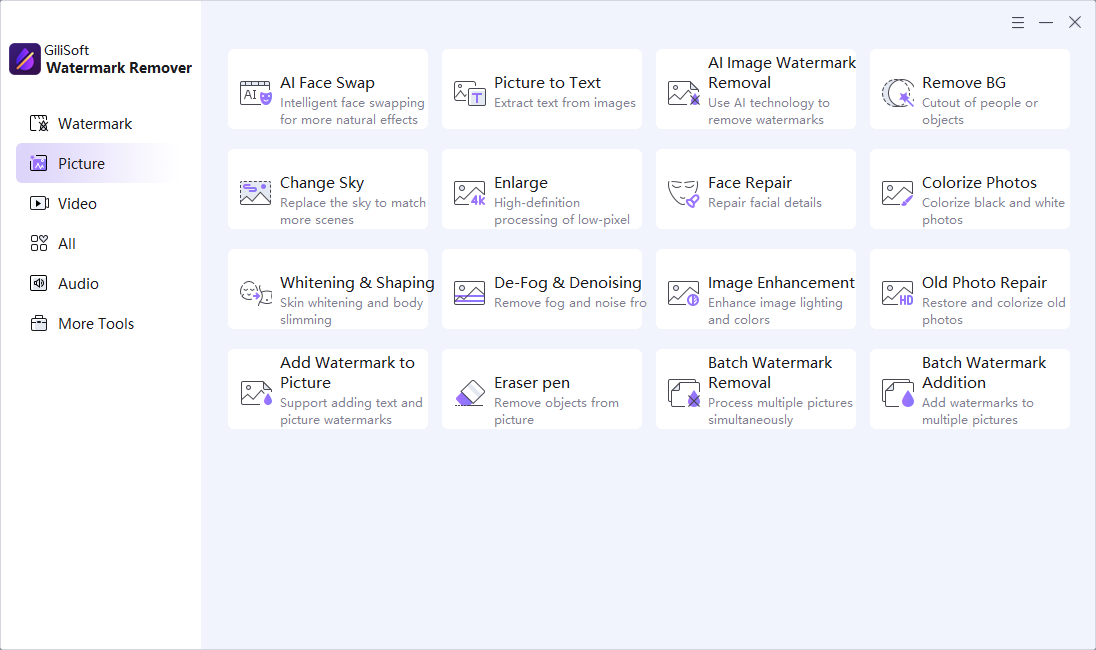
Open the batch image cleanup workspace
Add one controlled group rather than mixing unrelated layouts.
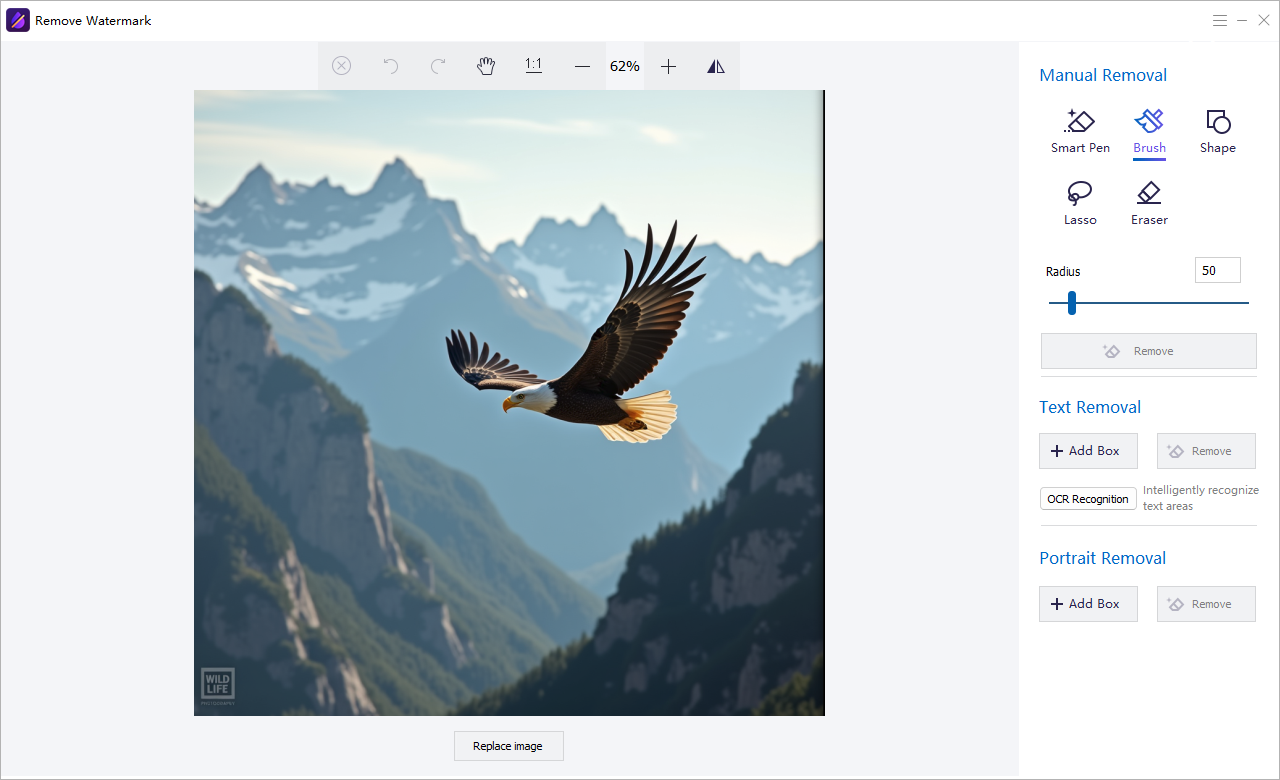
Define the watermark region
Cover the full mark, including outlines and shadows, on a representative photo.
Process a small test set
Review several backgrounds, edge cases, and file sizes before approving the setting.
Run the approved group
Save to a separate destination with enough space and clear naming.
Audit representative and difficult outputs
Check every exception plus samples from the beginning, middle, and end of the queue.
Quality Details That Matter
Batch by visual similarity
File names alone do not prove the watermark or composition matches.
Test edge cases first
Bright, dark, detailed, and subject-touching backgrounds reveal failure quickly.
Write to a new destination
Never overwrite an unverified archive during batch cleanup.
Record the batch rule
Keep notes on source group, selection, output, and exceptions for repeat work.
Where Watermark Remover Fits
Remove authorized text, logos, date stamps, watermarks, and unwanted areas from photos or videos, including repeated batch work.
Review the GiliSoft Watermark Remover product page or follow the Watermark Remover user guide for product-level instructions.
Troubleshooting and Review
- Some files retain the mark: verify that its position is truly fixed across the group.
- Subject detail is damaged: remove those photos from the batch and process individually.
- Output names collide: use a separate folder and a predictable suffix.
- Colors or metadata change unexpectedly: compare one source and output before continuing.
- The queue succeeds but quality varies: inspect images, not only completion status.
Rights, Privacy, and Source Protection
Edit only photos you own or are authorized to modify. Preserve original files, respect client scope and copyright, and review visible details, filenames, metadata, storage, and delivery when privacy matters.
Frequently Asked Questions
When is batch watermark removal appropriate?
It fits image sets with similar dimensions, watermark placement, and surrounding visual structure.
Should all photos be processed with one selection?
No. Split the files whenever layout, size, position, or background conditions change.
Can batch processing overwrite originals?
Use a separate destination so an unverified result cannot replace the source archive.
How many test photos should I use?
Use enough to represent easy, typical, and difficult backgrounds in every source group.
Can I try the recommended software before buying?
Yes. Test GiliSoft Watermark Remover with representative photos, difficult edges, and required output settings.
Should I keep the original photo?
Yes. Preserve an untouched source and export edited results as separate files.