
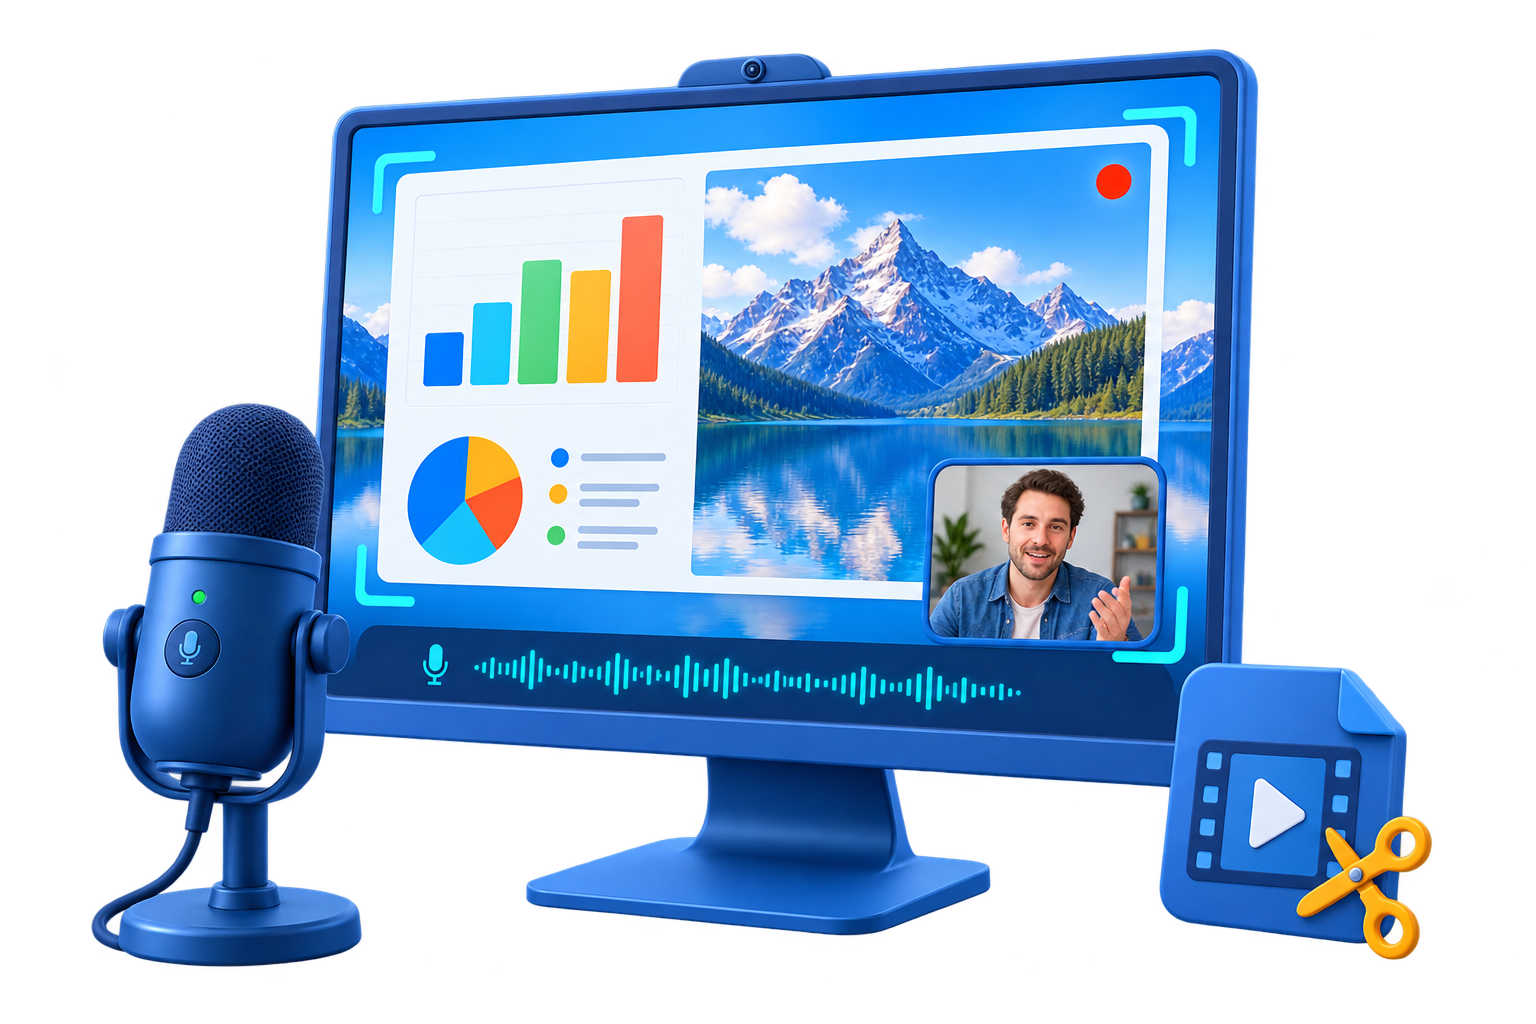
Choose the screen recording setup
Capture target
Use full screen, an application window, or a selected region according to the content viewers must see.
Audio and camera
Add system sound, microphone, webcam, or picture-in-picture only when it improves the explanation.
Finishing workflow
Trim, annotate, convert, or export the recording after confirming the original file is saved.
Step-by-step workflow
Use this sequence in GiliSoft Screen Recorder Pro and make a short test before the full recording or export.
Define the capture task
Start by deciding whether you need record a screen smoothly on a lower-spec Windows PC. Choose the target, audience, and final output before opening the recorder.
Choose screen and source settings
Open GiliSoft Screen Recorder Pro and select the full screen, window, or region. Enable system sound, microphone, webcam, or cursor options only when the task needs them.
Make a short test
Record a representative section and check the picture, interface text, cursor, voice, system sound, and webcam framing before the full session.
Record the complete session
Start with a clear lead-in, follow the planned demonstration or explanation, and leave a little space after the final action before stopping.
Review, edit, and export
Open the recorded file, remove unwanted pauses or mistakes, choose a suitable output format, and verify the finished video before sharing it.
Improve the result before you finish
Make the source intentional
Choose only the input you need and keep unrelated applications quiet. Clear source routing is easier to fix before recording than after export.
Keep a review checkpoint
Listen to the beginning, a representative middle section, and the ending. Confirm that the file is saved before closing the source.
Common problems and practical fixes
- Black or missing picture: verify the selected target, permissions, graphics driver, and capture mode.
- Missing audio: check system sound, microphone access, the selected devices, and application volume.
- Lag or dropped frames: close unnecessary applications, reduce capture pressure, and test supported hardware encoding.
- Incomplete file: confirm storage space, output folder, auto-stop, and the saved file before closing the source.
Record and share responsibly
Record only content you are authorized to capture and share. Follow meeting consent, privacy, copyright, workplace, school, and platform rules. Screen Recorder Pro does not bypass protected content or replace permission.
Frequently Asked Questions
How do I choose the right recording area?
Use full screen for lessons and presentations, a window for focused application demos, or a selected region when only part of the desktop should appear.
How do I record system audio and a microphone together?
Enable both sources, select the correct Windows devices, and make a short test so playback and narration are balanced before the full recording.
How can I reduce lag or a black recording?
Close unnecessary applications, check the selected capture target, lower demanding settings when appropriate, and test hardware encoding on a compatible system.
Where should I save the finished recording?
Use a folder with enough free space, keep a predictable naming pattern, and verify the completed file before closing the source application.
Related Windows audio guides
Continue with the workflow that matches the source or post-processing task.