
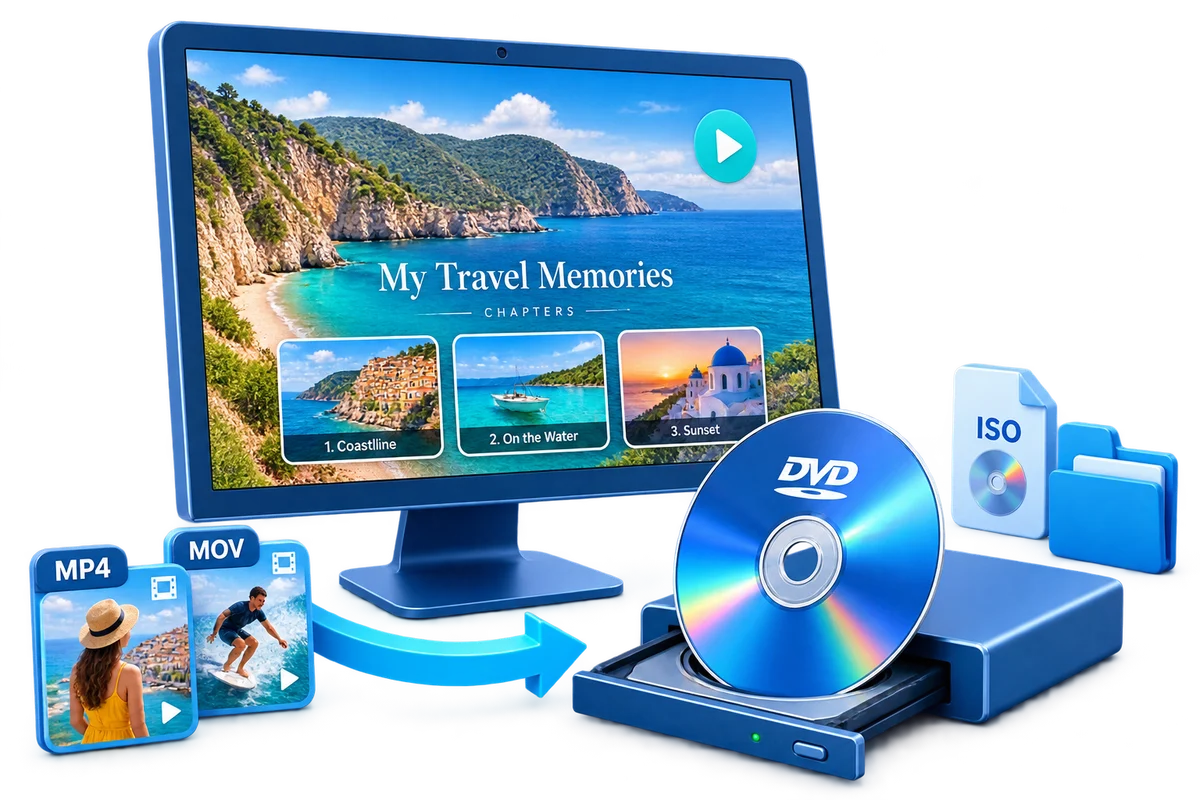
Choose the Right Kind of DVD
A data DVD stores files. DVD-Video is authored for menu navigation and broad standalone-player playback. Choose the output by how the disc will be used.
| Goal | Best output | What it means |
|---|---|---|
| One short video | Simple Play or one-title menu | Keep navigation minimal and make the main action obvious |
| Several independent videos | Title menu | Give each video a short, distinct button label |
| One long event or lesson | Chapter menu | Create entry points at meaningful scene or topic changes |
| Client, training, or family collection | Branded/custom menu | Use a relevant background, restrained title, and predictable button order |
Prepare the Project Before You Burn
Outline the disc
List the titles and chapter points before choosing a visual menu style.
Shorten button labels
Use words that remain readable from television viewing distance.
Prepare the background
Choose an image with quiet space behind text and buttons rather than a busy frame.
Budget the runtime
Keep enough disc capacity for the videos, menus, and the quality level you need.
Burn Videos to DVD with a Menu: Step by Step
Add all videos to the project
Import the final source files and arrange them in the same order you want on the DVD.
Clean up each title
Trim unwanted frames, correct orientation, and finish subtitles or text before assigning menu navigation.
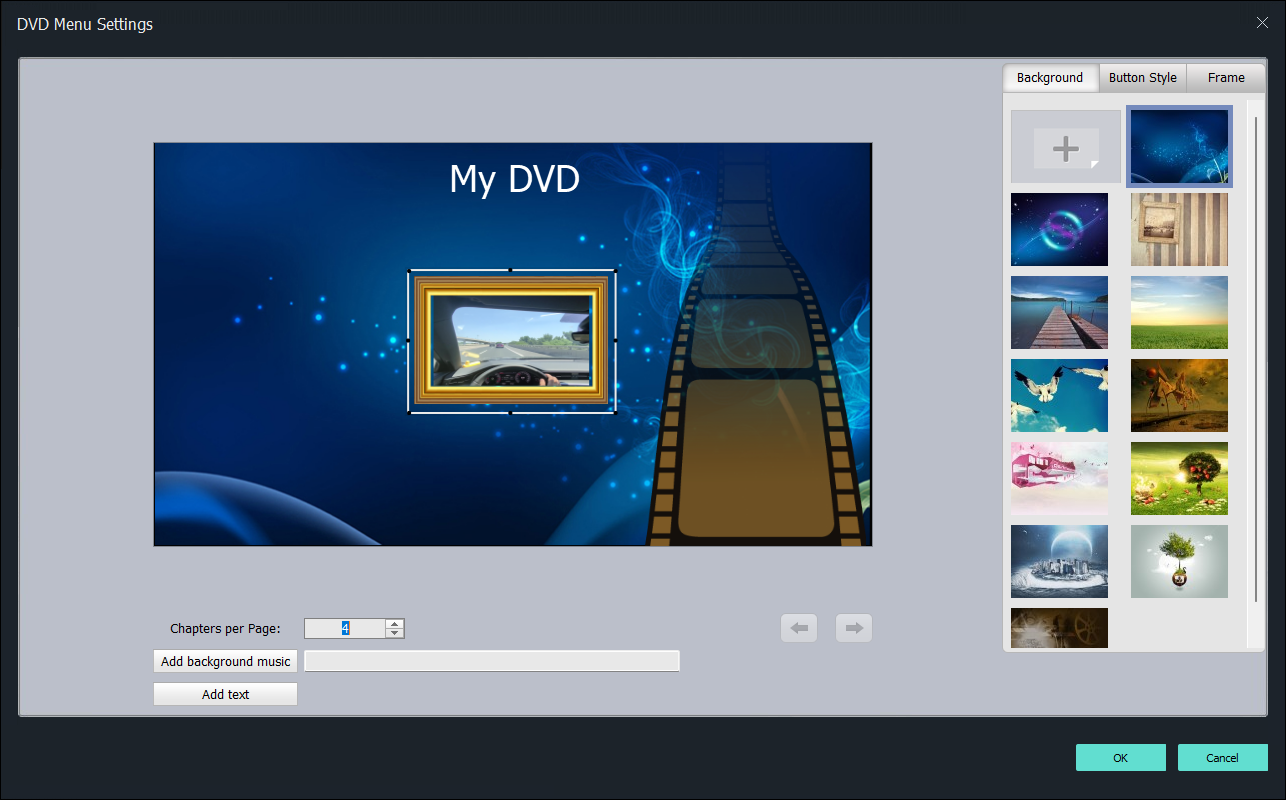
Open the DVD menu workspace
Choose a template that fits the number of titles or chapters without making the screen crowded.
Customize the menu
Set the disc title, background, frames, and concise button labels; keep important elements away from screen edges.
Verify title and chapter links
Check that each button opens the correct item and that Next, Previous, Home, and playback-return behavior are logical.
Preview and create the DVD
Navigate the complete menu in preview, choose PAL or NTSC and the output destination, then burn or save an ISO or DVD folder.
Use One Workflow from Video Import to DVD Output
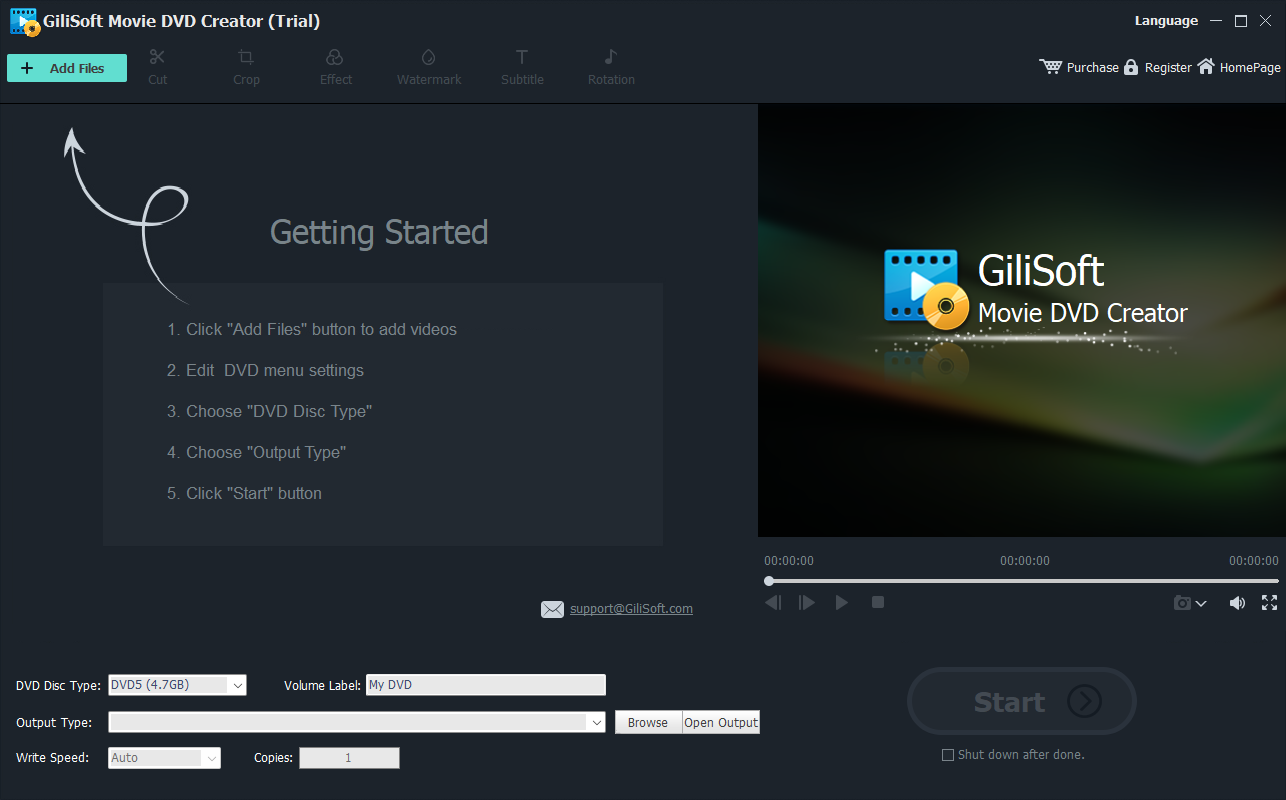
GiliSoft Movie DVD Creator combines source preparation, menu and chapter authoring, PAL/NTSC selection, preview, and disc, ISO, or DVD-folder output. That makes it a practical Windows DVD Maker alternative when the finished project needs more than copied video files.
Troubleshooting DVD Creation and Playback
- A button opens the wrong title: review the button target and preview the complete menu again.
- Text disappears into the background: add contrast, simplify the background, or reposition the label.
- Some chapters are missing: confirm chapter points and whether the template has enough button positions or pages.
- The last menu item is cut off on a TV: move essential content away from the outer edges.
- The disc skips the menu: check the selected startup behavior and ensure the project was authored as DVD-Video rather than a data disc.
Use Video You Own or Are Authorized to Distribute
DVD authoring does not change copyright, privacy, licensing, or distribution rights. Use your own recordings or material you have permission to copy and share, and do not bypass technical protection.
Frequently Asked Questions
What is the difference between a DVD title and a chapter?
A title is usually a complete video or program. Chapters are navigation points inside a title.
Can I use my own image as the DVD menu background?
Yes. GiliSoft Movie DVD Creator supports custom menu imagery along with menu templates and frames.
How many menu buttons should I put on one page?
Use only as many as remain readable and easy to navigate. Split a crowded collection across multiple menu pages.
Can I preview the menu before burning?
Yes. Preview navigation and playback order before creating the physical disc or final image.
Can I save the project as an ISO?
Yes. ISO and DVD-folder output are available in addition to burning a physical DVD.
Why does my DVD open as a folder of files?
It was likely created as a data disc or opened in file-browsing mode. Author DVD-Video when you need television-style menu navigation.
More DVD Creation Guides
Continue with the product guide or the focused DVD workflow that matches the next task.