
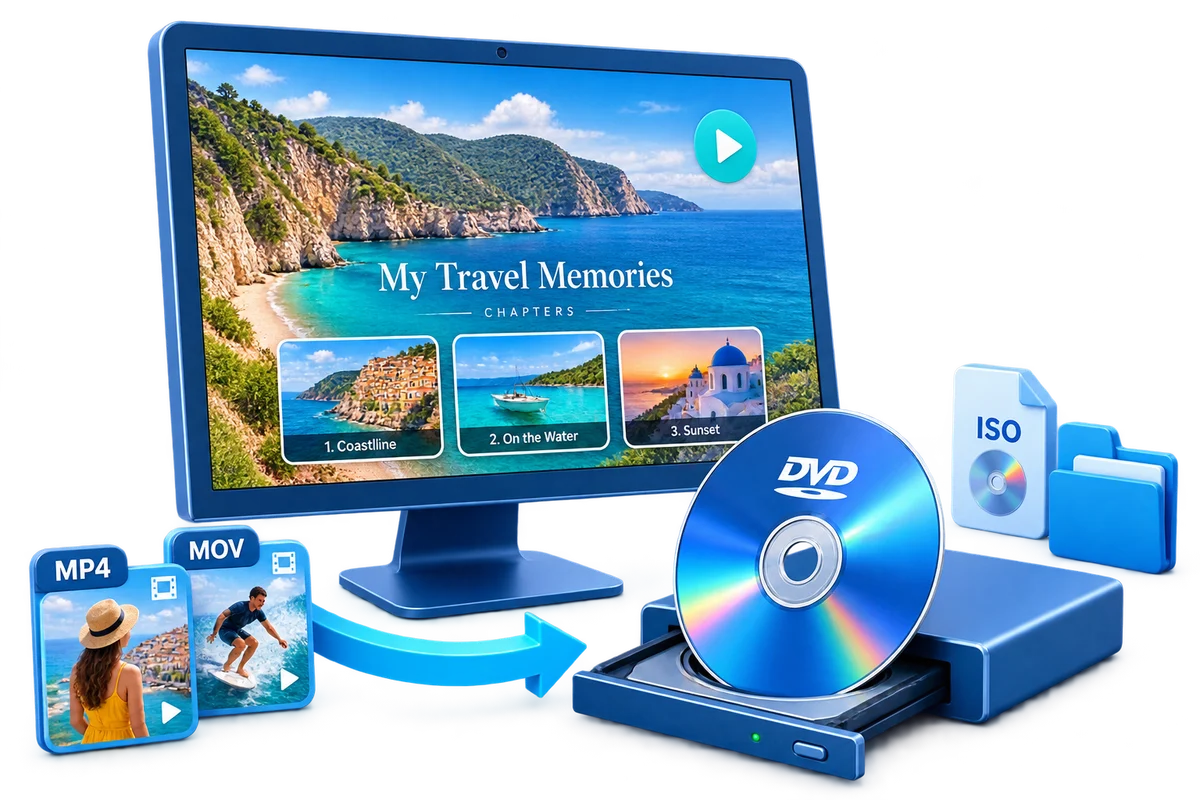
Choose the Right Kind of DVD
A data DVD stores files. DVD-Video is authored for menu navigation and broad standalone-player playback. Choose the output by how the disc will be used.
| Goal | Best output | What it means |
|---|---|---|
| Store original files | Data DVD | Useful as removable storage when the receiving device understands the file formats |
| Play on a living-room DVD player | DVD-Video | Uses authored video and navigation expected by DVD players |
| Share an event with selectable scenes | DVD-Video with menu | Provides title and chapter buttons for remote navigation |
| No writer connected yet | ISO or DVD folder | Create and review the authored output before burning on another system |
Prepare the Project Before You Burn
Connect a writer
Many Windows 11 PCs have no optical drive; use a compatible USB DVD writer when necessary.
Verify Windows detection
Check File Explorer or Device Manager before opening the authoring project.
Use local source files
Copy footage from phones, cameras, or cloud folders to stable local storage before authoring.
Plan the navigation
Decide which clips need separate title or chapter buttons before choosing a menu template.
Create a Menu-Based DVD on Windows 11: Step by Step
Connect and verify the DVD writer
Attach the internal or USB writer, insert suitable blank media, and make sure Windows 11 detects the drive.
Import the source videos
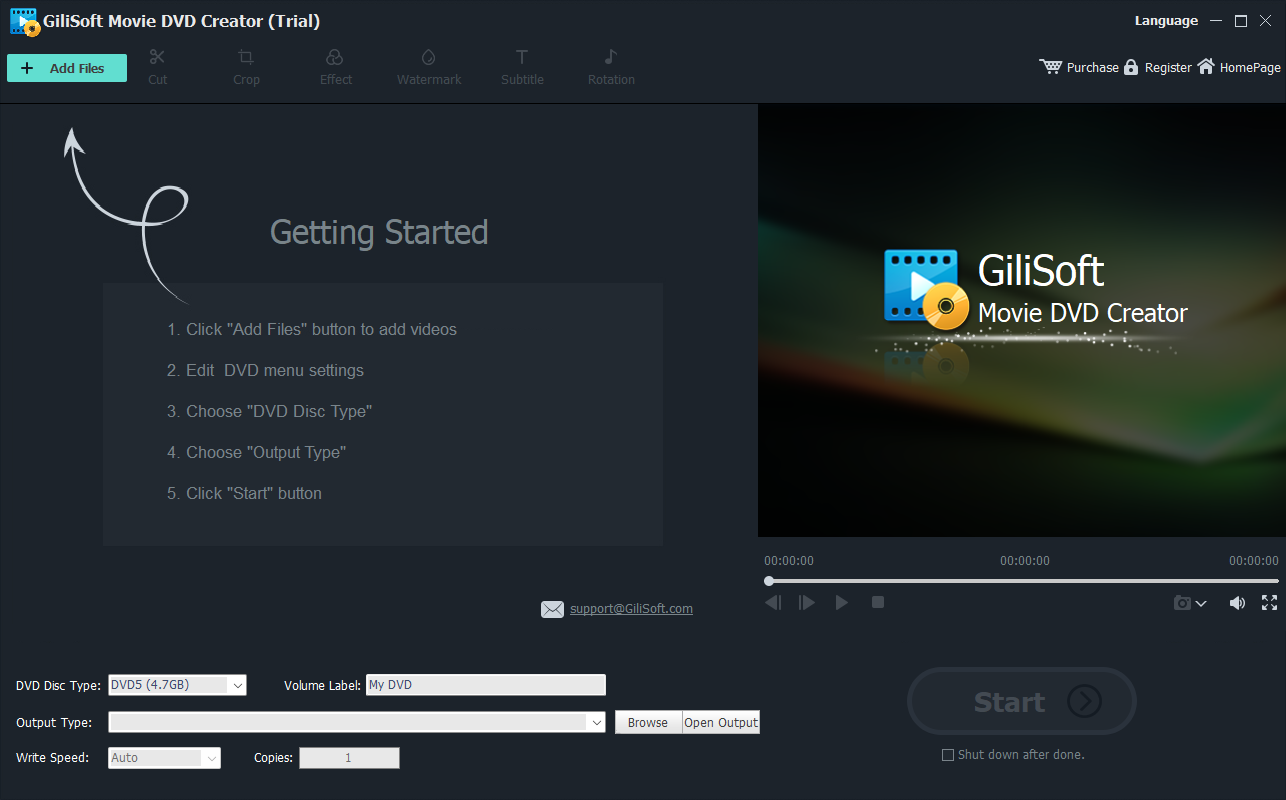
Open GiliSoft Movie DVD Creator, add the videos, and arrange them in the order viewers should see.
Make only necessary edits
Trim unwanted starts or endings, correct orientation, and add subtitles or text before creating the menu.
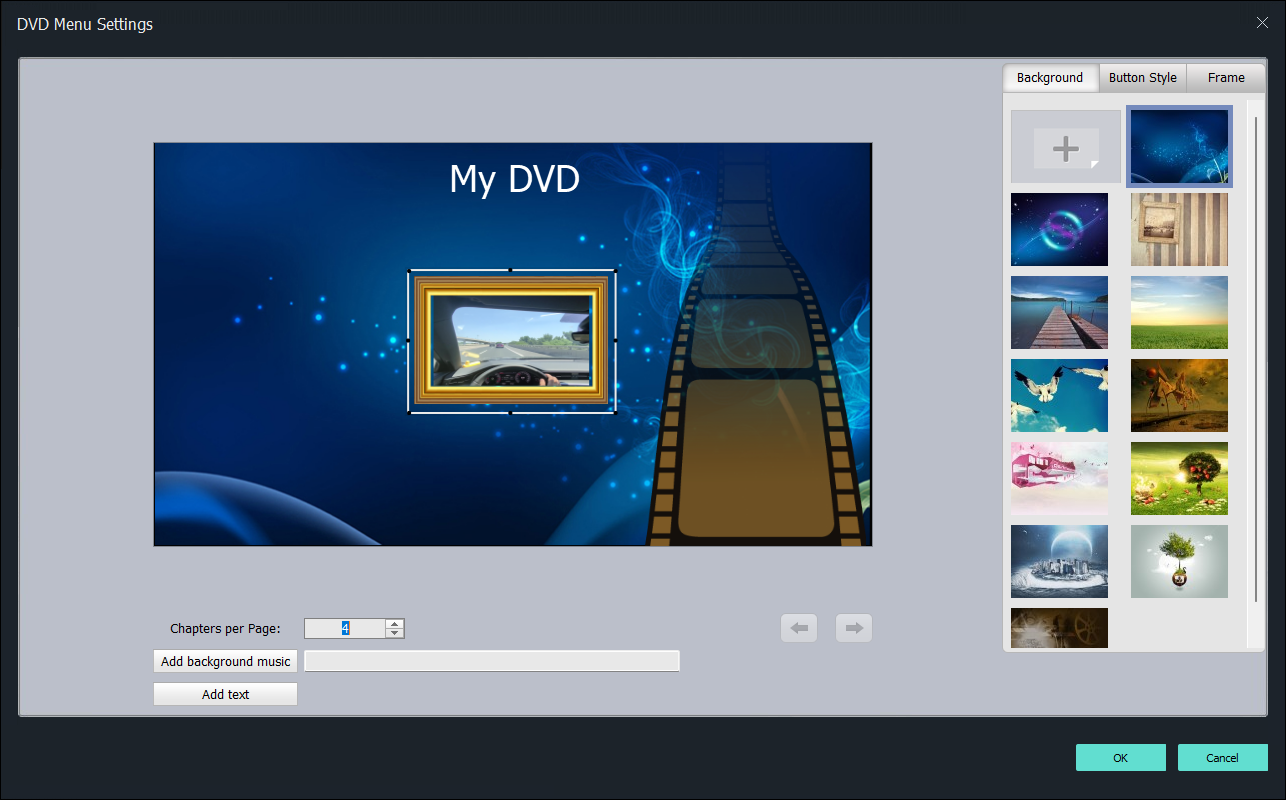
Build the menu and chapters
Select a menu style, set the title, and organize buttons so each video or chapter is easy to reach with a remote.
Choose disc, ISO, or folder output
Set the correct PAL or NTSC standard and choose a physical disc or an intermediate output for later burning.
Preview and complete the project
Test menu links and playback order, create the output, and verify the finished disc on the destination player.
Use One Workflow from Video Import to DVD Output
GiliSoft Movie DVD Creator combines source preparation, menu and chapter authoring, PAL/NTSC selection, preview, and disc, ISO, or DVD-folder output. That makes it a practical Windows DVD Maker alternative when the finished project needs more than copied video files.
Troubleshooting DVD Creation and Playback
- Windows 11 does not see the writer: reconnect it directly, try another cable or port, and check Device Manager.
- The blank disc is rejected: confirm the media type is supported by the writer and insert a new, undamaged disc.
- Menu buttons point to the wrong video: return to the menu editor and preview every link before burning.
- The project exceeds capacity: remove content, shorten clips, or choose supported higher-capacity media.
- The disc is unreliable in an older player: try DVD-R media, a moderate write speed, and the correct PAL or NTSC setting.
Use Video You Own or Are Authorized to Distribute
DVD authoring does not change copyright, privacy, licensing, or distribution rights. Use your own recordings or material you have permission to copy and share, and do not bypass technical protection.
Frequently Asked Questions
Does Windows 11 have Windows DVD Maker?
No. Windows 11 does not include the classic Windows DVD Maker application for authoring menu-based DVD-Video.
Can I use an external USB DVD writer?
Yes. Confirm that Windows detects it and that the drive can write the blank DVD format you selected.
Is copying MP4 files to a DVD enough?
Only for a data disc. A standard DVD player may not support those files; DVD-Video authoring provides the expected disc structure.
Can I create chapters and a menu?
Yes. GiliSoft Movie DVD Creator provides menu templates and chapter-based navigation for authored projects.
Can I make an ISO on a PC without a burner?
Yes. You can prepare an ISO or DVD folder first and burn it later on a computer with a compatible writer.
How do I improve compatibility with older DVD players?
Use the correct regional standard, reliable compatible media, a conservative write speed, and test the complete disc in the target player.
More DVD Creation Guides
Continue with the product guide or the focused DVD workflow that matches the next task.