

How to Cut a Video on Mac Without Losing the Story
A clean cut starts with deciding what the viewer must keep, then placing boundaries where picture, speech, music, and motion still feel continuous.
Quick answer
Import the best source into GiliSoft Video Editor Pro for Mac, place it on the timeline, split at the intended boundaries, remove only the unwanted segment, close the gap, and review both edit points before export.
Choose the Right Type of Cut
| Situation | Recommended approach | Check carefully |
|---|---|---|
| Remove the beginning or ending | Trim to the first and last useful frames | Speech attacks, fades, and camera motion |
| Remove a section in the middle | Split before and after the unwanted passage | Continuity and the remaining timeline gap |
| Create several useful clips | Split and export deliberate segments | Naming, context, and consistent settings |
Step-by-Step Mac Workflow
- Import and preserve the source
Create a project, import the original video, and keep the source unchanged outside the project folder.
- Place the playhead precisely
Zoom the timeline, listen around the edit, and put the playhead on the first frame where the change should occur.
- Split and remove the unwanted section
Create boundaries around the unwanted material, delete only that segment, and close or deliberately preserve the resulting gap.
- Review and export a new copy
Play across every boundary with sound, check lip sync and captions, then export a new file rather than overwriting the source.
See the Video Editor Pro for Mac user guide for the complete timeline, effects, audio, text, privacy, and export workflow.
Video Editor Pro for Mac Interface
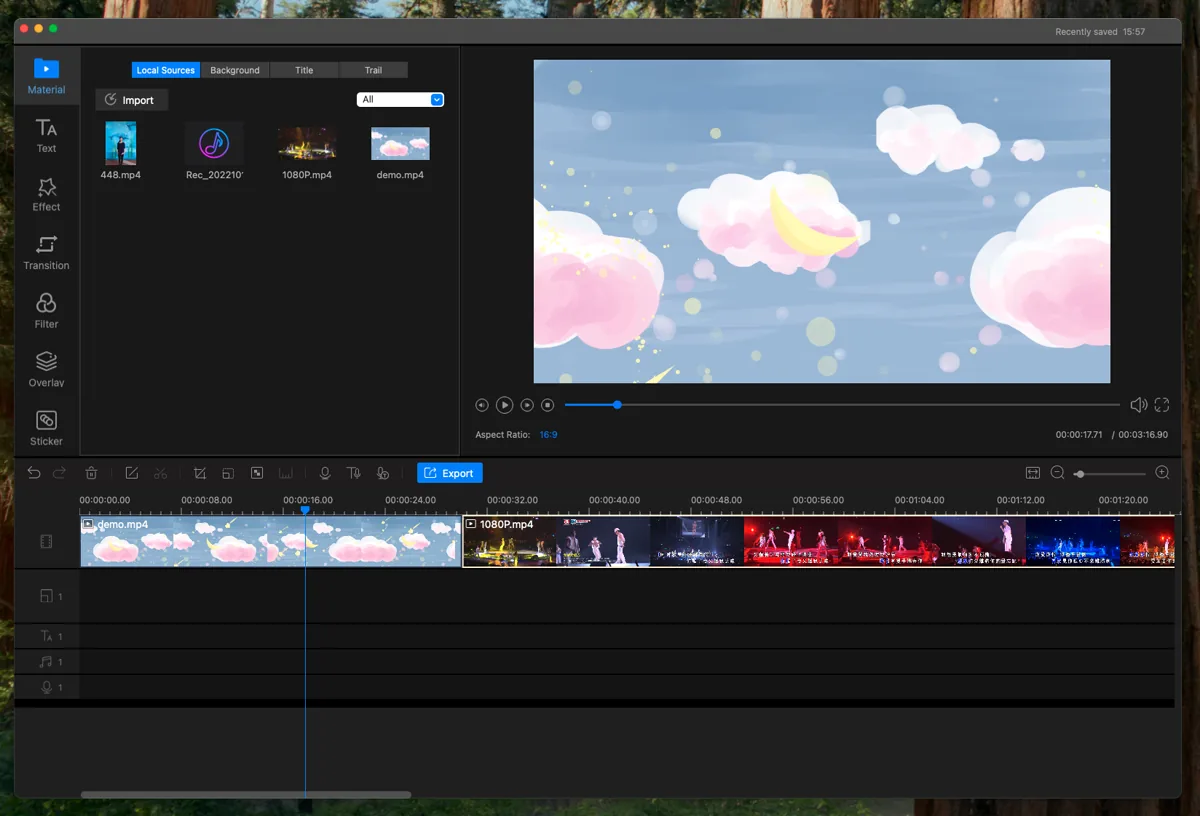
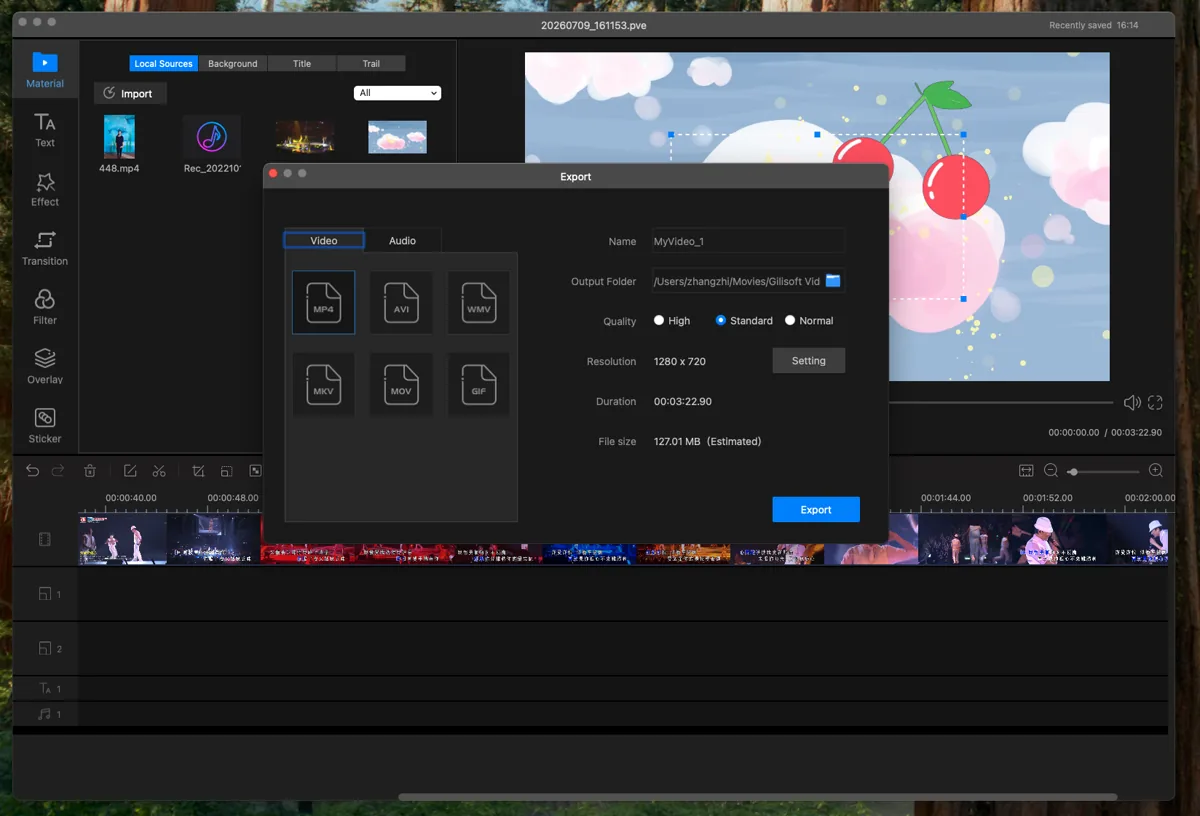
These real product screenshots connect the workflow to the current Mac editing interface.
Review Before Export
- Keep the source media and project until the finished export has been approved.
- Watch the complete timeline once without stopping and note every visible or audible issue.
- Test the rendered file outside the editor and on the intended destination device or service.
- Confirm reuse rights for video, music, logos, fonts, and other third-party material.
Frequently Asked Questions
Is trimming the same as splitting?
Trimming shortens a clip at its ends. Splitting creates separate segments so a middle section can be removed or rearranged.
Why does audio click at the cut?
The boundary may interrupt a waveform abruptly. Move the cut to a quieter point or add a very short fade.