
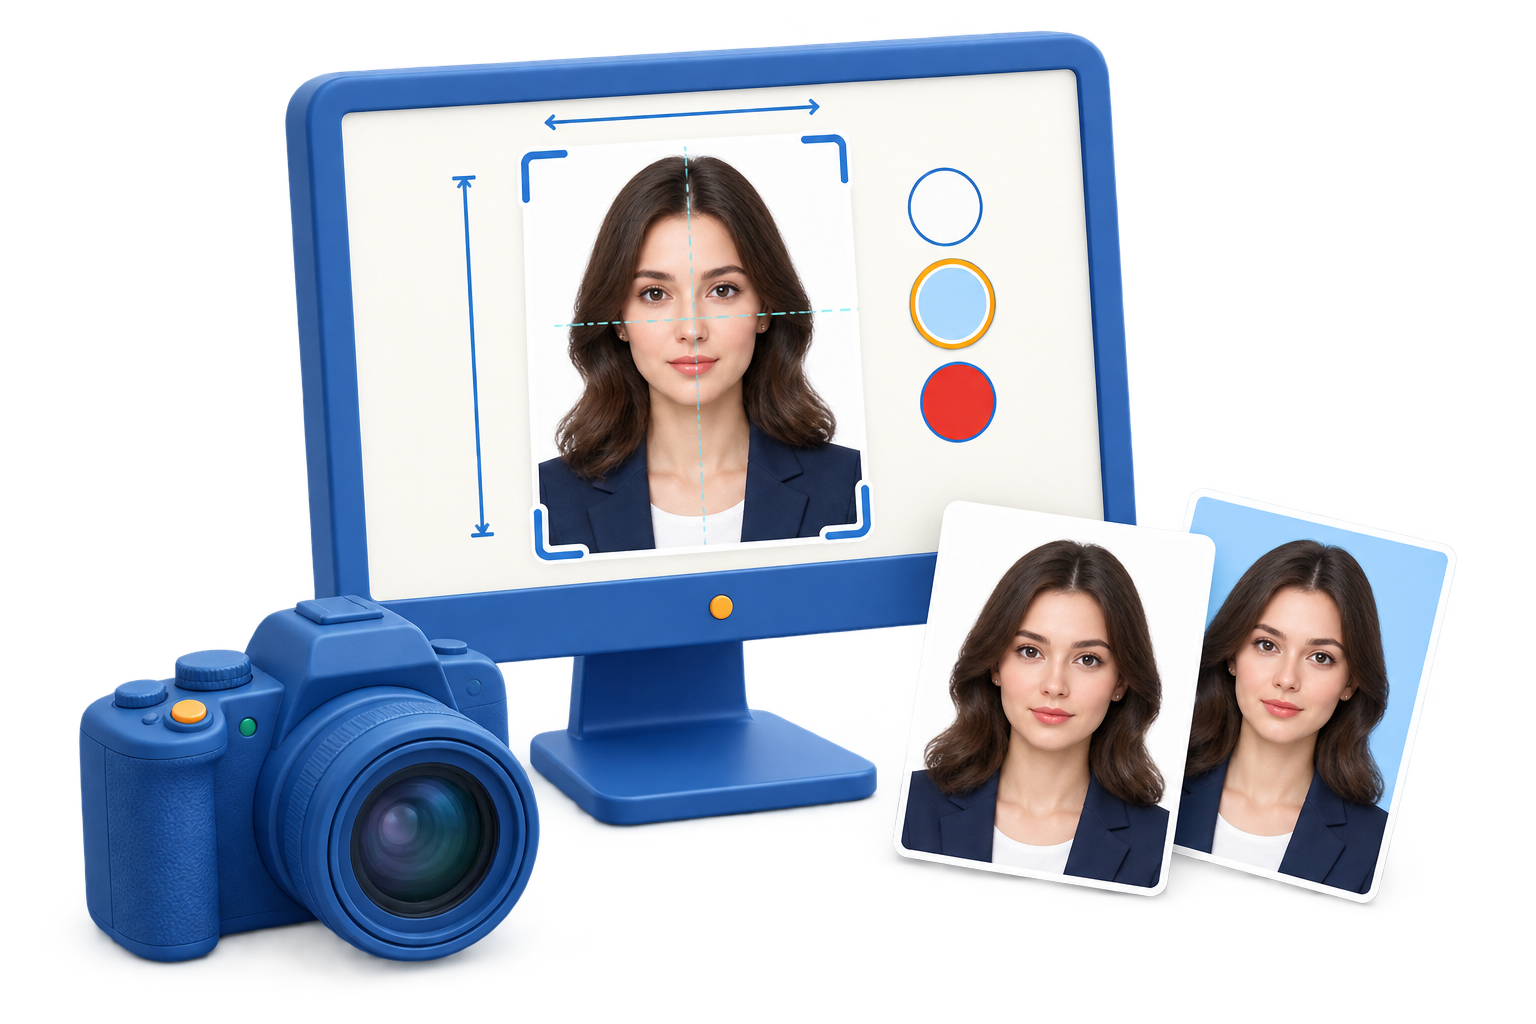
Employee ID Photo Software for Windows
When portraits arrive from different cameras and locations, badge and directory photos can look uneven. GiliSoft SnapID helps prepare each image to a shared size, framing, and background specification before you import it into your badge or HR system.
Quick answer
Get your badge or directory system's required pixel dimensions, file type, and background rule first. In SnapID, upload a clear portrait, set the size, align the face and shoulders, review the background, and export a test image. SnapID prepares the photo; it does not print or encode an access card.
Check the destination before editing
The correct employee photo is the one your destination system accepts. Confirm its requirements before choosing a familiar ID-photo template:
| Requirement | What to record | Why it matters |
|---|---|---|
| Image size | Width and height in pixels, plus aspect ratio | A generic photo preset may not match your badge layout. |
| File output | Accepted format and any file-size limit | The HR or access system may reject the wrong export. |
| Portrait style | Headroom, shoulder crop, background color | Consistent framing makes staff records easier to scan. |
Prepare an employee photo in SnapID
- Choose a clear source photo
Use a front-facing image with the face in focus. Avoid enlarging a tiny or heavily compressed photo; that cannot recreate missing detail.
- Upload the portrait
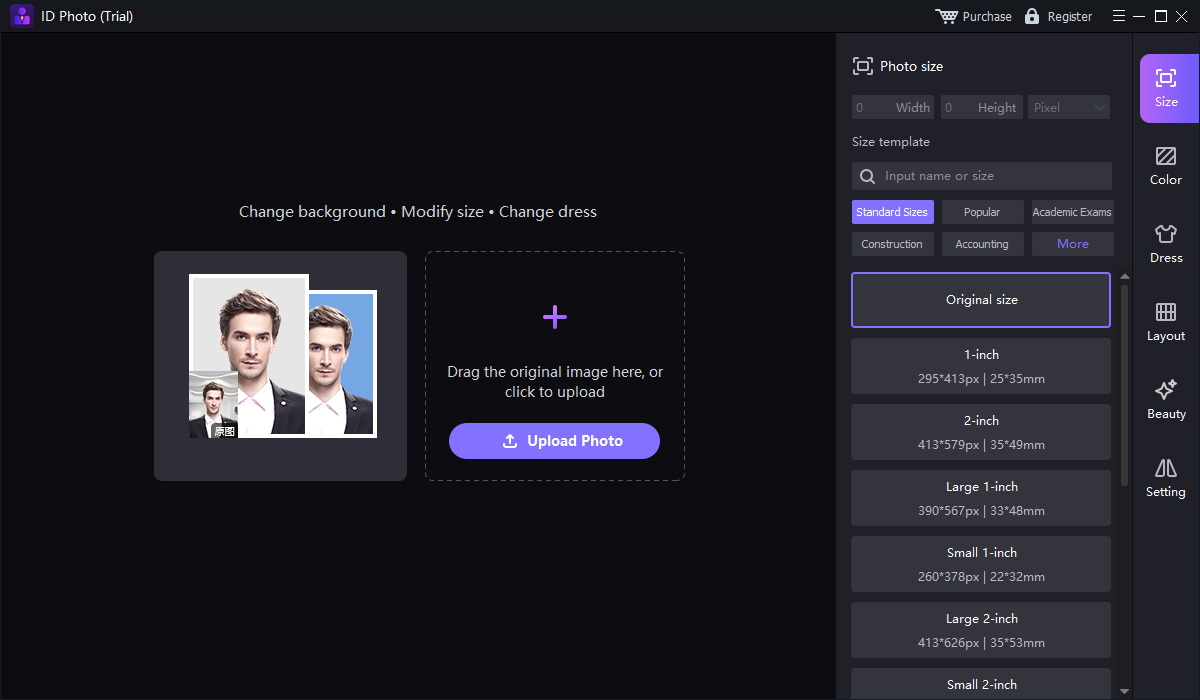
Open the ID Photo workspace in GiliSoft SnapID and select Upload Photo. Keep the original file in case the crop needs revision.
- Set the required size
Use the width and height fields or a matching size template. Do not assume a passport or visa preset matches your organization's badge specification.
- Align and clean the picture
Check face position, headroom, and shoulders. Use the Color and other image controls only as needed; inspect hair and clothing edges after a background change.
- Export and test one record
Save a sample in the required format, import it into the badge or directory system, and inspect its actual display size before repeating the settings for other employees.
Keep a team set consistent
Write down one photo specification for each destination. Match the crop and background across employees, but review every face individually; the same automatic crop may place different faces too high or too low. Use a clear file-naming convention that your HR process can match to the right person.
FAQ
Can SnapID make photos for employee badges?
Yes. It can prepare the portrait crop, background, and output size that a badge system needs. Confirm the required specification with the system before exporting.
Does SnapID print or encode the badge?
No. This workflow prepares the photo image. The badge design, printing, and access credentials are managed separately.
Can I use one template for every employee?
Use one size and background specification, but check each crop and face position. Source photos differ in angle, lighting, and framing.
How is an employee photo different from a passport photo?
The editing steps can overlap, but a staff badge follows the employer's image specification, not a government passport submission rule.


