

Choose the Right Approach
| Situation | Practical approach | What to protect |
|---|---|---|
| Temporary spot or acne | Small targeted cleanup | Nearby skin texture and natural tone |
| Stray hair or lint | Short controlled strokes | Hairline, clothing weave, and edges |
| Permanent feature | Usually retain unless specifically requested | Identity, consent, and client expectation |
| Broad skin smoothing | Use sparingly | Texture, age, expression, and realism |
Prepare the Photo Workflow
Make the source, authorization, output, and review decisions before changing pixels.
Clarify the retouching scope
Know whether the image is personal, editorial, commercial, or documentary.
Preserve the source portrait
Work on a copy and keep an easy comparison reference.
Check color and exposure first
Poor lighting can make normal texture look like a defect.
How to Complete the Task on Windows
Work from a preserved source, make controlled changes, and judge the exported result rather than the editor preview alone.
Open the highest-quality portrait
Avoid retouching a small social preview when a better source exists.
Correct broad exposure and color first
Make restrained global adjustments before judging individual skin areas.
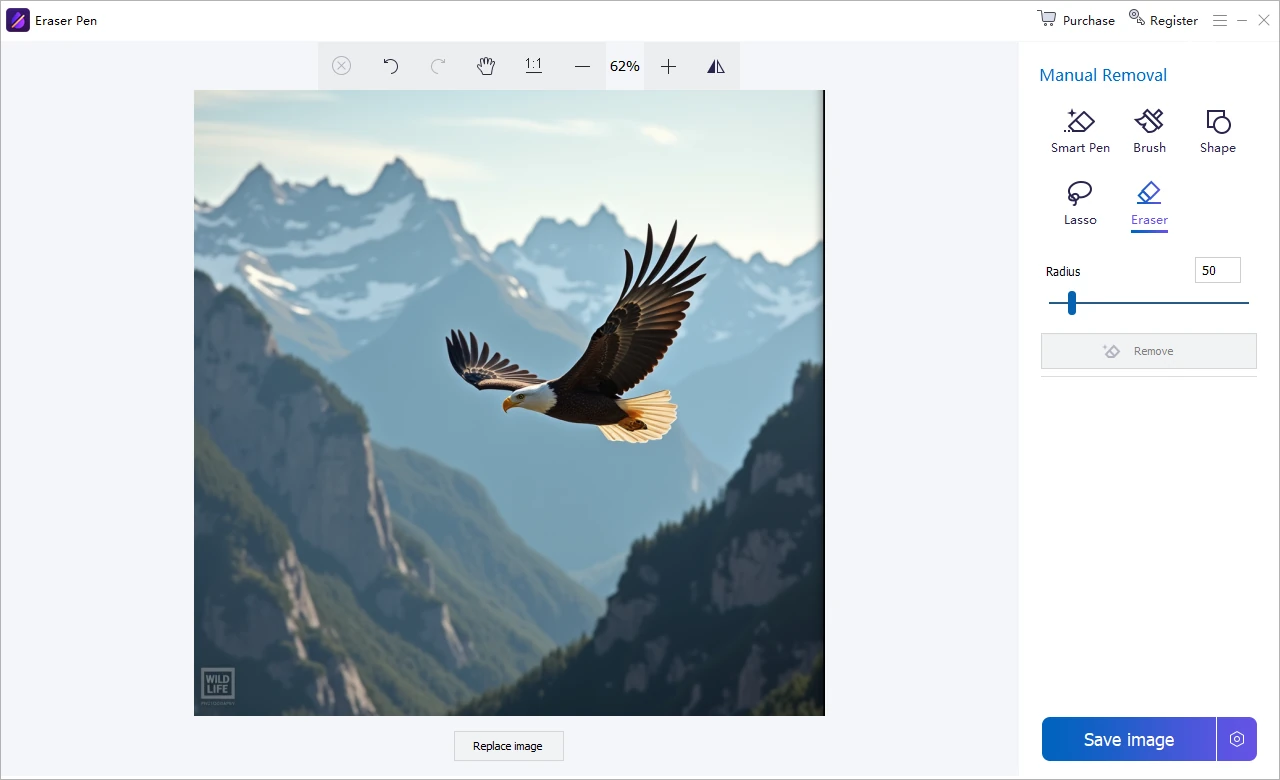
Zoom to the blemish and choose a small tool
Use a brush or selection only slightly larger than the temporary mark.
Clean one area at a time
Sample or reconstruct from similar nearby texture and avoid repeating obvious patterns.
Review faces, hairlines, and edges
Check that cleanup has not softened eyes, lips, nostrils, jewelry, or clothing detail.
Compare at normal size and export separately
The result should look natural without drawing attention to the retouch.
Quality Details That Matter
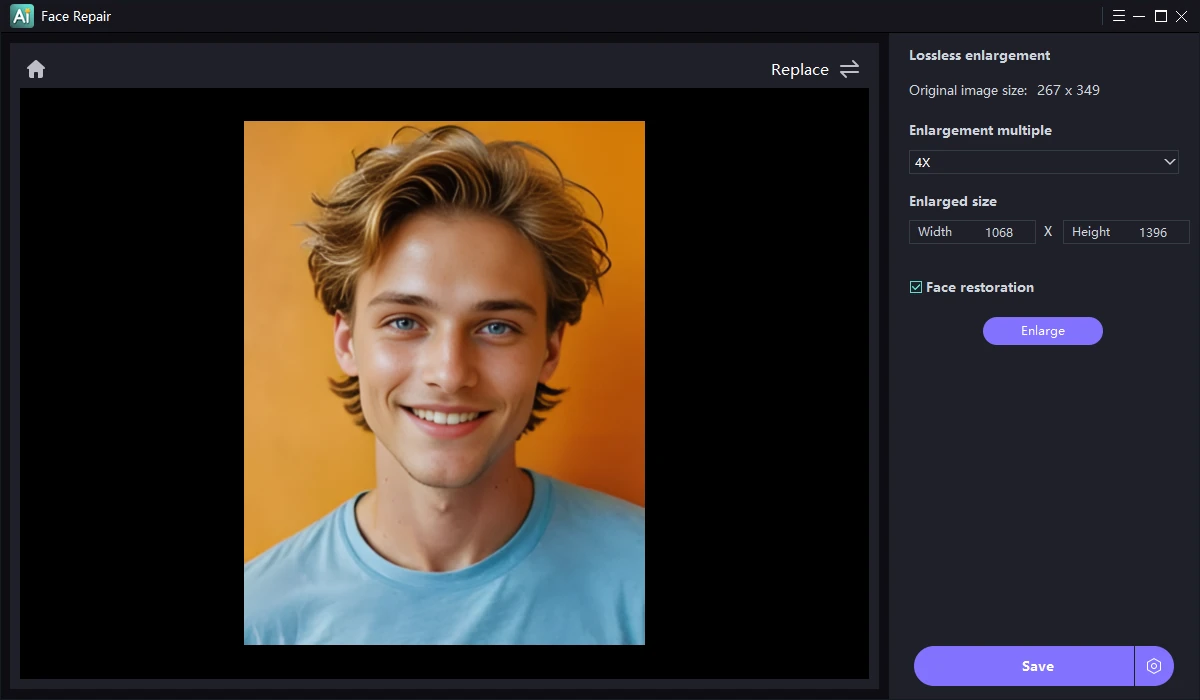
Temporary is not identity-defining
Remove short-term distractions while treating permanent features cautiously.
Texture matters more than perfect smoothness
Real skin contains pores, lines, highlights, and tonal variation.
Small tools reduce collateral changes
Wide cleanup can blur nearby features and repeat texture.
Normal-size review catches overwork
A retouch that looks tidy at 400 percent can look artificial when viewed normally.
Where Image Editor Fits
Edit, watermark, retouch, clean up, enhance, and restore photos in one Windows workspace.
Review the GiliSoft Image Editor product page or follow the Image Editor user guide for product-level instructions.
Troubleshooting and Review
- Skin looks plastic: undo broad smoothing and restore texture.
- A repeated patch is visible: use a different nearby texture source or smaller pass.
- Edges become soft: reduce the selection near eyes, lips, nostrils, and hair.
- Color changes around the repair: sample from a more similar tonal area.
- The client expected a different scope: confirm before removing permanent features.
Rights, Privacy, and Source Protection
Edit only photos you own or are authorized to modify. Preserve original files, respect client scope and copyright, and review visible details, filenames, metadata, storage, and delivery when privacy matters.
Frequently Asked Questions
What counts as a blemish for portrait cleanup?
Usually a temporary spot, lint, stray hair, or small distraction rather than an identity-defining feature.
Should all skin texture be removed?
No. Natural pores, lines, highlights, and tonal variation help a portrait remain believable.
How large should the cleanup brush be?
Use a brush only slightly larger than the blemish and work in short controlled passes.
Can blemish removal change a person’s identity?
Over-retouching can. Preserve facial structure and confirm consent and scope for meaningful changes.
Can I try the recommended software before buying?
Yes. Test GiliSoft Image Editor with representative photos, difficult edges, and required output settings.
Should I keep the original photo?
Yes. Preserve an untouched source and export edited results as separate files.