

Choose the Right Approach
| Situation | Practical approach | What to protect |
|---|---|---|
| Physical original | Safe handling and preservation storage | Digital editing cannot repair the physical object |
| Archival scan | Unedited high-quality master | Future restoration and historical reference |
| Restored monochrome copy | Damage and tonal correction | Preserve believable texture and identity |
| Colorized interpretation | Optional viewing or creative copy | Colors may be plausible rather than historically verified |
Prepare the Photo Workflow
Make the source, authorization, output, and review decisions before changing pixels.
Handle the original carefully
Use a clean dry workspace and avoid touching the image surface unnecessarily.
Create a preservation scan
Keep an unedited high-quality digital master.
Collect visual references
Use known dates, uniforms, locations, objects, and family knowledge for color review.
How to Complete the Task on Windows
Work from a preserved source, make controlled changes, and judge the exported result rather than the editor preview alone.
Duplicate the archival scan
Never make the only restoration copy your source master.
Correct orientation, crop, and broad tone
Establish the full image before repairing small damage.
Repair dust, scratches, tears, and spots
Work from large structural problems toward smaller defects while preserving texture.
Improve faces and important detail cautiously
Avoid creating sharp features or expressions unsupported by the source.
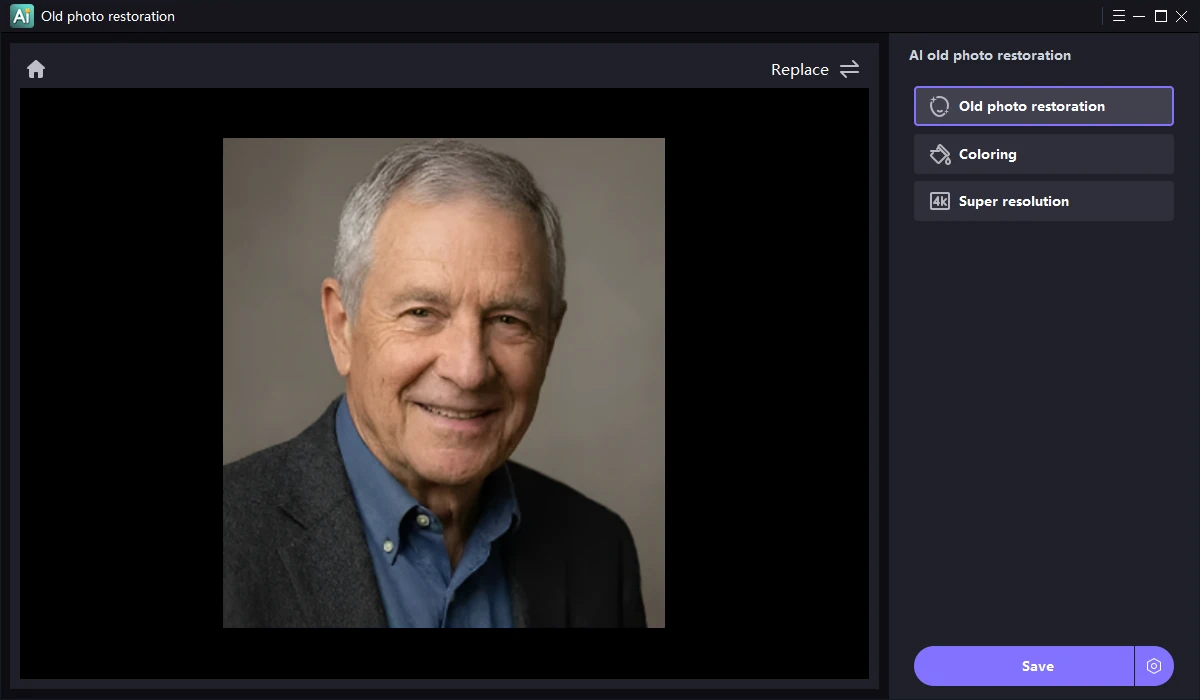
Apply colorization after repair
Generate or add color on a separate result and compare with historical references.
Review, label, and export versions
Keep the archival scan, restored monochrome version, and colorized interpretation distinct.
Quality Details That Matter
Preservation comes before editing
The Library of Congress emphasizes careful handling, storage, and digitization of valuable photographs.
Repair before colorization
Better tone and cleaner structure give colorization a more reliable base.
AI color is interpretive
Faded exposure and limited source detail can produce inaccurate predictions.
Keep versions clearly labeled
Future viewers should know what is original, restored, and colorized.
Where Image Editor Fits
Edit, watermark, retouch, clean up, enhance, and restore photos in one Windows workspace.
Review the GiliSoft Image Editor product page or follow the Image Editor user guide for product-level instructions.
Troubleshooting and Review
- A face looks invented: reduce enhancement and compare with the scan.
- Color is too saturated: lower intensity and use reference evidence.
- Texture becomes plastic: restore grain and avoid broad smoothing.
- A scratch crosses detailed features: repair in small controlled sections.
- The scan is the only copy: preserve it before more edits.
Rights, Privacy, and Source Protection
Edit only photos you own or are authorized to modify. Preserve original files, respect client scope and copyright, and review visible details, filenames, metadata, storage, and delivery when privacy matters.
Frequently Asked Questions
Does software repair the physical photograph?
No. It edits a digital image. Valuable damaged originals may require a qualified photograph conservator.
Should I repair or colorize first?
Repair orientation, tone, dust, scratches, and damage first, then colorize the cleaner image.
Are AI-generated colors historically accurate?
Not necessarily. Treat them as plausible suggestions and use reliable visual or family references when accuracy matters.
Which versions should I keep?
Keep the untouched archival scan, a restored monochrome copy, and any colorized interpretation separately.
Can I try the recommended software before buying?
Yes. Test GiliSoft Image Editor with representative photos, difficult edges, and required output settings.
Should I keep the original photo?
Yes. Preserve an untouched source and export edited results as separate files.