
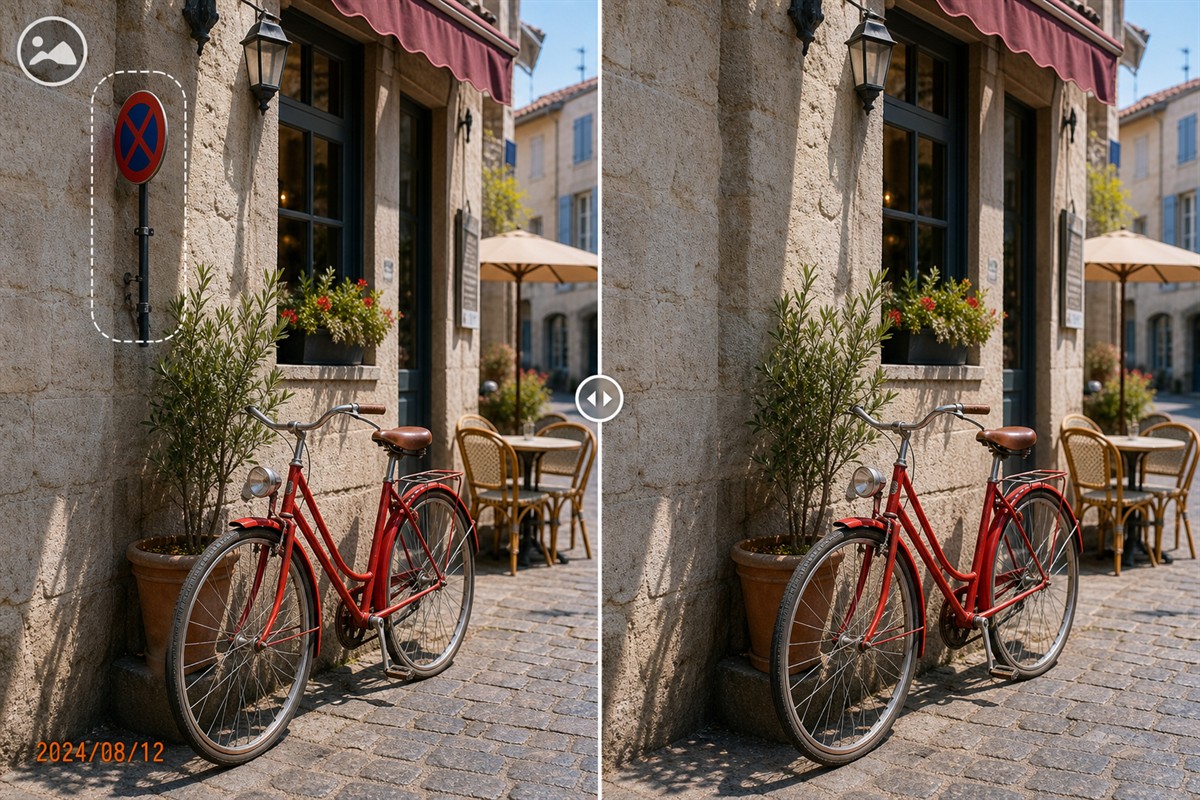
What Is a Local Photo Watermark Remover?
A local photo watermark remover performs the main selection, repair, preview, and export workflow in an application installed on the computer instead of requiring the source photo to be uploaded through a web page.
Local processing reduces one avoidable transfer step, which is useful for client images, internal business visuals, family photographs, unpublished product photos, and other material that should not be placed into an unknown browser service. It does not replace ordinary workstation security: access permissions, backups, malware protection, and secure deletion policies still matter.
When Local Photo Cleanup Is the Better Fit
Choose a local workflow when the location of the source image matters as much as the edit itself. It is especially practical when only a small visible element needs removal and opening a large professional editor would add unnecessary setup.
Private portraits and family photos
Keep personal images in the Windows workflow while removing an old date stamp, scanner label, or small background distraction.
Client and business assets
Clean authorized listing photos, internal screenshots, draft campaign images, or client deliverables without first uploading them to a third-party web form.
Repeated image sets
Prepare several related files with a consistent source folder, review process, and output destination instead of downloading each result from a browser.
Limited or unreliable connectivity
Continue the core selection and cleanup workflow in the Windows application when a stable browser upload session is inconvenient.
Local does not automatically mean risk-free. NIST guidance on public-cloud use recommends evaluating privacy and security implications before outsourcing data or applications. For photo work, that principle translates into knowing whether a tool uploads the source, where processing happens, and how resulting files are retained.
How Photo Watermark Removal Reconstructs the Selected Area
Watermark removal is not the same as deleting a transparent layer from a finished JPEG or PNG. Once a visible mark is baked into the pixels, the software must replace the selected region using information inferred or sampled from the surrounding image.
Selection quality affects the result
Official documentation from Adobe, Microsoft, and GIMP describes a similar practical pattern: mark the unwanted area, use surrounding pixels or a sampled source to rebuild it, and refine the mask or brush when the first pass is not convincing. A brush or selection that closely matches the defect usually preserves more useful background than one oversized region.
Simple backgrounds are easier than complex edges
Sky, plain walls, soft fabric, pavement, and out-of-focus backgrounds provide more repeatable texture. Watermarks crossing faces, hair, product outlines, railings, text, or geometric patterns may need several smaller passes and can still require manual correction.
Automatic repair is not guaranteed to be perfect
Microsoft explicitly notes that local generative erase may not always produce the expected result, while GIMP warns that repeated healing can introduce smudging. Treat the first output as a preview to inspect, not as proof that every watermark can be removed cleanly.
Editing principles consulted: Adobe Content-Aware Fill, Microsoft Photos editing guidance, GIMP Heal documentation, and NIST cloud privacy guidance.
How to Remove a Photo Watermark Locally with MarkEase
Start with one representative photo. If that result is clean at full size, continue with the remaining images that need the same treatment.
- Open the highest-quality authorized sourceLaunch GiliSoft MarkEase and add the original photo or a working copy. Avoid beginning with a screenshot or heavily compressed copy when the original is available.
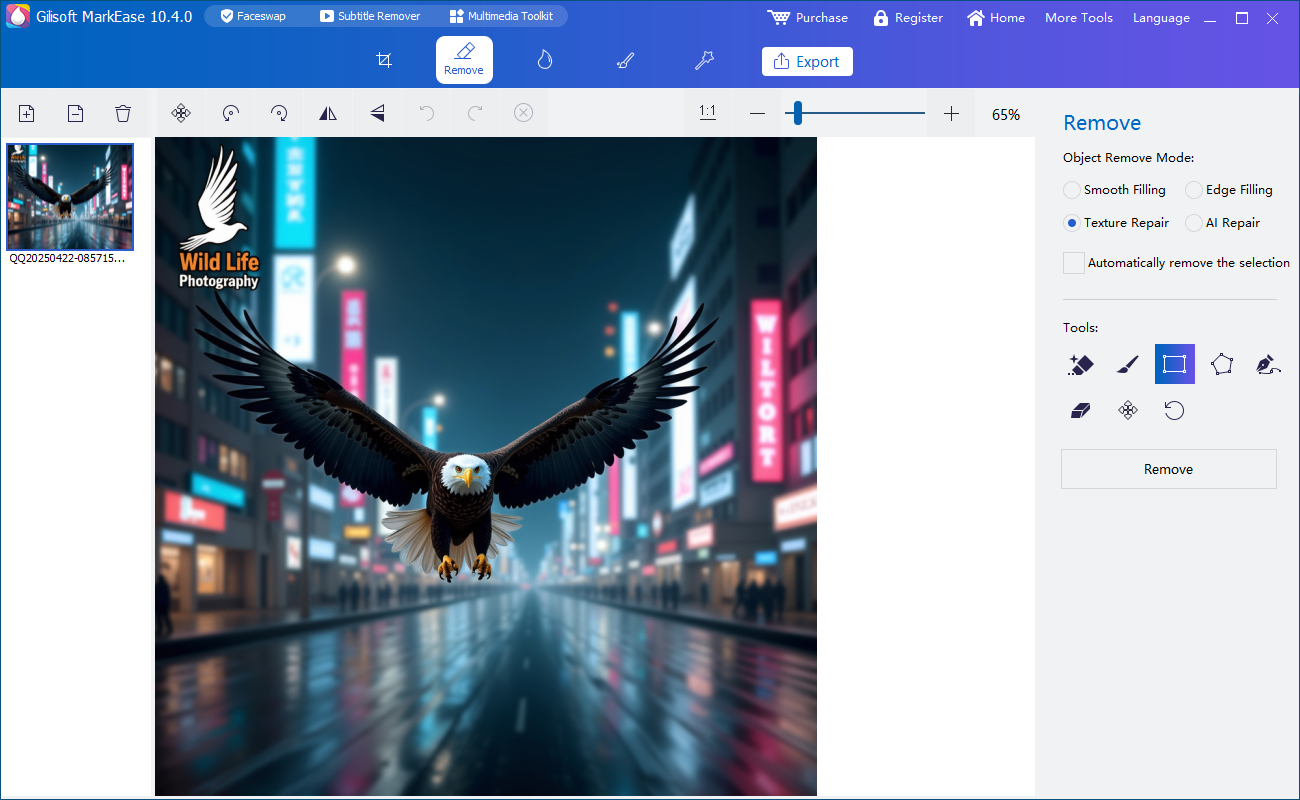
- Choose the removal workspaceOpen the photo watermark or object cleanup function and zoom in until the complete outline of the unwanted element is visible.
- Select only the unwanted pixelsBrush over the watermark, date, logo, text, or small object. Keep the selection close to the visible element without covering nearby faces, edges, or fine detail.
- Process complex areas in smaller passesWhen a mark crosses several different textures, clean one section at a time instead of asking one large selection to reconstruct every background.
- Inspect the result at 100% sizeLook for blur, repeated texture, broken lines, color seams, duplicated objects, and missing subject detail. Refine the selection and repeat when needed.
- Export a new fileSave the finished image to a separate output folder. Open it outside MarkEase and compare it with the untouched original before delivery or publication.
Try the workflow with GiliSoft MarkEase
Use the Windows trial to test a real authorized photo, compare the repaired area at full size, and decide whether the result fits the rest of the image set.
Download MarkEase TrialLocal MarkEase Workflow vs Other Removal Methods
No single method is best for every image. Choose based on privacy requirements, watermark position, background complexity, and the amount of manual control required.
| Method | Where the main work happens | Best fit | Main limitation |
|---|---|---|---|
| GiliSoft MarkEase | Windows application for the core cleanup workflow | Watermarks, dates, logos, text, and small objects in authorized photos | Complex edges can need smaller selections and repeated review |
| Browser-based remover | Often requires uploading the image to a remote service | Fast one-off cleanup when upload policies are acceptable | Image transfer, retention, account, size, or connectivity questions may apply |
| Crop the photo | Local or online editor | A mark positioned only at an expendable outer edge | Removes part of the composition and cannot help with central marks |
| Full professional editor | Desktop or cloud, depending on the product and feature | Detailed manual restoration, layers, cloning, and complex retouching | More controls, time, and editing knowledge than a focused cleanup task |
How to Get a Cleaner Watermark Removal Result
Cases that may still need manual editing
Large opaque marks over faces, logos covering unique product detail, diagonal marks crossing many textures, and watermarks placed over readable text are difficult because the hidden original pixels are not available. A local remover can reconstruct an approximation, but it cannot recover detail that no longer exists in the file.
Local Photo Cleanup Privacy Checklist
Choosing a desktop workflow is only one part of protecting sensitive photos. Check the complete path from source to final delivery.
Local Photo Watermark Remover FAQ
Can I remove a watermark without uploading the photo?
Yes. The core GiliSoft MarkEase cleanup workflow described here runs in the Windows application and does not require the source photo to be submitted through a browser uploader.
Will local watermark removal always look perfect?
No. Results depend on the size and opacity of the mark, the surrounding texture, subject edges, image resolution, and the accuracy of the selection.
Can MarkEase remove date stamps, logos, and text?
MarkEase can be used to select and clean visible date stamps, logos, text overlays, watermarks, and small unwanted objects from photos you own or are authorized to edit.
Should I overwrite the original photo?
No. Preserve the untouched source and export the cleaned image as a new file so both versions remain available for comparison and recovery.
Are all MarkEase AI features guaranteed to be offline?
No blanket claim is made for every AI-labelled feature. Processing and connectivity requirements can vary, so confirm the specific function before using confidential material.
What should I use for video watermarks?
MarkEase is photo-first. For video overlay cleanup, see GiliSoft ClipMark or compare the tools on the MarkEase guide hub.


