
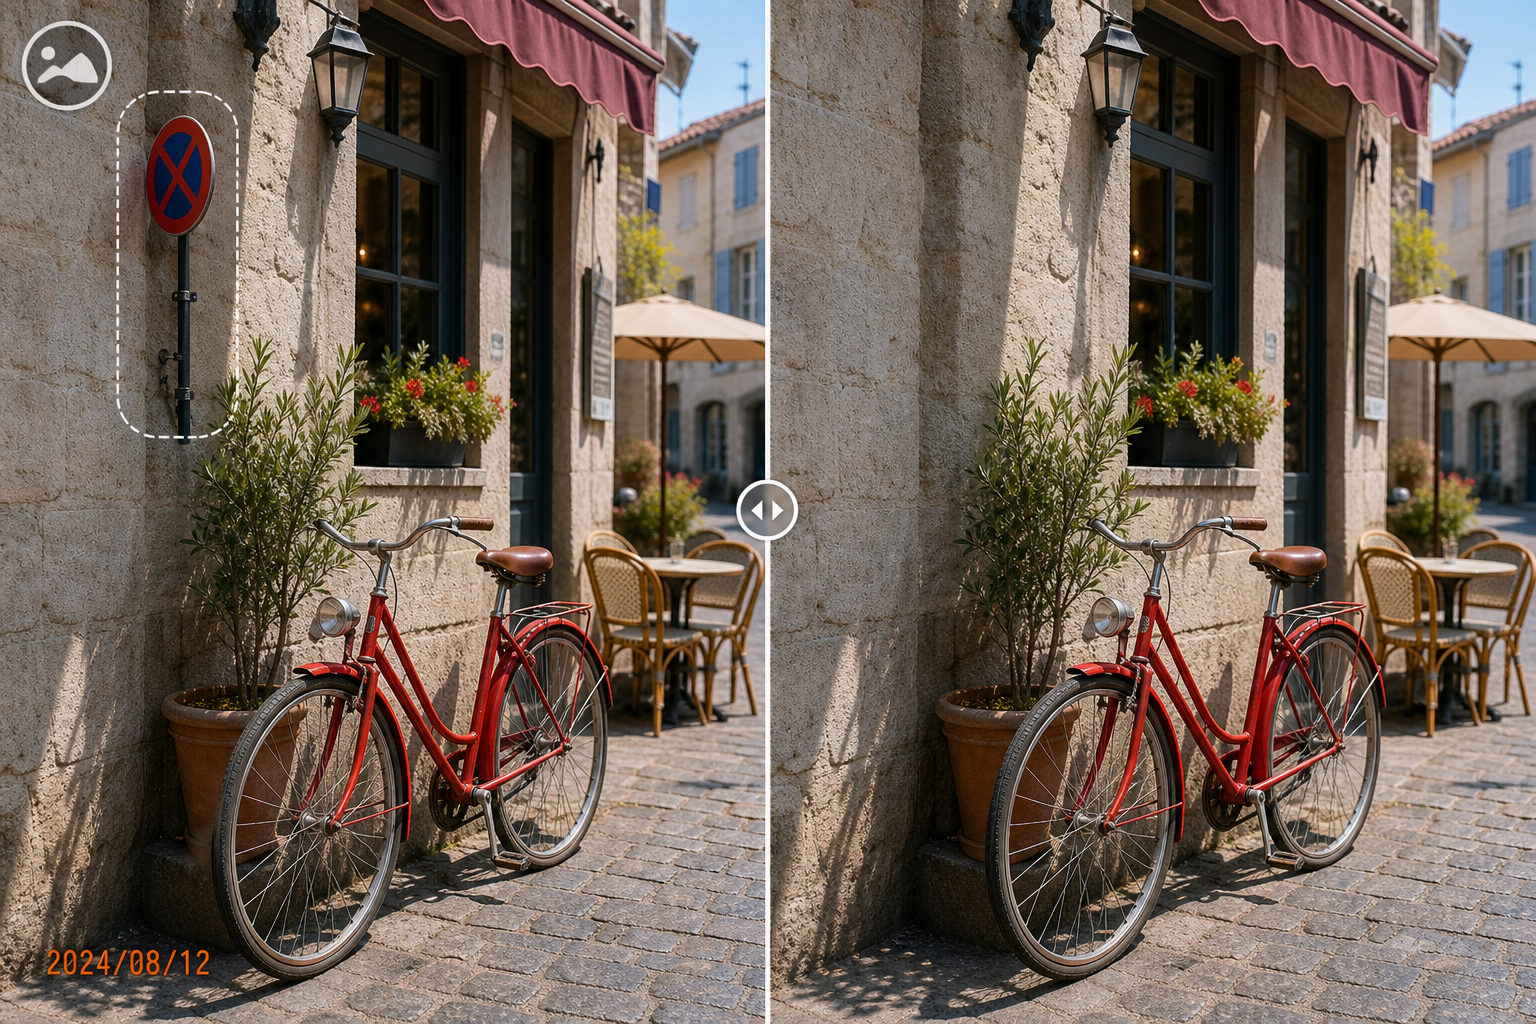
How to Retouch Acne in a Photo Naturally
Portrait retouching changes the appearance of a photograph; it does not diagnose or treat a skin condition. A natural result usually comes from small corrections that preserve pores, lighting, facial structure, and identity.
Quick answer
With the subject’s permission, open a duplicate portrait in GiliSoft MarkEase, zoom in, clean one temporary blemish at a time with a small selection, and compare the result at normal viewing size before export.
Choose a Respectful Retouching Level
| Situation | Recommended approach | Check carefully |
|---|---|---|
| Temporary isolated blemishes | Use small individual corrections | Keep surrounding texture and light |
| Large inflamed or overlapping areas | Use restraint or a specialist workflow | Avoid waxy skin and invented facial detail |
| Documentary, medical, or evidentiary image | Do not cosmetically alter without a valid purpose | Accuracy and disclosure requirements |
Photo Cleanup Steps in MarkEase
- Confirm consent and purpose
Ask whether the subject wants the portrait retouched and agree on the intended level. Keep the original available.
- Work at useful zoom
Open a duplicate in GiliSoft MarkEase. Zoom in enough to select accurately, but return to normal size often so the portrait does not become over-edited.
- Correct one small area at a time
Use a selection only slightly larger than each visible blemish. Avoid broad strokes across pores, freckles, highlights, hair, or facial contours.
- Compare and export a derivative
Review before and after at full size and normal viewing size. Save a separate file and disclose retouching where the context requires it.
See the MarkEase user guide for the full removal, crop, annotation, filter, and export workflow.
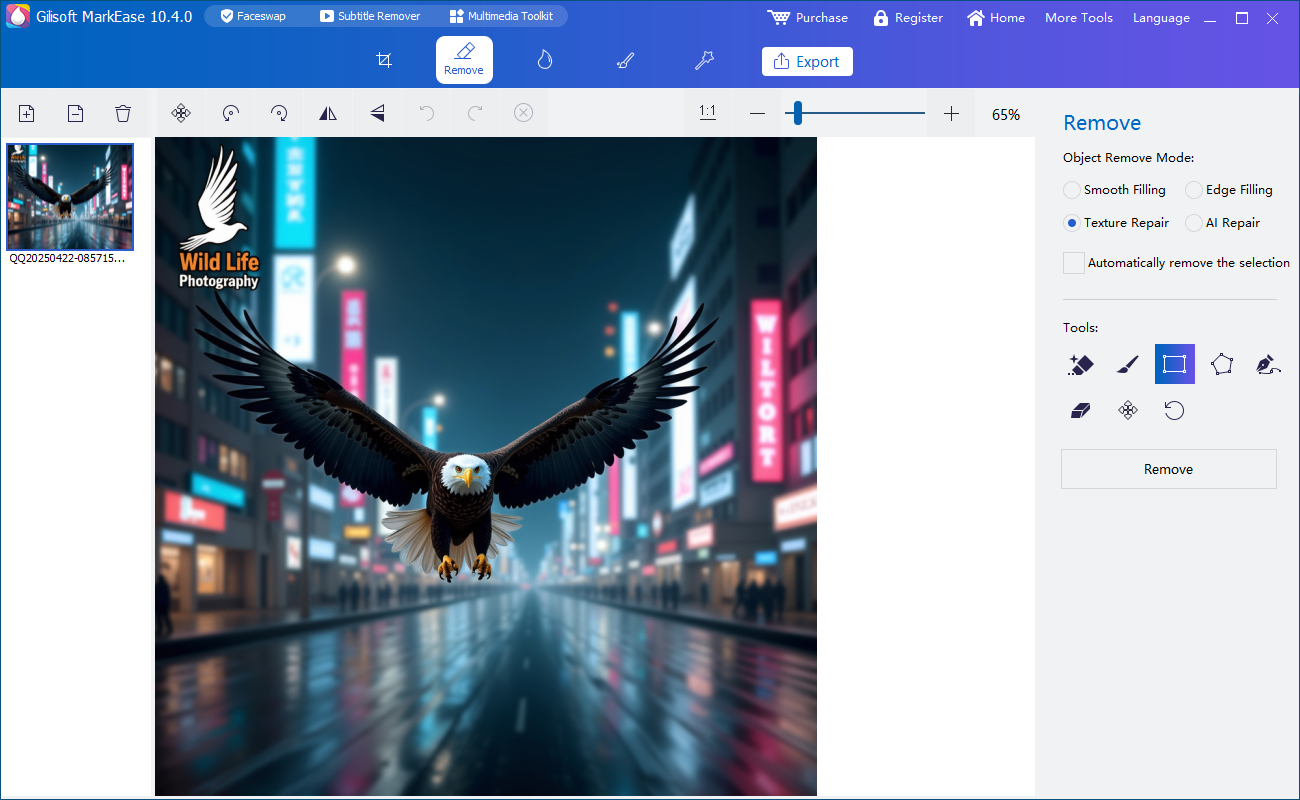
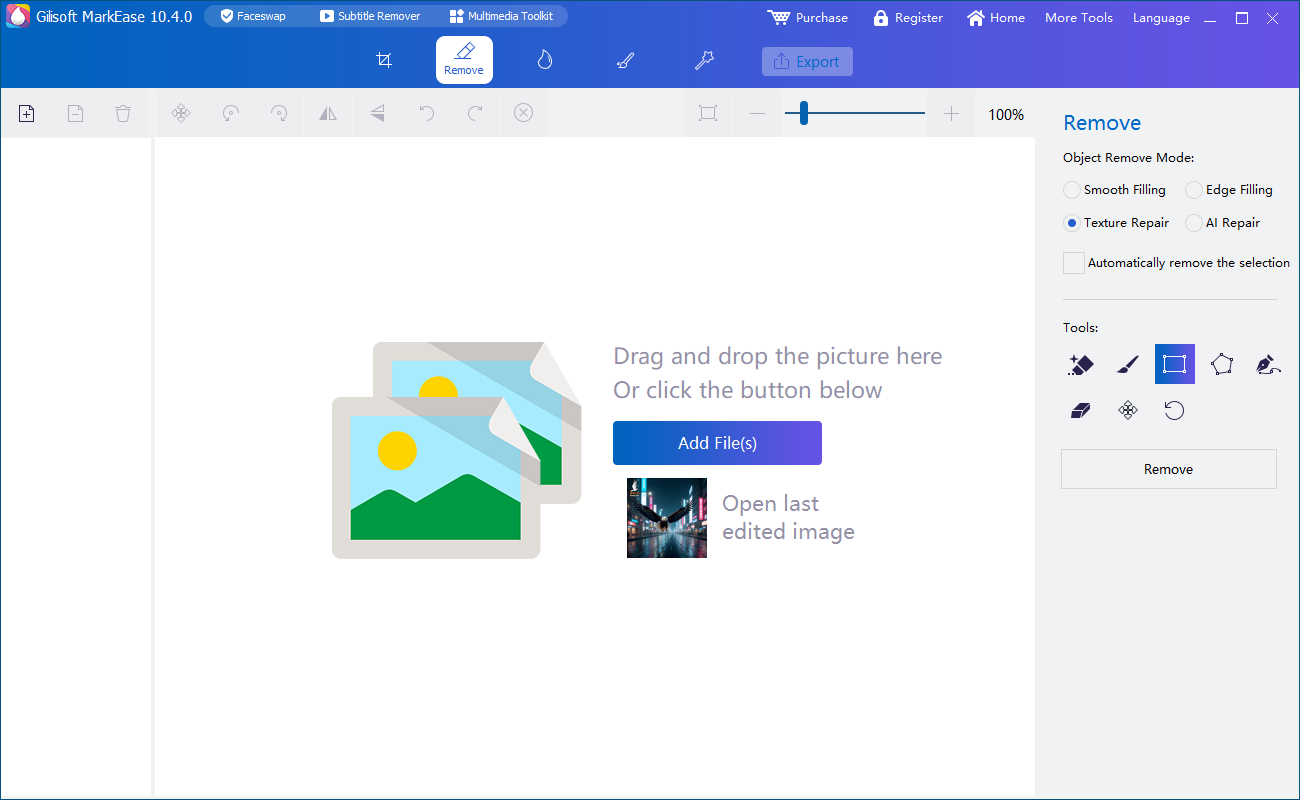
GiliSoft MarkEase Interface
These real product screenshots show the local image workspace and focused removal task.
Review Before You Deliver the Photo
- Compare the derivative with the untouched original at full size and normal viewing size.
- Look for blur, repeated texture, color seams, halos, and damaged edges.
- Keep filenames and folders clear so the edited copy cannot be mistaken for the original.
- Confirm the subject, client, or asset owner authorized the edit and destination.
Frequently Asked Questions
Does MarkEase treat acne?
No. It only edits visible pixels in a photograph.
Why does retouched skin look blurry?
The selected area may be too broad. Restore the original and use smaller passes that preserve nearby texture.