

Choose the Right Approach
| Situation | Practical approach | What to protect |
|---|---|---|
| Transparent PNG logo | Most photo branding workflows | Clean edges without a white rectangle |
| JPEG logo | Only when a solid background is intentional | Visible box and compression artifacts |
| Corner placement | Editorial, portfolio, and product images | Lower obstruction but easier cropping |
| Center or repeated placement | Proofs and higher reuse risk | Stronger deterrence but more visual interference |
Prepare the Photo Workflow
Make the source, authorization, output, and review decisions before changing pixels.
Prepare the logo asset
Use a high-quality transparent PNG with clean edges.
Define clear space
Keep a consistent margin around the logo.
Choose the risk level
Placement for a portfolio image may differ from a client proof.
How to Complete the Task on Windows
Work from a preserved source, make controlled changes, and judge the exported result rather than the editor preview alone.
Finish the photo before watermarking
Complete crop, orientation, resize, and visual adjustments first.
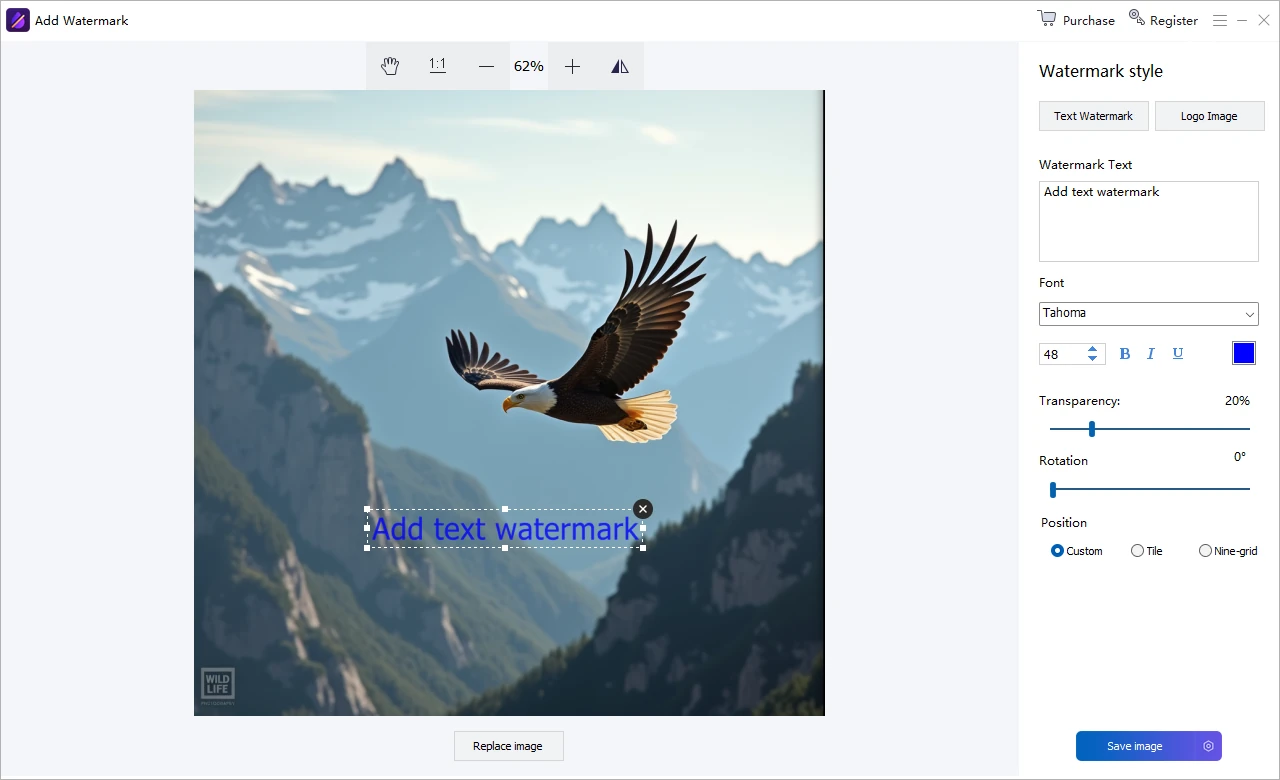
Open the logo watermark tool
Load the approved transparent logo rather than a screenshot or low-quality preview.
Scale the logo proportionally
Keep it recognizable without competing with the photograph.
Set opacity, anchor, and inset
Choose a repeatable position and enough separation from the frame edge.
Test contrasting photographs
Preview on bright, dark, detailed, and simple backgrounds at final size.
Export a branded copy and preserve the master
Verify transparency and edges, then keep clean and marked versions separate.
Quality Details That Matter
Transparent assets prevent white boxes
PNG transparency usually fits changing photo backgrounds better than JPEG.
Scale should follow output size
One fixed pixel size will not suit every resolution.
Inset protects the edge
Marks too close to the frame can look accidental or be clipped.
Contrast must be tested
One logo treatment may disappear on either bright or dark detail.
Where Image Editor Fits
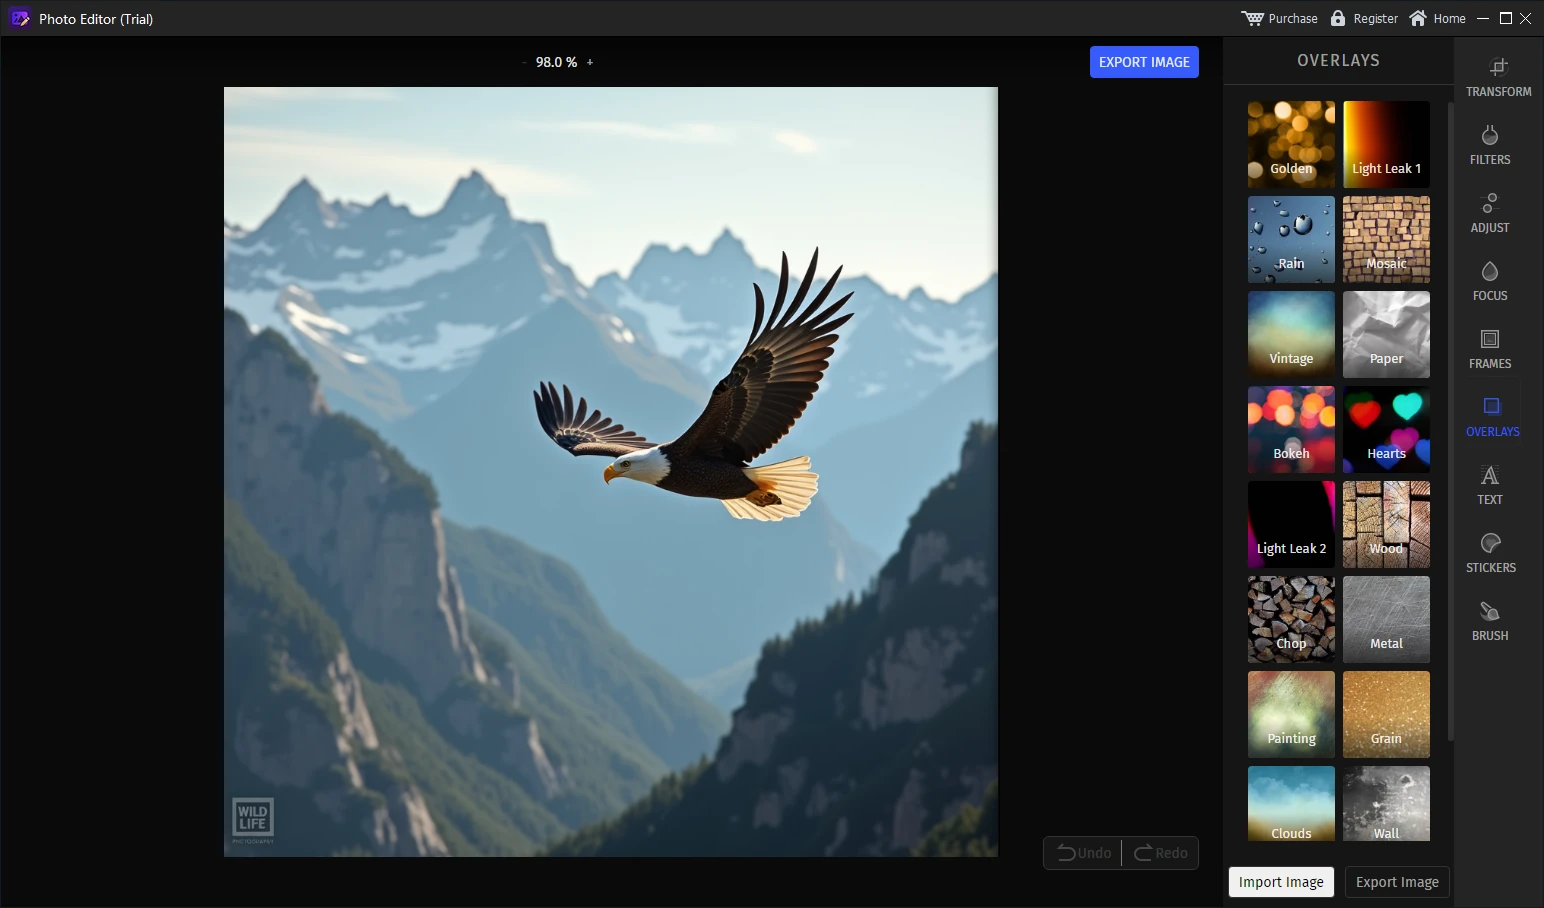
Edit, watermark, retouch, clean up, enhance, and restore photos in one Windows workspace.
Review the GiliSoft Image Editor product page or follow the Image Editor user guide for product-level instructions.
Troubleshooting and Review
- A white rectangle surrounds the logo: use a transparent source asset.
- Edges look rough: replace the low-resolution logo rather than hiding it with blur.
- The logo is cropped on export: increase inset and inspect the output.
- Brand color shifts: verify the logo asset and exported color appearance.
- The mark is inconsistent across photos: use the same anchor and proportional scale rule.
Rights, Privacy, and Source Protection
Edit only photos you own or are authorized to modify. Preserve original files, respect client scope and copyright, and review visible details, filenames, metadata, storage, and delivery when privacy matters.
Frequently Asked Questions
Which logo format works best for a photo watermark?
A high-quality transparent PNG is a practical choice because it preserves clean edges without a solid rectangle.
Should the logo be fully opaque?
Not always. Choose opacity based on legibility, branding rules, background, and how much of the photo may be covered.
How large should a logo watermark be?
Scale it relative to the delivery image and test at the actual viewing size.
Can a logo watermark stop all unauthorized use?
No. It is a visible ownership or branding signal, not a complete access-control system.
Can I try the recommended software before buying?
Yes. Test GiliSoft Image Editor with representative photos, difficult edges, and required output settings.
Should I keep the original photo?
Yes. Preserve an untouched source and export edited results as separate files.