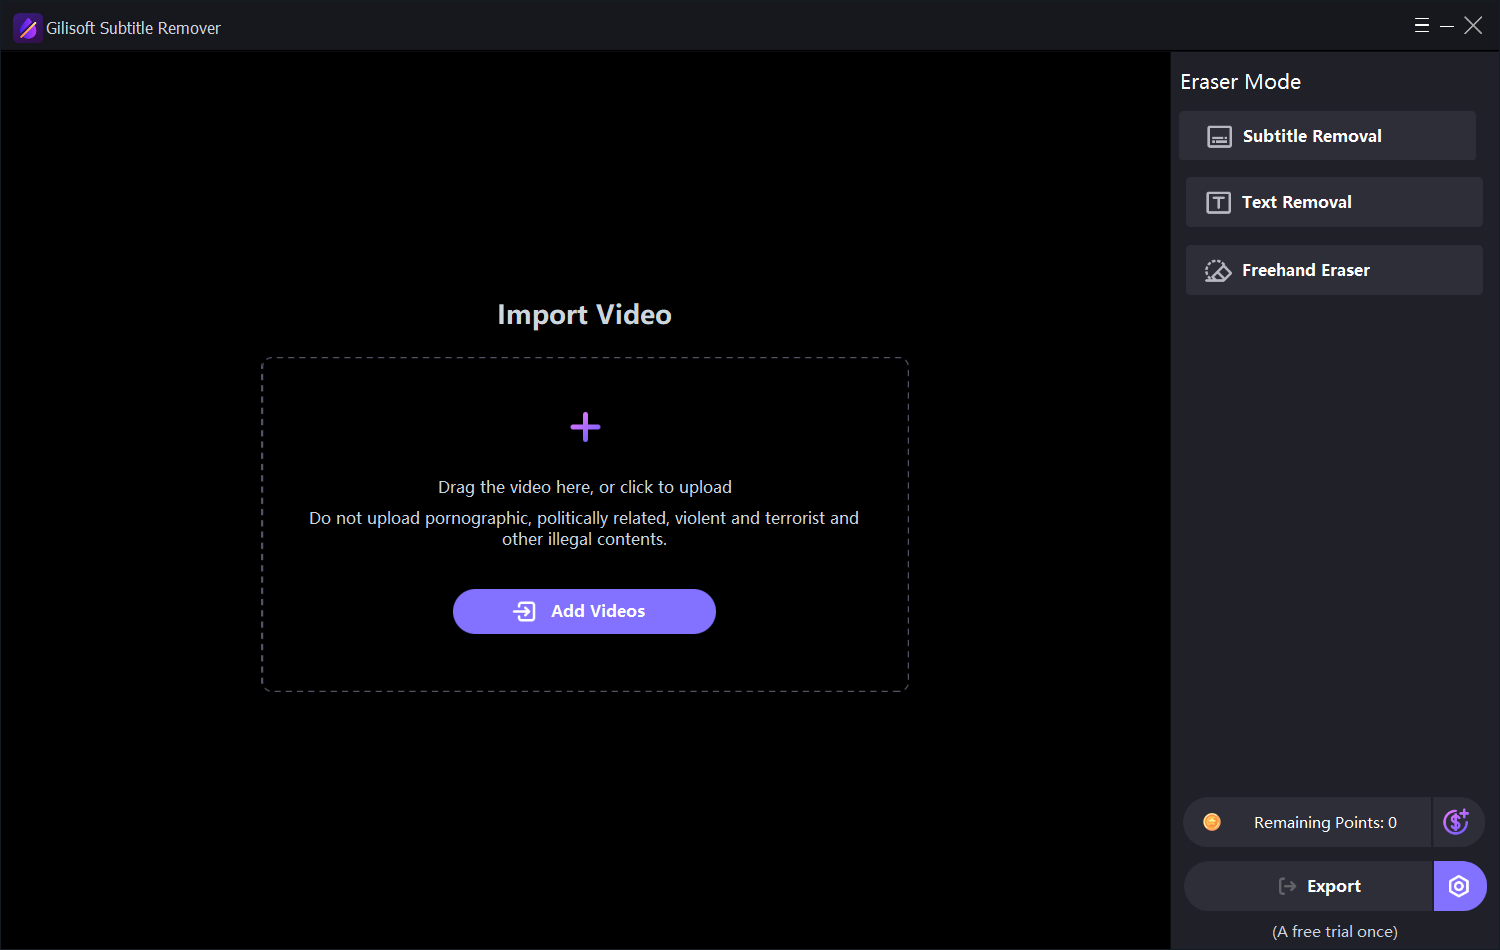
Add the source video
Open GiliSoft Subtitle Remover and use Add Videos, or drag the video into Import Video. Keep the original file and confirm that the visible captions are burned into the picture rather than a selectable subtitle track.

Remove burned-in subtitles, titles, and fixed text from video. Choose a cleanup mode, fit the selected area, and export a new copy for fresh captions or editing.
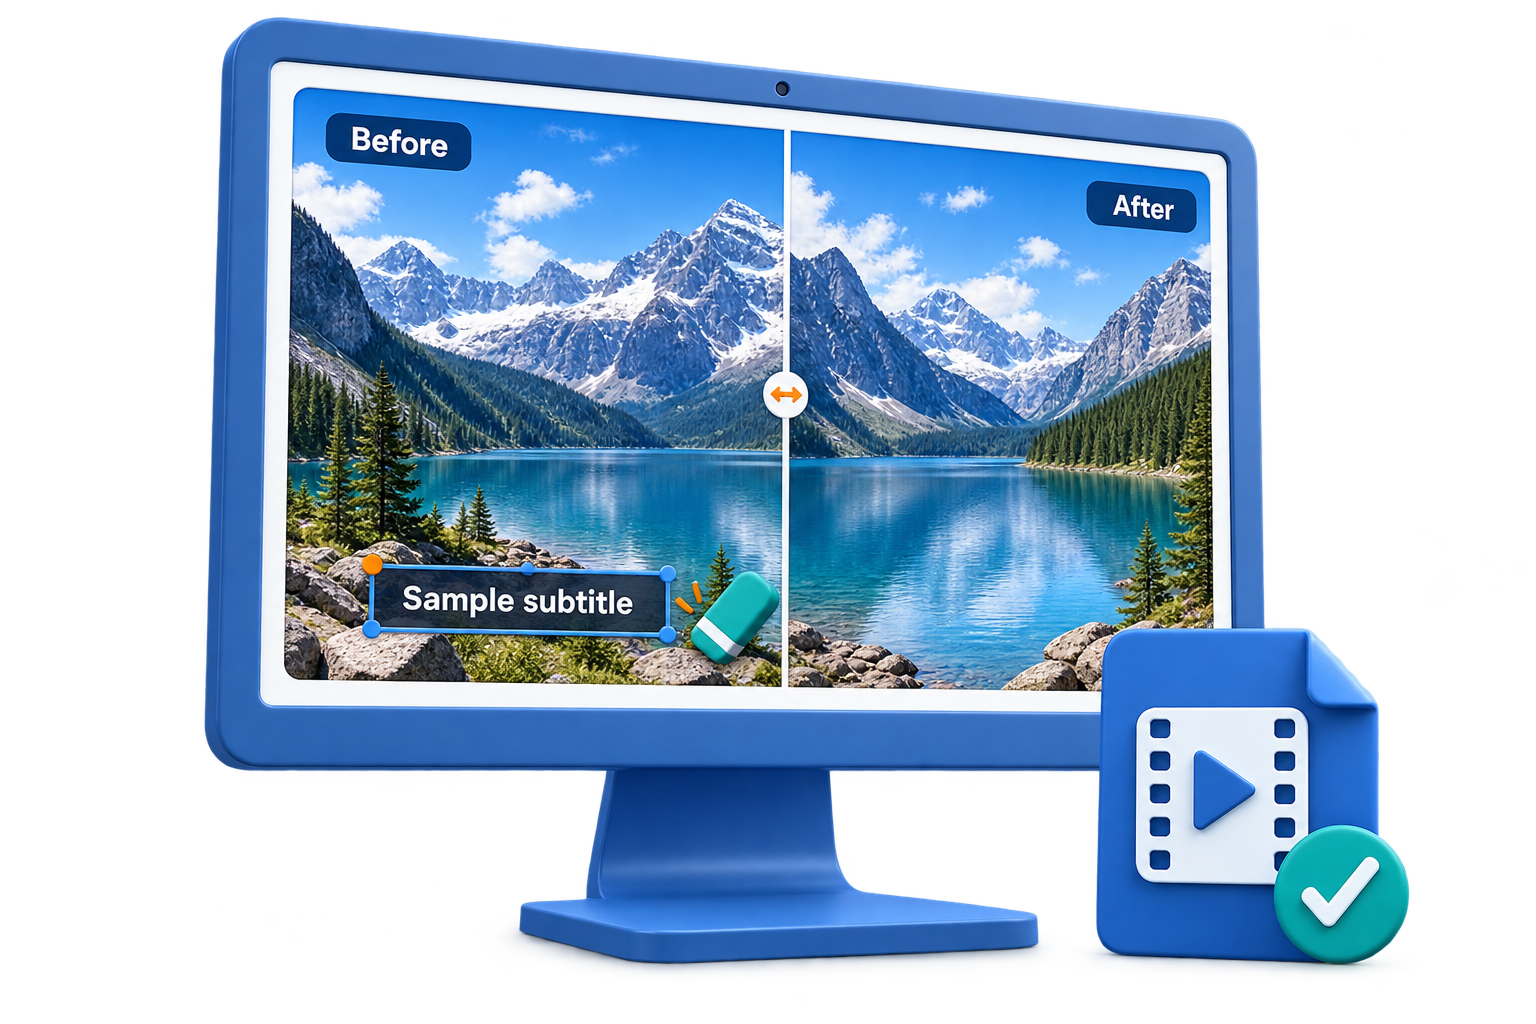
Choose the task you need on Windows: remove burned-in captions, select fixed text, refine an irregular area, prepare a short clip, redeem points, or find an exported result. Follow the matching steps and screenshots, then inspect the actual processed video.
Check whether the text is part of the picture or can be switched off.
Follow four steps from Add Videos to an inspected processed copy.
Match the eraser mode to the shape and position of the unwanted text.
Check each clip and its region in Current Task before export.
Cover the complete line, outline, and shadow with the red selection.
Use the Vertical and Horizontal choices and check the full frame.
Use Text Removal for visible text that is not a subtitle track.
Use Smart Pen, Brush Pen, Eraser, and Size for irregular areas.
Prepare separate sections instead of covering most of the frame.
Choose Start Time and End Time for a retained clip section.
Use Crop Size only when the actual video framing should change.
Distinguish a removal region from a crop that discards picture edges.
Review the balance and processing requirement for the prepared job.
Use Redeem in Points Privileges, then check the updated balance.
Confirm the selected task and settings, then run Export.
Use the playback or folder control for a completed result.
Compare the processed scenes and adjust the region for another test.
Verify picture, sound, duration, and framing outside the application.
Decide whether the unwanted words are stored separately or are already drawn into the video picture.
Play the source in a normal media player and turn its subtitle track off. If the words disappear, they are selectable subtitles or a separate subtitle file.
If the words remain visible with selectable subtitles off, inspect them as possible burned-in text. Check several frames to see whether the position, width, or layout changes.
Disable or remove a separate subtitle track when that solves the problem. Use Subtitle Remover for text embedded in the picture, and keep the original video for another edit.
For the distinction between embedded text and separate tracks, see MP4 and MKV subtitle tracks. AI reconstruction is not necessary just to switch off a selectable track.
Use these four steps for one burned-in subtitle clip. For a particular adjustment, choose a task from the list above.
Open GiliSoft Subtitle Remover and use Add Videos, or drag the video into Import Video. Keep the original file and confirm that the visible captions are burned into the picture rather than a selectable subtitle track.
Select Subtitle Removal in Eraser Mode. Use the Vertical and Horizontal choices and adjust the red region to cover the full caption area, including outlines and shadows. Check the selection against several frames and the longest lines.
Fit a subtitle region, or see the mode comparison for text and irregular marks.
Check the selected Current Task and Remaining Points, together with any processing requirement shown for the job. If you use Cut/Crop for a shorter test, review the retained clip interval and picture crop before continuing.
Review points and optional Cut/Crop preparation. The latter can change clip duration or framing.
Select Export after the task is ready. When processing finishes, use the completed entry in Recent Tasks to play the result or open its folder. Inspect the actual processed video for remaining text, uneven fill, sound, duration, and framing.
Open the saved result and use the quality checks before another export.
Choose the mode for the visible text or mark, rather than treating every cleanup as the same selection.
Review Eraser Mode on the right side of the workspace. It offers Subtitle Removal, Text Removal, and Freehand Eraser.
Use Subtitle Removal for caption areas, Text Removal for titles, timestamps, or fixed labels, and Freehand Eraser for irregular regions or logos.
Prepare the region with the controls shown by the selected mode and check the intended current task. The subtitle layout choices and freehand brush tools belong to their respective modes.
See the three mode buttons in the import screen. The freehand example and the subtitle-region example show different sets of controls.
Use the current queue to prepare more than one video, checking each clip's own caption layout.
Use Add Videos for the videos you want to prepare. Review the thumbnails in Current Task at the bottom of the workspace.
Open each intended thumbnail and check its mode, region, and any Cut/Crop changes. Do not assume one selection fits every lesson, episode, or differently framed clip.
Check the selected tasks and the point requirement shown for the job. The examples show Current Task (0/10) and Current Task (1/10); follow the capacity shown by your installed version.
See an empty current queue and a queue containing one clip. The left-hand Recent Tasks list is separate from the clips currently being prepared.
Fit the subtitle region to the actual caption area. A smaller, complete selection usually needs less reconstruction than a large rectangle across unrelated picture detail.
Select the video in Current Task and move through the source with the playback controls. Find a frame containing the complete longest subtitle line.
In Subtitle Removal, use the region handles and the Vertical or Horizontal choices to cover the caption, including its outline, shadow, or colored box.
Review short and long lines, scene cuts, and moving backgrounds. Resize the selection if part of a character falls outside it, while avoiding unrelated faces or objects where possible.
Playback here helps inspect the source and selection. Judge reconstruction quality from a processed result, not from the red selection overlay.
Match the selection layout to the way the captions sit in the picture.
Check whether the unwanted words form a horizontal band, a vertical column, or a different arrangement. Include the longest line and any second subtitle row.
In Subtitle Removal, review the choices under Vertical and Horizontal, then adjust the red region over the actual caption area.
Inspect several source frames after changing the layout. Check that edges and shadows fit inside the region without expanding it across unnecessary parts of the frame.
See the Vertical and Horizontal layout choices. A layout choice does not prove the app will follow text that moves to a new position; use separate preparations for changing layouts.
Use Text Removal for a visible title, timestamp, label, or ticker embedded in the video picture.
Select the source video, then choose Text Removal in Eraser Mode.
Use the controls offered in that mode to identify the intended text. Include the complete outline or shadow, and check whether the label stays in the same place through the clip.
Review the task and points, then export a short representative clip when needed. Inspect the saved result for character fragments and uneven fill before processing a longer source.
The import screenshot identifies the Text Removal mode. Its expanded panel is not pictured here, so the subtitle layout controls and freehand brush names are not presented as Text Removal controls.
Use the freehand tools when an irregular selection is more suitable than a caption band.
Choose Freehand Eraser in Eraser Mode for the selected source video.
Use Smart Pen or Brush Pen to prepare the region. Adjust Size for the tool, and use Eraser to remove unwanted parts of the selection.
Review the mark's full shape, edges, and movement through the clip. Process a representative test and inspect the saved output before reusing that selection on a longer section.
A single oversized region can affect much more picture detail than necessary when captions move between sections.
Review the source and note scene sections where subtitles move, change width, or appear in another part of the frame.
Use separate clip sections or tasks for different layouts, then fit the selection for each. If using Cut/Crop, remember that its Start Time and End Time select the retained clip interval.
Process and review representative sections. If you need the complete video afterward, assemble and check the sections in your video editor, including the joins and audio.
The screenshots do not demonstrate automatic tracking of moving captions. They also do not establish separate per-region active times that preserve the rest of a full-length output unchanged.
Use the Cut/Crop window to retain a shorter clip for testing or output. Its time fields are clip preparation, not a documented per-region cleanup timer.
Select the intended item in Current Task and open its Cut/Crop control. Confirm that the dialog shows the source you meant to prepare.
Adjust the timeline handles or enter Start Time and End Time. Review Duration and play the chosen section.
Leave the picture crop unchanged if you only want a time trim, then select OK. Review the resulting duration before exporting your test.
For a full-length result, keep the full clip interval unless you intentionally want to trim it. Do not assume the rest of the original duration will be appended automatically.
Change the picture crop only when you intend to remove frame edges, separately from selecting an area for subtitle reconstruction.
Open Cut/Crop for the selected video and inspect the preview. Note whether the source is portrait, landscape, or already framed as required.
Use the available crop area and Crop Size controls. Use Keep Aspect Ratio when the crop shape should stay constrained, and review exactly which picture edges are excluded.
Select OK when the framing is correct. Recheck the subtitle or freehand selection against the prepared picture before export.
See Crop Size and Keep Aspect Ratio in Cut/Crop. The red subtitle-removal region is not a picture crop and does not require discarding the bottom of the frame.
You can work on a subtitle region without solving the problem by cutting away the caption band.
Leave Cut/Crop picture settings unchanged when you want the full frame. If you previously cropped the task, review and restore the intended framing rather than relying on a ratio checkbox.
Use Subtitle Removal or the other eraser mode to select the unwanted words within the picture. Review the region across several frames.
After export, compare the visible edges and frame shape with the original. Keep Aspect Ratio constrains a crop's proportions; it does not restore content that has already been excluded by a crop.
The subtitle region and the Cut/Crop window serve different purposes.
Check the available point balance and the requirement shown for the selected AI video job before running a longer export.
Look at Remaining Points beneath Eraser Mode. A balance displayed in an example screenshot is not your current balance.
Use the points control beside the balance to open Points Privileges, or visit AI point options. Review the current package and checkout details rather than relying on the sample screenshot's prices.
Check any requirement or trial allowance shown for the job. Close the points window and confirm the intended video and region before using Export.
AI points are processing credits, not a lifetime desktop license or an unlimited-video plan. The initial screenshot mentions a trial allowance; check the terms displayed by your installed version.
Use the registration code supplied for your points purchase to recharge the balance.
Use the points control beside Remaining Points to open Points Privileges.
Find Enter your points registration code, enter the code from your purchase, and select Redeem.
Review My Points, then return to the task and check Remaining Points. If redemption fails, check the code and order information and contact GiliSoft Support.
See the registration-code field and Redeem control. Redeeming points changes the available processing balance; it does not select a video or start an export.
Run the prepared task only after checking the source, selected region, any clip changes, and the displayed point requirement.
Select the intended video and confirm its Eraser Mode, region, and any Cut/Crop preparation. Preserve the original file for comparison or another attempt.
Check Remaining Points and the job's processing requirement or trial allowance, then select Export. Complete any output choices or confirmation presented by your installed version.
Use the completed item in Recent Tasks to open the result or its folder. Judge the exported file, not a red selection band or a source-frame preview.
See Current Task, Remaining Points, and Export in the workspace. Review any available output options carefully; this guide does not assume a particular unpictured format or codec dialog.
Return to a completed job using the Recent Tasks list on the left side of the workspace.
Review Recent Tasks and match the filename, thumbnail, and duration to the video you processed. Keep this list separate from Current Task at the bottom.
Use the play control or folder control shown on the completed entry. Confirm that you opened the intended processed result rather than the original source.
Inspect it in a normal media player and note the saved location. Keep the source available if the selection or point-funded test needs another adjustment.
The workspace example shows play and folder controls on a recent entry. A task name or thumbnail alone does not prove the selected area was cleaned well.
Use the exported test to decide whether the selection needs adjustment or the scene is too difficult for a clean reconstruction.
Check subtitle changes, scene cuts, and motion behind the text. Distinguish leftover character edges from a filled area that looks blurred, patched, or unstable.
If text edges remain, include the complete outline, shadow, and longest line. If too much background is affected, tighten an unnecessarily large region. Prepare different layouts as separate sections when needed.
Run a new test after reviewing the task and points. Compare still frames and normal-speed playback. AI estimates the covered background; it cannot guarantee recovery of the exact original detail.
To revise a result, return to the original source rather than repeatedly cleaning an already processed copy. For difficult cases, see why video cleanup can leave artifacts.
Verify the finished video before adding new captions, dubbing, or publishing it as part of another edit.
Use a normal player to open the file located through Recent Tasks. Check that it is the intended processed output.
Review text fragments, fill consistency, audio, duration, and visible frame edges. If you used Cut/Crop, confirm that any shortened interval or changed picture crop was intentional.
Watch the opening, ending, long subtitle lines, scene cuts, and detailed moving backgrounds. Keep the original and the reviewed output separately for the next edit.
| What you see | What to check |
|---|---|
| Character edges remain | Review the longest caption, stroke, shadow, and caption box in the original source; refine the full region and test again. |
| The filled area looks patched | Tighten unnecessary selection coverage and inspect detailed moving backgrounds. Some covered detail cannot be reconstructed exactly. |
| Captions change position | Prepare different sections with their own regions instead of covering most of the frame. The pictured controls do not establish automatic tracking. |
| The output is shorter than expected | Review Cut/Crop Start Time, End Time, and Duration. These are retained-clip controls, not proof of a cleanup-only time range. |
| Picture edges are missing | Review Crop Size and the actual crop area. A subtitle-removal region and a picture crop are different selections. |
| Export is unavailable or processing cannot start | Confirm a video is present in Current Task and review any displayed requirements, trial allowance, or Remaining Points message. |
| A point code is not accepted | Check the registration code and purchase information, then contact GiliSoft Support if the issue remains. |
| The opened video looks unchanged | Confirm you opened the processed result from the completed Recent Tasks entry rather than the original source or a red-region preview. |
It is text rendered directly into the video picture. It cannot be disabled like a selectable subtitle track because the letters are part of the affected frames. Use AI region cleanup for burned-in text, or disable a separate track when the player offers one.
The region may miss a character outline, shadow, caption box, or longer line. Review the original source at several subtitle changes, include the complete text edge, and inspect a new processed test.
An oversized selection or a background with strong motion and fine detail can make reconstruction difficult. Tighten unnecessary coverage and test representative scenes. AI estimates the hidden background; it cannot guarantee the exact original detail covered by the words.
Prepare separate sections or tasks with regions suited to each layout. The screenshots do not demonstrate automatic caption tracking. If you trim separate sections and need a complete video afterward, assemble and check those sections in your editor.
Use Add Videos and review the clips in Current Task. Check the mode, selected region, and any Cut/Crop preparation for each video before processing. Follow the queue capacity shown by your installed version rather than treating the sample counter as a universal allowance.
Start from the best available source, keep the original file, fit a focused removal region, and review any output options offered by your version. Check the actual export for picture detail, motion, sound, and framing. Subtitle reconstruction and export are not a guarantee of lossless or pixel-identical output.
The pictured window sets Start Time and End Time for clip preparation and also offers Crop Size and Keep Aspect Ratio. It is not evidence of a separate per-region effect timer that leaves the rest of a full-length output unchanged. Review the retained duration because selecting a shorter interval can shorten the exported clip.
No. It marks the selected area over the source frame. The sample image demonstrates region placement, not a before-and-after removal result. Export a prepared test and inspect the processed video to evaluate reconstruction quality.
A Windows trial download is available. Check the trial allowance and point requirement shown in your installed version. AI points are processing credits, not a lifetime desktop license or an unlimited-processing plan. Review Remaining Points and the current point options before a longer job.
Open Points Privileges, enter the registration code supplied for your points purchase, and select Redeem. Review My Points and the Remaining Points balance after returning to the task. Contact GiliSoft Support if the code is not accepted after checking the order information.
Yes. Select the unwanted area within the picture using the removal mode and keep the picture crop unchanged. Cut/Crop is optional. Keep Aspect Ratio constrains crop proportions; it does not restore edges that have already been cropped away.
Find the completed item in Recent Tasks and use its play or folder control. Match the filename and duration, then open the actual saved output in a normal player. Current Task holds the clips being prepared and is separate from the recent-job list.
Use GiliSoft Subtitle Remover to choose subtitle, text, or freehand cleanup. Fit the region, process the job, and review a new copy for captions, dubbing, or editing.


Enter your email address to get our latest newsletter