
What to Look for in a Windows CD Ripper
Quick answer: Prioritize track selection, output-format control, clear destination folders, metadata editing, and a verification workflow. Do not judge a CD ripper only by speed: readable files, correct track boundaries, accurate order, and clean playback matter more.
| Selection point | What to verify | Why |
|---|---|---|
| Disc access | Audio CD and optical drive are recognized | Ripping cannot begin without stable source access |
| Track control | Individual tracks can be selected | Avoids unnecessary files |
| Output control | Format, quality, and folder are visible | Matches preservation or playback needs |
| Library organization | Filename and tag editing are available | Keeps albums usable across players |
| Verification | Status and completed files are reviewable | Helps catch read or metadata errors |
Evaluate the Complete CD Ripping Workflow
A CD ripper sits between physical media and a digital library. Test it with a disc you know, include both short and long tracks, and verify the output outside the ripping application.
Drive compatibility
Confirm the application and Windows can access the installed or USB optical drive.
Format choice
Compare compact MP3 delivery with a lossless preservation option when available.
Metadata control
Check title, artist, album, track number, year, genre, and artwork handling.
Error handling
See how failed tracks, scratches, interruptions, and retries are reported.
Evaluate a CD Ripper in 6 Steps
Choose a known test disc
Use a clean Audio CD with a track list and content you can recognize.
Confirm drive and track detection
Verify the drive, disc, track count, and durations before ripping.
Select output formats and folders
Test the format and quality needed for both archive and everyday playback.
Rip a small track set
Process tracks with different lengths and listen for clicks, skips, silence, and cut endings.
Review library organization
Check filenames, album folders, track order, ID3 tags, and artwork in another player.
Test recovery and repeatability
Retry one track, change the destination, and confirm a second disc follows the same organization.
CD Ripping Quality Has Several Parts
Read quality
The extracted waveform should not contain new clicks, skips, repeats, or missing sections.
Encoding quality
MP3 settings affect file size and audible artifacts after the disc is read.
Structural quality
Track count, order, boundaries, and duration should match the album.
Metadata quality
Correct tags make the library searchable and keep playback order stable.
Important: A faster rip is not automatically a better rip. Verify the digital result, especially when the disc is scratched, the drive is external, or the material cannot be replaced.
Use GiliSoft as a CD Ripper and Audio Converter
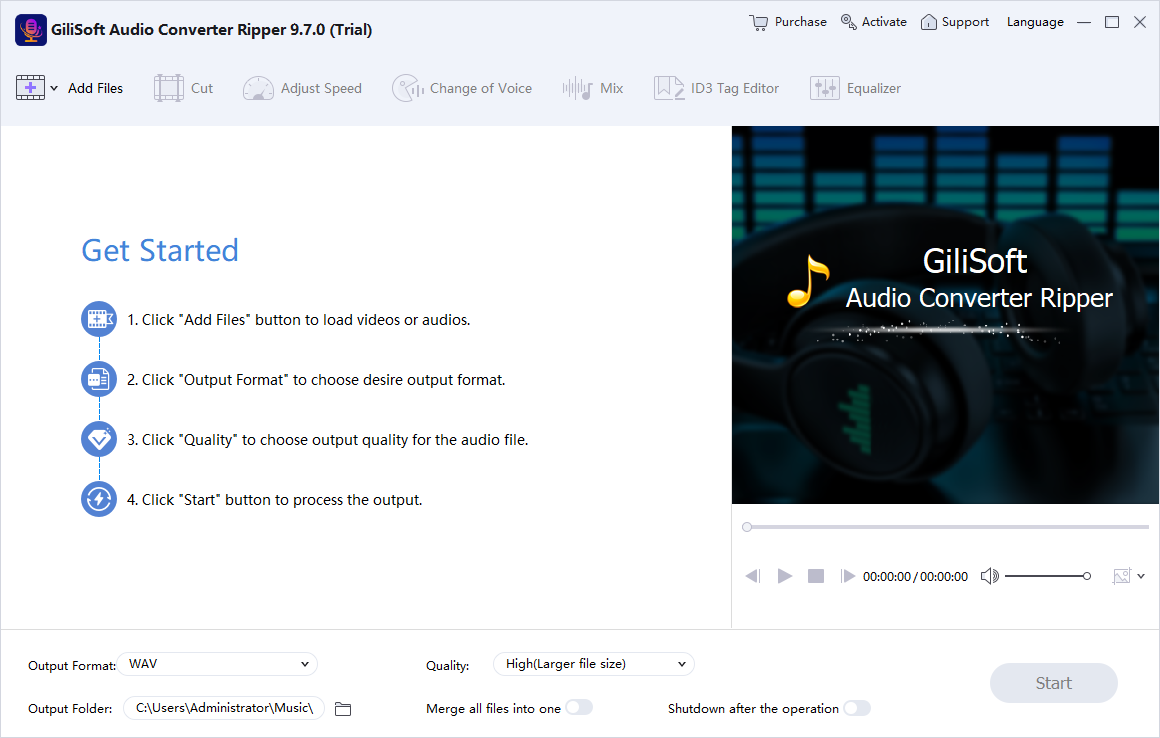
GiliSoft Audio Converter Ripper provides CD extraction alongside batch audio conversion, video-to-audio extraction, trimming, joining, compression settings, equalizer tools, voice effects, and ID3 tag editing.
- Use one naming and folder convention across the entire collection.
- Retain a lossless copy when the disc is rare or difficult to replace.
- Open completed files in another player before considering the project finished.
Troubleshoot Common Audio Workflow Problems
- No tracks are detected: Confirm that the disc is an Audio CD and the optical drive can read it in Windows.
- A USB drive disconnects: Reconnect it directly, avoid unstable hubs, and retry only after the disc is visible.
- Ripping is unusually slow: Inspect the disc and drive; retries caused by damage can reduce speed.
- Metadata is incorrect: Correct tags manually and do not treat online album information as authoritative.
- Only some tracks fail: Clean the disc and retry those tracks separately or test another compatible drive.
- Output files are too large: Review the chosen format and quality; use MP3 for compact delivery or lossless output for preservation.
Build a Lawful Personal or Production Library
Use CD ripping for recordings you own or are authorized to digitize, following the rules that apply to the material and location. Ripping software does not grant redistribution rights.
Frequently Asked Questions
Is a CD ripper the same as a CD burner?
No. A ripper copies tracks from a disc to files; a burner writes files or an Audio CD layout to a blank disc.
Can CD ripping create MP3 files?
Yes. Choose MP3 as the output when compact files and wide compatibility are the priority.
What if I want a preservation copy?
Use a lossless output when available and keep a verified backup with complete metadata.
Does a CD ripper need internet access?
The disc audio can be read locally, but optional album and track information may require an online metadata source.
Can scratched discs be repaired by software?
No. Software may retry reads, but physical damage can still produce failures or audible defects.
Why should I edit ID3 tags?
Correct tags keep title, artist, album, genre, and track order consistent across MP3 players and library apps.