
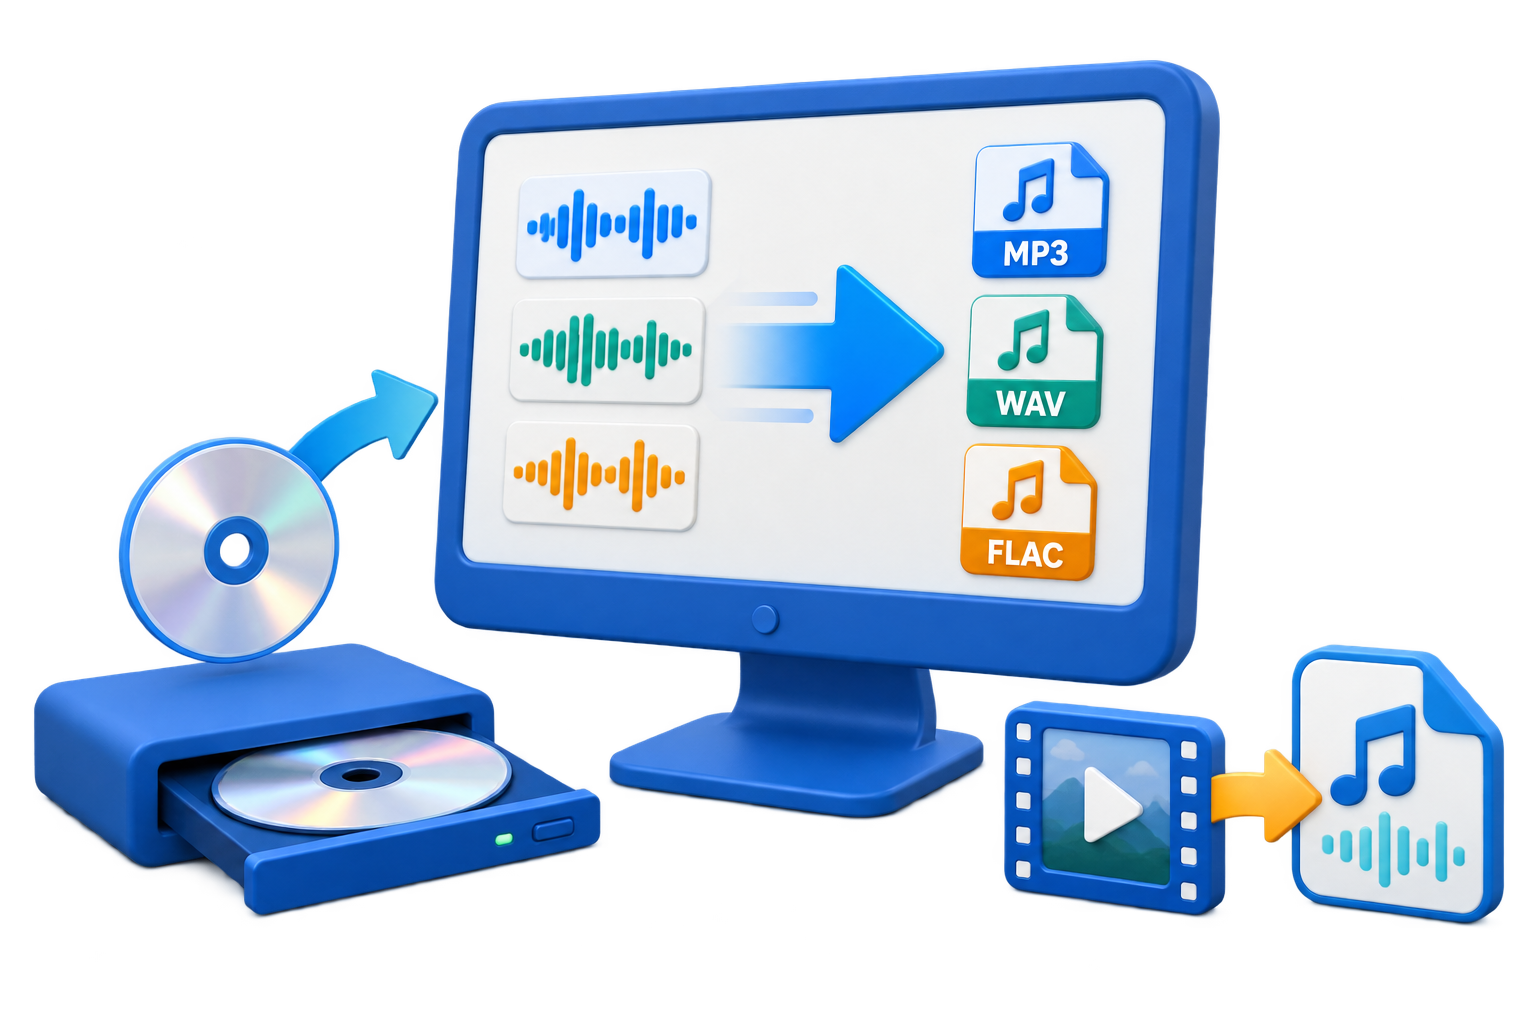
Confirm the Disc and Output Before Ripping
Quick answer: Ripping copies tracks from an Audio CD to files on the computer; it is different from burning files to a blank disc. MP3 is convenient for playback, while a lossless output is preferable when preservation and future conversion matter more than size.
| Need | Output choice | Reason |
|---|---|---|
| Phone, car, or everyday library | MP3 | Smaller files and broad support |
| Lossless preservation copy | Lossless format if available | Avoids an initial lossy generation |
| Old or damaged disc | Careful track-by-track verification | Read errors may affect only some tracks |
| Only selected songs | Select tracks before ripping | Avoids unnecessary output |
Prepare the Disc, Drive, and Library Folder
A clean disc and stable optical drive reduce avoidable read problems. Decide the album folder and filename structure before ripping so tracks do not become anonymous files.
Inspect the disc
Remove dust with a soft radial wipe and avoid further damage to scratched media.
Confirm the drive
Make sure Windows can see the Audio CD and the drive remains connected throughout the rip.
Plan metadata
Prepare artist, album, track number, title, year, and genre information.
Respect ownership
Rip only discs and tracks you are permitted to copy under the applicable rules.
Rip an Audio CD to MP3 in 6 Steps
Insert and inspect the Audio CD
Place the disc in a working optical drive and confirm that the track list can be read.
Open the CD ripping workflow
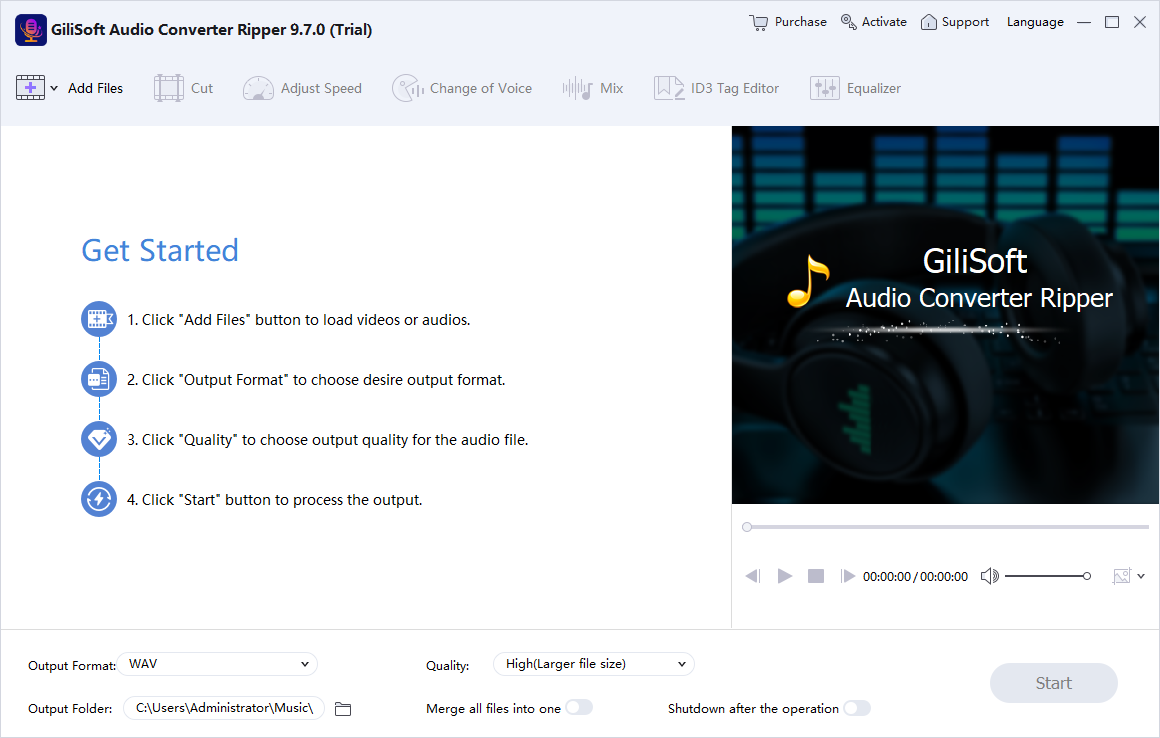
Launch GiliSoft Audio Converter Ripper and choose the Audio CD source.
Select the tracks
Clear tracks you do not need and confirm album order before processing.
Choose MP3 and the destination
Select MP3 quality, output folder, and a naming pattern that includes track numbers.
Rip the selected tracks
Keep the drive connected and avoid ejecting the disc until processing completes.
Verify every digital file
Compare track count and duration, listen to beginnings and endings, inspect suspicious sections, and correct metadata.
Check for CD Read Errors
Track count
The number of selected tracks should match the number of completed files.
Duration
Unexpectedly short files can indicate a read or selection problem.
Audible defects
Listen for clicks, skips, repeated passages, silence, or abrupt endings.
Metadata
Confirm title, artist, album, track number, and artwork separately from audio quality.
Important: Ripping does not repair a damaged disc. If one track fails or contains defects, clean the disc, retry that track, and test another compatible drive when available.
Rip and Organize CDs with Audio Converter Ripper
GiliSoft Audio Converter Ripper combines Audio CD extraction with MP3 and other audio outputs, batch conversion, trimming, joining, compression options, and ID3 tag editing for the resulting library.
- Select only the tracks needed for the destination library.
- Keep track numbers in both filenames and MP3 tags.
- Verify the rip before storing or handling the physical disc.
Troubleshoot Common Audio Workflow Problems
- The CD does not appear: Check the drive connection, confirm Windows recognizes the disc, and try another readable Audio CD.
- One track has clicks or skips: Clean the disc and retry that track; a damaged surface or unstable drive may be responsible.
- Track names are generic: Enter or correct metadata manually when album information is unavailable.
- Files play in the wrong order: Use leading-zero track numbers in filenames and ID3 tags.
- The rip stops midway: Confirm free disk space, keep the drive connected, and retry smaller track groups.
- A data CD is inserted: This workflow is for Audio CDs; files stored on a data disc should be copied or converted as ordinary files.
Rip Only Audio You Are Allowed to Copy
Ownership of a physical disc does not automatically grant every distribution right. Keep rips for permitted personal, archival, educational, or production use and do not redistribute copyrighted recordings without authorization.
Frequently Asked Questions
What does ripping an Audio CD mean?
It means copying audio tracks from the disc to digital files on the computer. It is the reverse direction from burning a disc.
Do I need an optical drive?
Yes. The computer needs a compatible drive that can read the Audio CD.
Can I rip only selected tracks?
Yes. Choose the required tracks before starting the rip.
Should I use MP3 or a lossless format?
Use MP3 for compact compatibility and a lossless option for preservation when storage size is less important.
Why are track names missing?
Album information may be unavailable or incorrect. Add or edit the MP3 metadata manually after ripping.
How do I know the rip is complete?
Compare track count and duration and listen to the beginning, ending, and any suspicious sections of every file.